 Since making the switch from silver/grey hair to a darker blonde earlier this year, I’ve really been enjoying having warmer tones and a more natural look (something I never thought I’d say but guess I’m growing up, sob). It’s also SO much more low-maintenance thanks to having a root drag, i.e. a darker colour applied at my roots. However, nothing good lasts forever and last week it was finally time for me to have my roots done. My nephew was also christened the same week so I was in need of some styling help on the day too – and in stepped two amazing hair brands to help a sistah out. View Full Post
Dirty Looks Hair Extensions in 90s Blonde | Review
 Have you ever got an email that’s made you so happy you want to rip off your own face? We have, and it was when we were recently asked if we would like to review some hair extensions from Dirty Looks. I’d seen a couple of reviews of this brand floating around the blogosphere lately (from Liza and Latasha to name but two) and they looked so amazing there was no chance in HELL I was going to pass up an opportunity to try them out.
 Dirty Looks stock a range of hair extensions, with everything from full sets to ponytails, and even a clip-on fringe. We were asked to review the HK Full Head Hair Extensions, which contains 10 wefts of hair and the mighty Quad Weft which is also available separately.
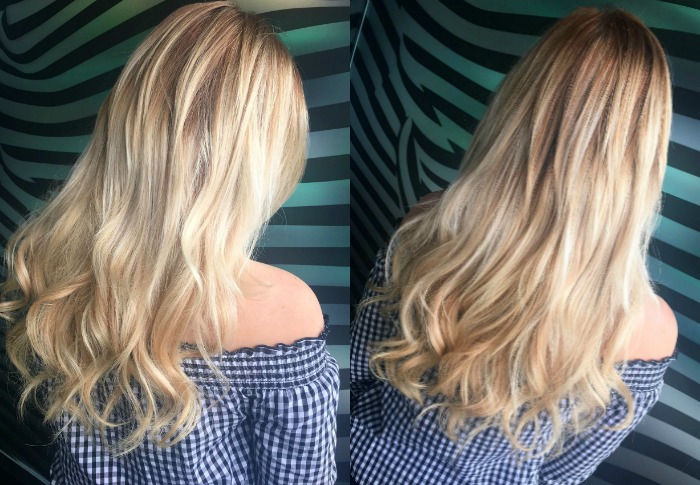
After a chat with the super helpful Abigail from Dirty Looks, it was decided that I would be best off with the shade 90s Blonde, while Lauren was best suited to St Tropez. Lauren will review her set separately (I’m not her damn slave!), so for now here are my thoughts on the 90s Blonde hair extensions that I received.
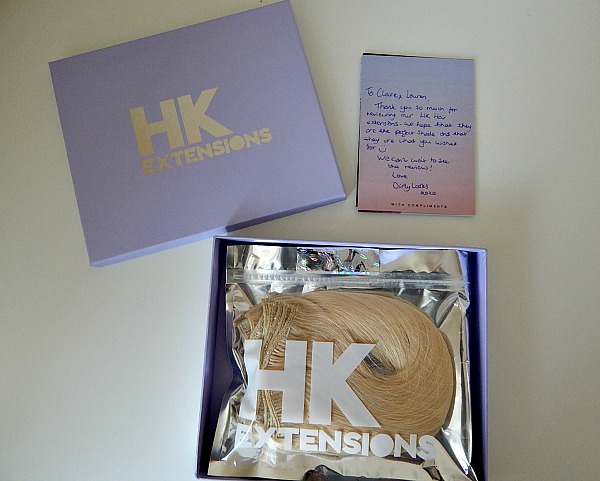
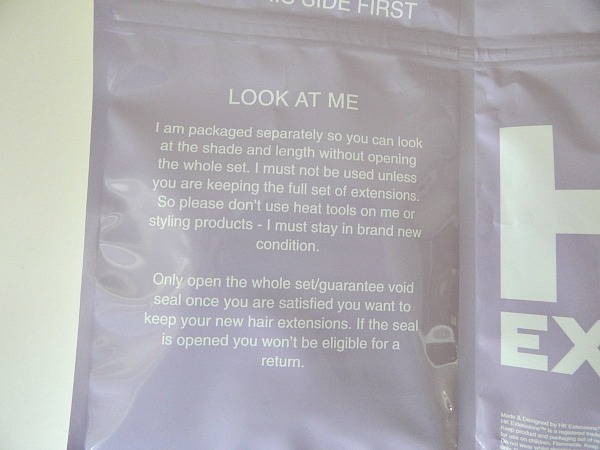 The first thing to note is how amazingly packaged the hair extensions come. Dirty Looks are such a breath of fresh air after years of buying hair extensions in scabby plastic wallets from grumpy shop owners. The extensions come in a pretty little purple box (perfect for future storage) with spare clips and a really useful guide to using your new extensions.
An especially nice touch is the sample of hair which is provided; you take this out first to check the shade and length is right for you before opening the main packet – this means that if the colour doesn’t suit, then you can easily return and exchange them.
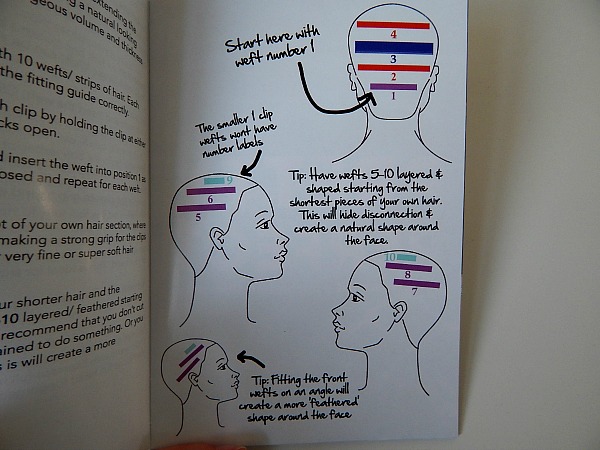 The helpful little booklet breaks down exactly where you should place the hair extensions on your head. We’ve all witnessed those tragic sights of really badly blended hair extensions, so this eliminates the chances of us falling victim to it (hurrah!)
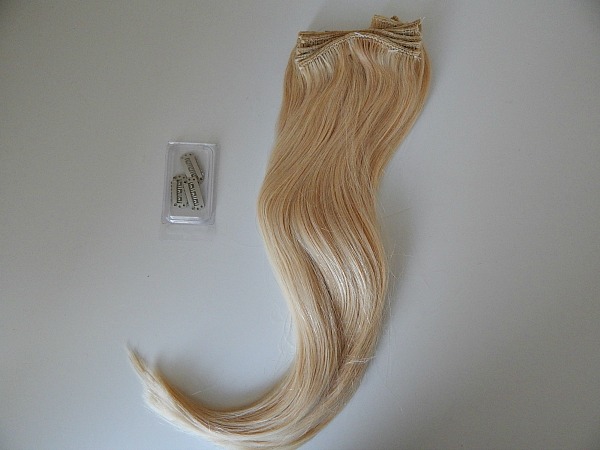 And now onto the hair itself. Oh. My. GAWD. It’s beautiful. I’ve used a lot of hair extensions in my time and can hand on heart say that these are the best quality I’ve had. If you’re completely new to the world of hair extensions and try these out, then you’re going to be impressed. If you’re used to them though, then you’re going to be amazed.
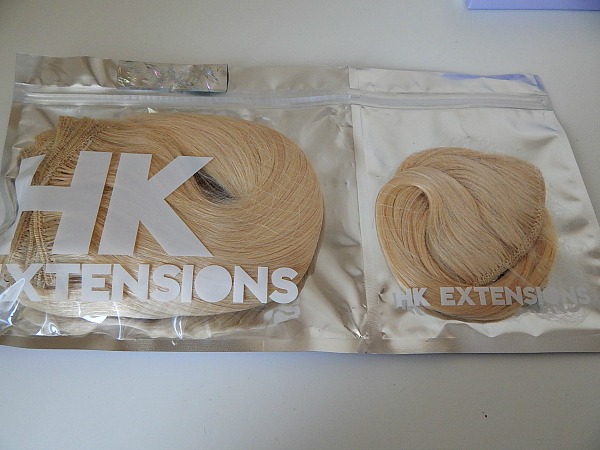
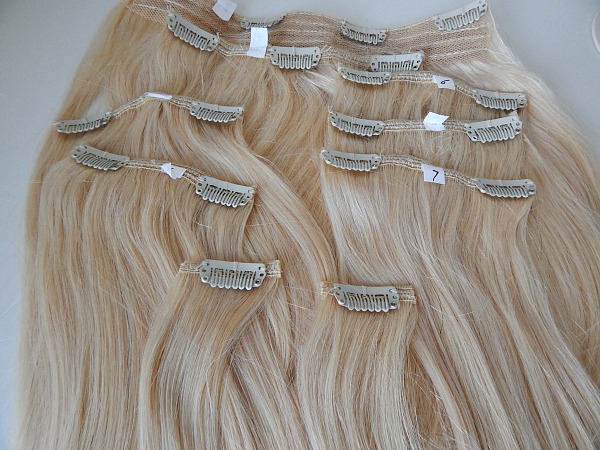
Most wefts tend to get thinner towards the bottom, leading to that rat-tail look that is oh so popular with the Snog Marry Avoid birds of society. These, though, are perfectly thick from top to bottom. I opted for the 16-18 inches, which is 160 grams of hair. This in itself is an impressive weight, and you can certainly tell the quality difference if you’re used to buying cheaper hair extensions.
 (Ah, is there a more beautiful sight than all that hair?)
In terms of colour, 90s Blonde is the lightest shade that they stock, and it would definitely be a good match for most bleach blondes. As I’m currently in the grey/platinum club, I was advised that these would be the best base colour for me to tone to match my current hair colour. I applied my usual colourant and I’m pleased to say that they took the colour wonderfully – with no damage afterwards either.
 I’m completely in love with these hair extensions. With prices starting at £69.99 for 12-14″, they’re not the cheapest extensions out there – but this is absolutely a case of getting what you pay for. I already know that the life cycle of this set will be far longer than any cheaper clip-ins that I’ve bought in the past.
The Dirty Looks website is also really helpful in terms of hair advice, with their blog being a particularly good read if you’re into hair extensions. Overall they’re a great brand who are clearly passionate about what they do, which is really nice to see. A huge thumbs up from me.
Have any of you tried Dirty Looks hair extensions? Or would you try them now?
|| Don’t forget that you can follow us on Instagram, Bloglovin’ and Twitter! ||
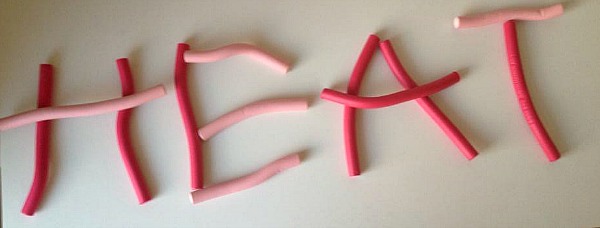
How to Curl Your Hair Without Heat: Bendy Rollers
 First off: I know, I know – proper Art Attack skills there, right? How I only got a C in GCSE Art is simply a mystery that will never be solved.
And now secondly: I’m sure I speak for most girls with long hair when I say this: I LOVE having curly hair – but I do not love the damage that heat from curling tongs can cause. I have hair extensions and so have to be particularly careful to not over-expose them to heat if I want them to stay in good condition and avoid the ‘skanky rat’ look for as long as possible – so this means that regularly curling is a bit of a no-no. To create waves in my hair I’ll often plait it before going to bed, but my new favourite method for achieving a more dramatic curl, but still without the heat, is to use these babies:
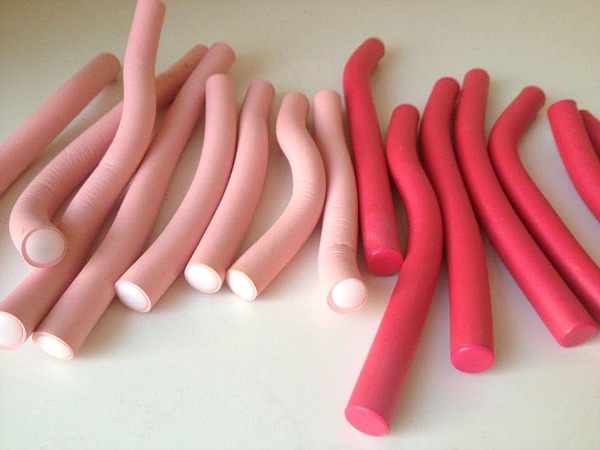 These bendy rollers were first recommended to me by the girl who fits my weave, and I’m amazed at how good they really are. Packs of these can be picked up in most pound shops, and are also sold in Primark for the mere price of one English pound. You usually get around 8-10 in a pack, but if you have particularly thick hair or want to create smaller curls – or want to use them to spell out words – then you might want to pick up two packs.
Using these rollers is ridiculously simple – and this from a girl who can barely do a neat ponytail (the cackhand strikes again, huzzah!) You section your hair and wrap the ends of each piece around the rollers. You can roll them as high as you want the curl to start. You then secure them by bending them.
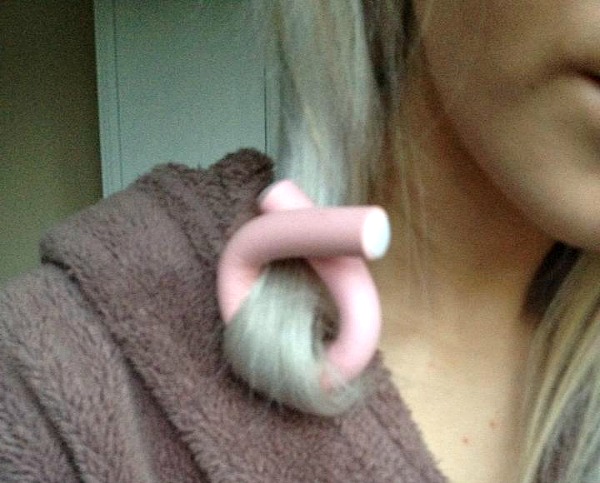 For maximum effect, I leave my bendy rollers in overnight. I personally find them really comfortable to sleep in as I usually have them secured below chin level so there’s nothing actually digging into my head – if you have them higher then they might feel less comfortable, but it all depends on how easy you find it to sleep with things in your hair I suppose.
When I unravel the curls in the morning, they’re extremely tight and I look a bit like Honey Boo Boo. However after brushing them through a bit, I’m left with something resembling this:
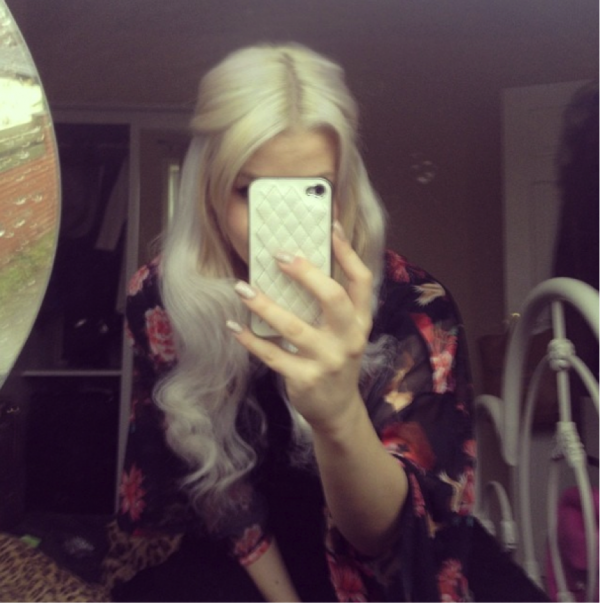 Depending on what look you’re going for, you can make the curls as groomed or as natural looking as you like. Separating all of your hair evenly will help you to produce matching ringlets, while putting the rollers in a bit more ad hoc (which I do, but mainly because I’m lazy) will leave you with a messier, somewhat more natural look. I’ve found that the curls stay in brilliantly all day; in fact, much better than they tend to when I use a curling wand.
As well as looking pretty good (if I do say so myself, trumpet blowing) and being ridiculously cheap, these curls also leave me safe in the knowledge that I’ve not damaged my hair ONE TEENY BIT. This means they get a thumbs up from me.
Have any of you used bendy rollers? How do you get curls without using heat?
September Haul: Missguided & Bodycare
iyaaaa! Right, now the politeness of the day is over, let’s get on with it.
Today we have a super fun haul post for you all. Yes we are officially still on our spending ban (and are delighted to announce that it’s been worth it thus far as our application for our new house has been accepted! AWOOGA) but in our defence, many of these products were absolute life necessities. I mean, do you really expect us to go through life without false eyelashes? What sort of barbarian are you?
As it was payday on Wednesday we actually ventured away from our desks at lunch time and went into town. Like the big spenders we are, we headed straight to Bodycare to stock up on all of our cheapy cheap beauty essentials. We then came back to our desks and placed some orders online because we’d scratched the shopping itch, but just made it more itchy and needed to scratch it some more. Hate when that happens, don’t you?
Here’s a little run-down of some stuff we purchased:
Lauren
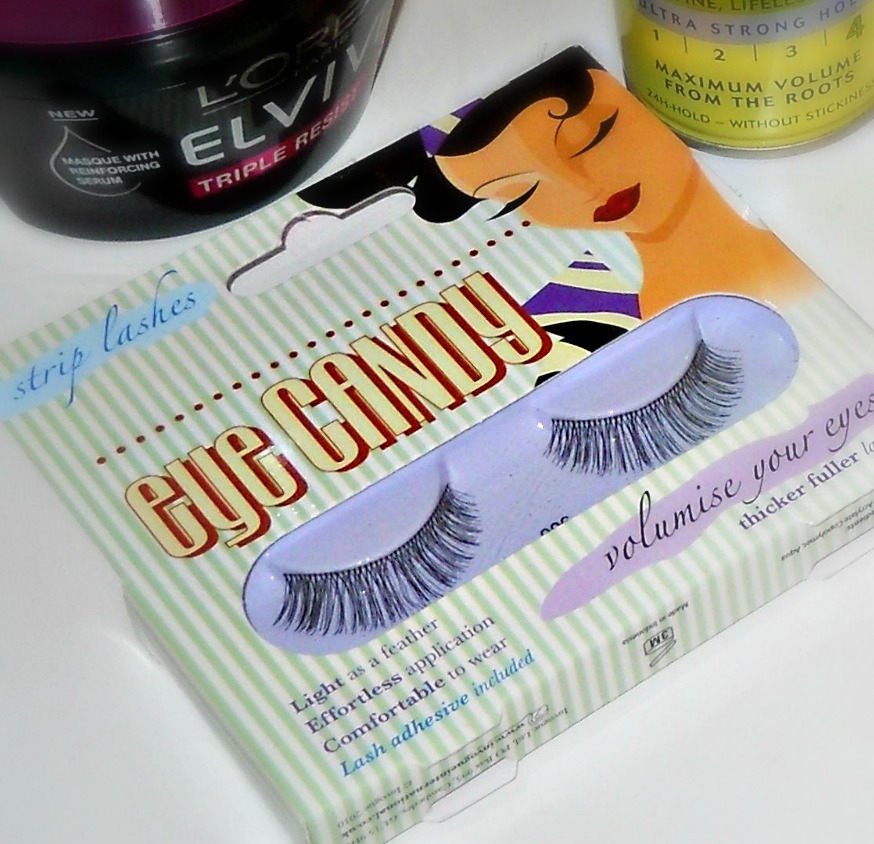
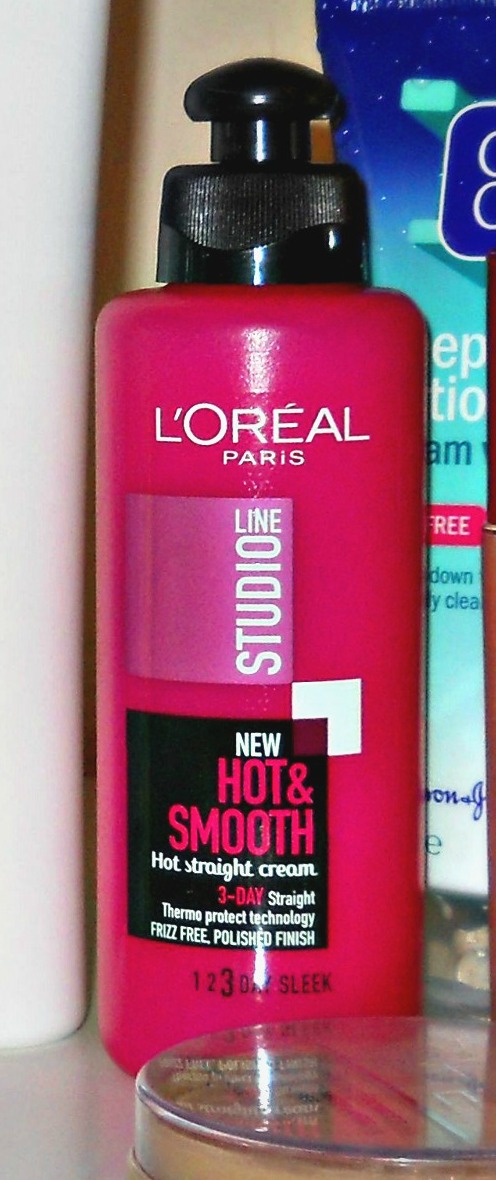
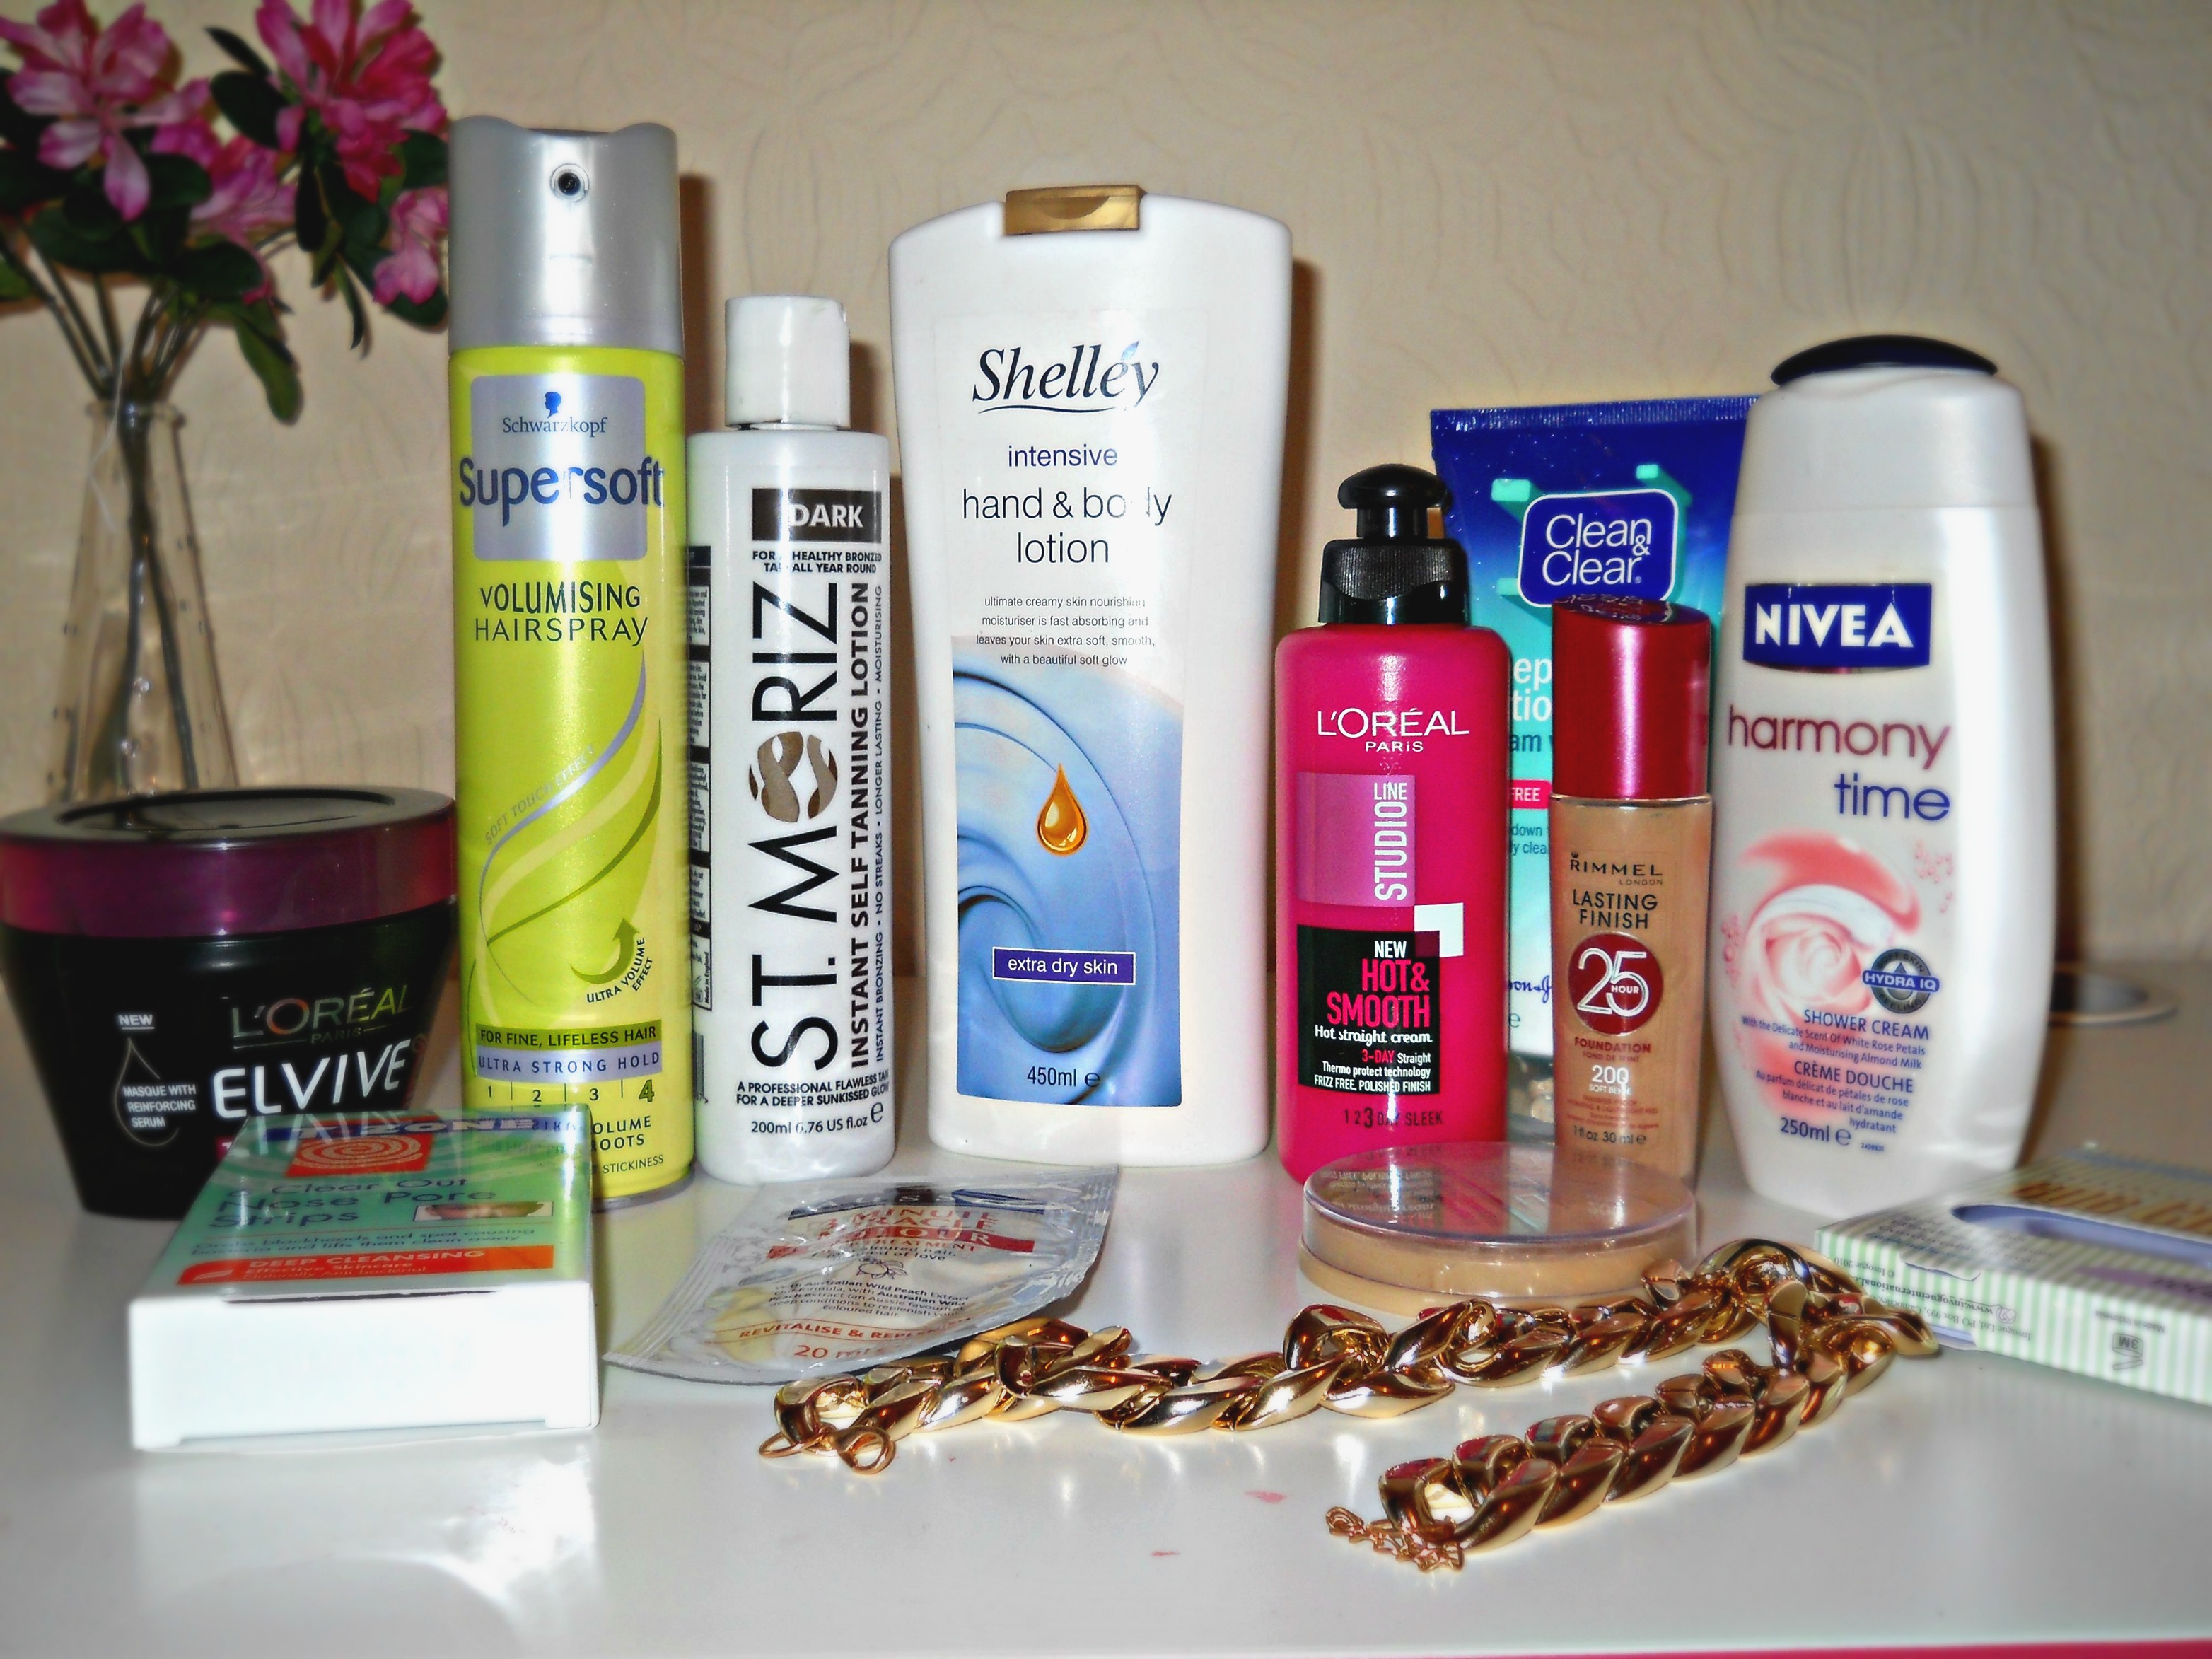 T Zone Pore Strips | L’oral Elvive Triple Resist Hair Mask | Schwartzkopft Supersoft Volumising Hairspray | St Moriz Tan Dark | Aussie Miracle Mask | L’oreal Hot & Smooth Serum | Clean & Clear Deep Action Cleanser | Nivea Harmony Time Shower Gel | Eye Candy Lashes | Rimmel Lasting Finish 200 | Rimmel Stay Matte Powder | Gold chain from eBay
Gut gott in himmel, I accidentally spent £30 in Bodycare. As Drizzy would say however, you only live once and my life required lots of new beauty products. CUFF ME.
I won’t bore you too much, but a couple of these products I would thoroughly recommend. First off, Eye Candy eyelashes are a big favourite of mine and they are amazing quality for the price. When I get the chance to go to Bodycare, I always stock up on these badboys. If you’re looking for a cheaper alternative to Eylure, then these are your man!
I also have loads of love for this heat protecting serum, L’Oreal Hot & Smooth. I used to use this all the time when I was younger and first started straightening my hair and sort of forgot about it until I saw it the other day. They’ve changed the packaging to be a bit more jazzy, but it’s definitely the same product inside. 100% recommend it, especially if you are skint like I am but still want to protect your locks. HUZZAH.
I put in an order with Missguided after spending about 300000 hours trying to figure out what to buy. This dungaree dress was the result, which I LOVE. Unfortunately it’s way too big so I’m going to have to return it and exchange, but it’s the perfect A/W addition to my floordrobe – 90s you are back with a vengeance, my son!

Claire

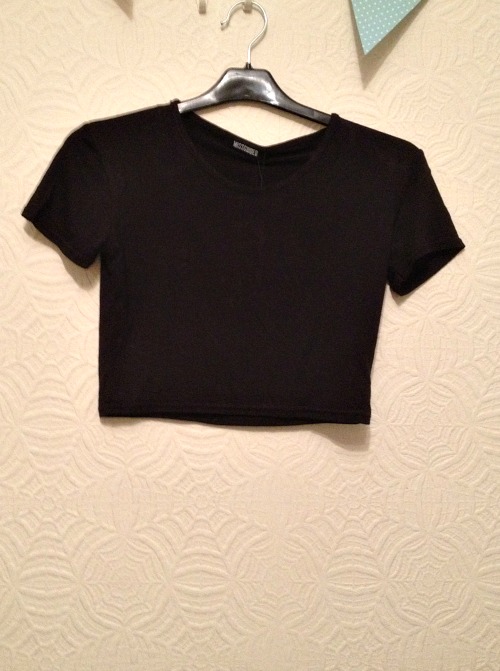
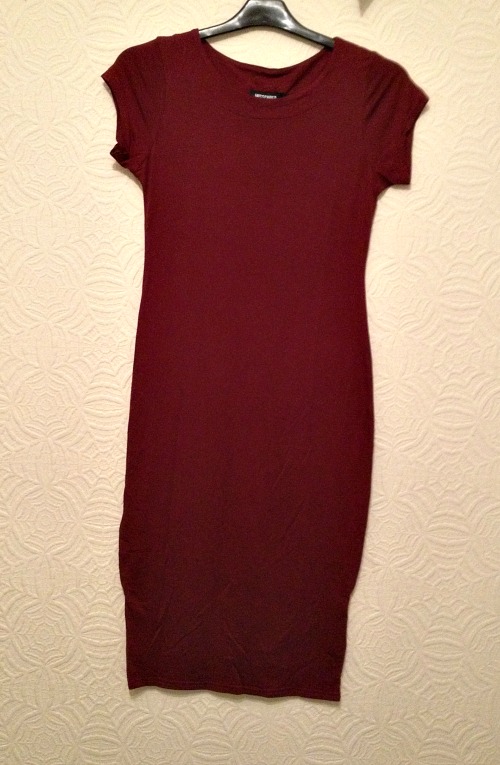 Kimono | Crop Tee | Bodycon Midi Dress – Missguided
I also bought quite a few bits in Bodycare, but as I started scooping up my various shower gels and body scrubs to photograph it occurred to me how massively boring they all were so I thought ‘EFF THIS!’ and threw them all back into the shower. My Missguided order was thankfully a little more interesting; I snapped up this kimono (there’s 15% off them this week, so go go go!) and crop tee to wear over the weekend as we’re going to the Bullring’s tenth birthday catwalk show so I fancied something new – don’t worry, I’ll also be wearing something on my bottom half, I’m not trying to be the most scandalous person in Birmingham (Lauren already has that title).
I also finally bought this midi dress that I look at each time I’m on their site. I’ve always been put off buying it as the sizes only some in ‘S/M’ or ‘M/L’ (which is something that annoys me more than you would even believe, how can they narrow down all the shapes and sizes of women in the UK to just two sizes? How? How and why and how?!) but it’s part of the Sweet Deal range and only costs £5.99 so I decided it wasn’t the end of the world if it didn’t fit. It’s an okay fit; as I expected it’s too baggy on me to really be called bodycon, but it still sits quite nicely and is a good length so is fine for work – and still amazing for the price!
What have you all been buying lately? And what do you think of this haul?
|| Don’t forget that you can follow us on Instagram, Bloglovin’ and Twitter! ||
John Frieda Everlasting Blonde Shampoo & Conditioner | Review
 If you read this blog regularly then you may know that Stylingo HQ is soon to be a house exclusively of blondes. I’ve just taken my mid-blonde hair bleached blonde again, and Lauren’s going through the slow process of going from brunette to blonde (though one hair dye mishap has meant she’s now back at dark brown – no, we’re not entirely sure how that happened either).
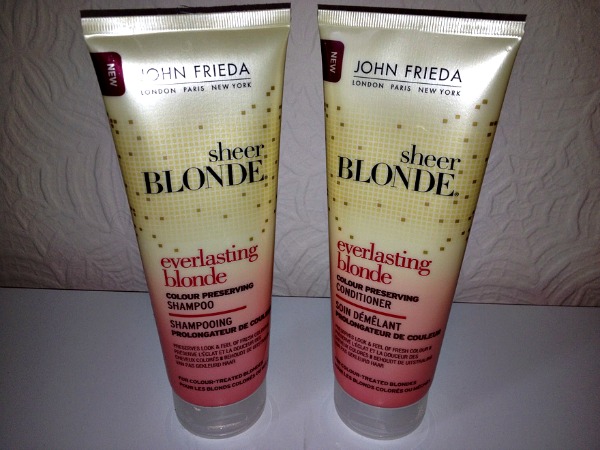
One consequence of our blonder way of life – apart from the fact that we’ll probably have to start living with some old geezer in a dressing gown a la the Playboy mansion – is that we need to get SERIOUSLY SERIOUS about our hair care now. Everyone knows that blonde hair needs a lot more love and attention to keep it in top condition (or at the very least, to stop you resembling Worzel Gummidge). This is why I was very excited when the amazing people at John Frieda sent over this shampoo and conditioner for us to try.
The Everlasting Blonde shampoo and conditioner are part of their wider range for blonde hair. I never realised quite how extensive this range is – it’s safe to say that Johnny F’s got everything covered for blondes. As well as hairsprays and mousse specially designed to make blonde hair shimmer, there are also shampoos and conditioners to lighten the hair itself – which I can only assume is made with some sort of wizardry.
The Everlasting Blonde Colour Preserving shampoo and conditioner is designed to stop blonde hair from fading while still keeping it in good condition. These retail at around £5.99 each; at one time, I would have balked (oh what a wondrous word) at the thought of spending this on shampoo. But thinking about it, whenever I use a conditioner that’s cost me about £2 I end up using half the bottle just to feel like it’s doing anything to my hair – whereas with only a little bit of this John Frieda one you can notice the difference straight away. Beware of false economy, lads and lasses.
Both of these products feel really luxurious to use and left my hair feeling so much softer than it usually does. The bottles are also huge and I didn’t have to use much at all, so I’m very excited about how long these will last me!
If anybody’s after any more information on John Frieda products or want to pick up some expert tips then they also have a YouTube channel that’s very handy indeed.
What do you all think of John Frieda? Do you think more expensive brands are worth it?
|| Don’t forget that you can follow us on Bloglovin’ and Twitter! ||
Going from Brown to Blonde at Home: Colour B4 Review.
Good day to you fine wenches,
I am currently embarking on a truly exciting adventure…I’m attempting to dye my hair from brown to blonde at home. After watching countless (and I mean countless) videos on YouTube of girls who have done a similar process, I decided to finally take the plunge and give it a whirl.
I’ve been keen to dye my hair blonde for a while now. I used to be a part of the blonde gang at uni until I went red and then eventually brown – I do like being down with the brown, however it’s time for a change. Call it a quarter life crisis if you will but, by the good Gott in Himmel, I need something to amuse myself. The only question is: is cottage cheese really made in cottages how on earth do you approach blonde hair when you have pretty dark brown hair that is a giant mixture of salon dye, box dye and henna?
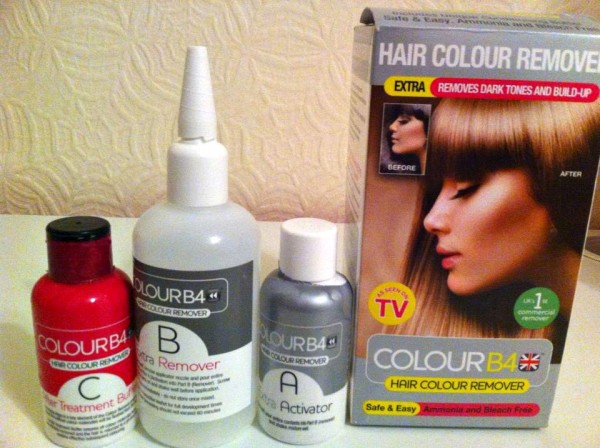
WELL. From what I gathered on my YouTube research, the best place to start is with a hair colour remover/stripper (also, most people say you shouldn’t even attempt it at home…to you I say WHERE IS YOUR SENSE OF ADVENTURE). There are actually quite a few hair colour remover products on the market, but I decided to go with Colour B4 Hair Colour Remover Extra Strength. This is mostly because the reviews were all pretty good on Amazon/other blogs but also because I liked their funky way of spelling ‘before’. I ordered it from Amazon for about £8 – but they vary from £6-£11.
I won’t go into too much detail (mostly because I’m still pretty baffled to how it actually works) but it seems that a lot of scientific things go on with molecules and shrinking, which finally means the Colour B4 has removed as much hair dye as it can. I didn’t have high hopes for my hair to be quite honest with you all. Since I’d bleached my hair, used red hair dye for a long time, dyed my hair with henna AND used red tinted brown dyes in the past…I’d pretty much used every product that Colour B4 says isn’t compatible with the hair remover product.
I still thought WHY THE HELL NOT, and progressed to put it on my head. Colour B4’s remover comes with 3 different products:
A: Activator
B: Remover
C: Hair Treatment Buffer.
You mix together the Activator and the Remover and then leave it on for between 30 mins and an hour!
The rinsing bit is the most important part of removing colour, you genuinely have to spend HOURS (well, 15 mins or so) rinsing and it’s very boring. This is the part where you add the buffer, which is basically a jazzy shampoo.
 Excuse the WUBBISH iPhone photos, I forgot to take pictures on our camera during daylight hours!
This was the result! It’s not hugely different, maybe 2 or 3 shades lighter*, but as I said – I wasn’t expecting much because of my dark brown shade AND all of the random stuff I’ve put on my hair in the past few years. It’s actually lighter in person too, but NOWHERE would pick up the colour properly, sob.
*I then proceeded to put an ash blonde colour on, where my hair practically reverted to its original colour. The eager beaver that is me, is back to square one.
How to Bleach Your Hair at Home
Last weekend, I was sitting on my bed having a casual catch up of blogs and Youtube videos, when suddenly an idea hit me. I was like Paul on the road to Damascus (big up the Catholic school kids who get this reference), struck with a blinding light and a life-changing epiphany: I wanted to go back to being bleach blonde.
I used to bleach my hair for about four years during sixth form and uni, and then in a moment of wanting to be a grown up, decided to take it a more natural mid-blonde. Since then, I’ve realised being a grown up has nothing to do with your shade of hair, and people will never take me seriously as long as I go round acting like a tit (ie always) so bleach was calling me.
Enthused by my decision to go back to the light side, I set off into town first thing Sunday morning for supplies. I then pestered my extremely hungover sister until she agreed to assist me in my mission.
Before I go into how I did it, I will put a couple of huge disclaimers out there:
- I’m NOT in any way, shape or form a professional hairdresser, nor do I really know anything about colouring hair beyond a couple of years of my own experiences
- I have no idea whether these same steps would work for you
- Your hair may well fall out if you do this, I don’t know
- Your hairdresser will probably hate you. I’ve become quite accustomed to annoying hairdressers over my years of bleaching, straightening and gluing and sewing random wefts of hair into my head
- I’m used to having hair that has never been in good condition. and am truly okay with this. If you’re not, then definitely definitely seek the advice of a professional before doing anything as dramatic as this to your hair.
Okay, now that I’m sure nobody can sue me – on with the show!
What I Used:
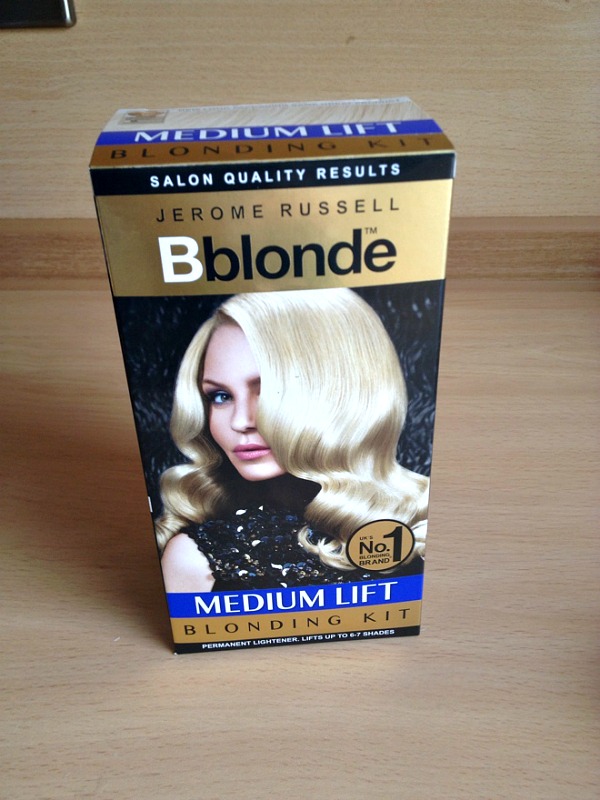
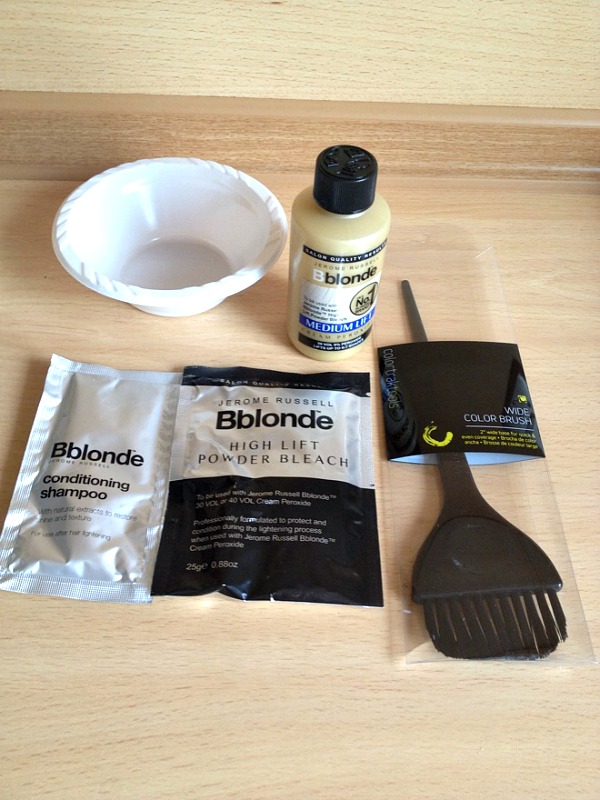
Jerome Russel B Blonde Blonding Kit in ‘Medium Lift’
To bleach my hair, I use powder bleach and cream peroxide. I used to buy these separately, but when I went into my old haunt of Bodycare today they didn’t seem to have any of the powdered bleach in a separate box, so I bought this set (which is the brand of cream peroxide which I used to use, so I knew I was in good hands). This cost around £4 (much cheaper than it is in Boots or Superdrug, FYI), and I picked up two because my extensions have meant my hair is very thick.
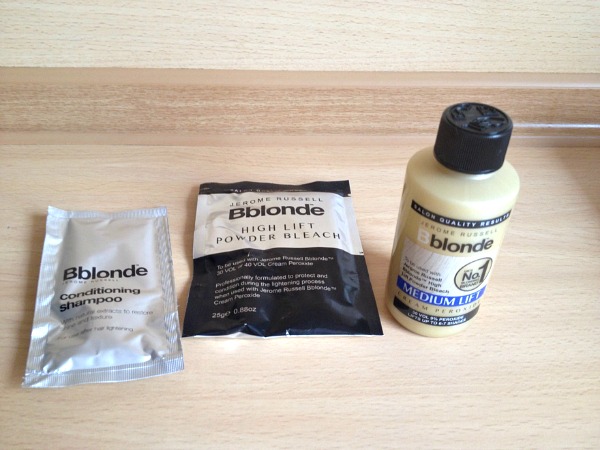
I got the ‘medium lift’ option because I was bleaching dyed blonde hair, and also because my own natural is a very mousey brown so not much lifting was really needed. They’ve got a higher lifting option for people who have darker hair so make sure you get one strong enough for your hair. The set came with the cream peroxide, powder bleach and a conditioning shampoo. It also came with a handy little brush and pot to mix it all in, but I’m stupid and I didn’t realise this, so bought a toning brush and bowls when I made my next trip into Sally. I therefore insisted on using my newly purchased ones, which you can see in the top photo.
Method
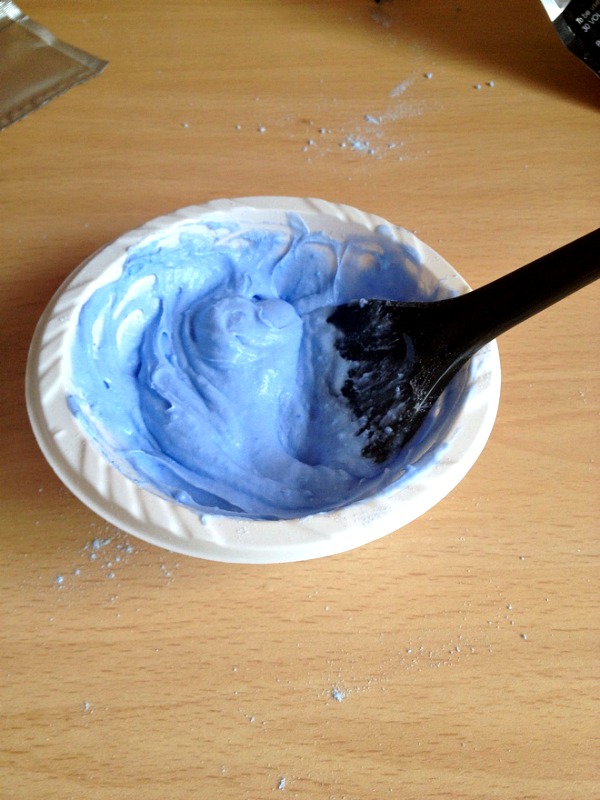 You mix the cream and powder as so, until you get this very nice blue paste. I wouldn’t recommend applying the bleach yourself, in case you miss bits. This is where my hungover sister came in. After making me move from the conservatory into the garden, and then into a more shaded bit of the garden (hangover sweats, what can you do) she started applying. My sister always used to bleach my hair for me, and always did a good job. The method? You SLAP IT ON. I don’t think that’s a technical term, but as I’ve stated – I’m a rookie and I just don’t care about doing things in a remotely proper way. She had a vague system which involved doing all of my roots first and then working it through the lengths. The bleach doesn’t work in quite the same way as normal hairdye; the thicker consistency means that you have to really apply it to all of the hair on both sides, instead of just kind of squidging it in as you can with other dyes (more technicaly terminology for you there).
It was quite a lengthy process and so by the time we were finished, a lot of the bleach had already been on for an hour. The instructions said that on dark blonde/light brown hair the bleach should be left on for 90 minutes. I had no idea how long it should be left on dyed dark blonde hair – so as usual we guesstimated and I left it on for a further half hour after we’d finished applying.
Aftercare
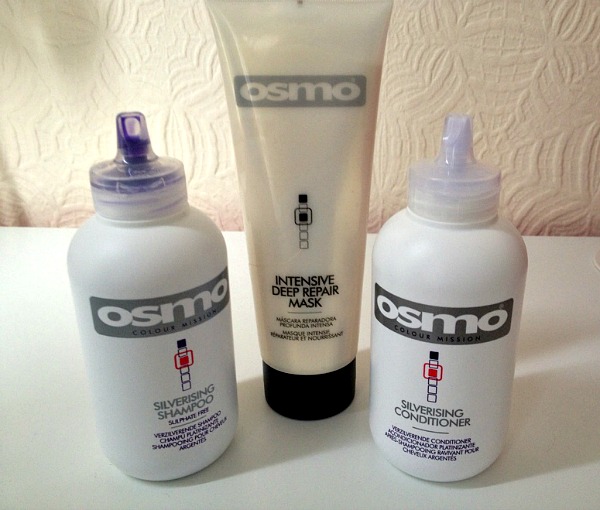
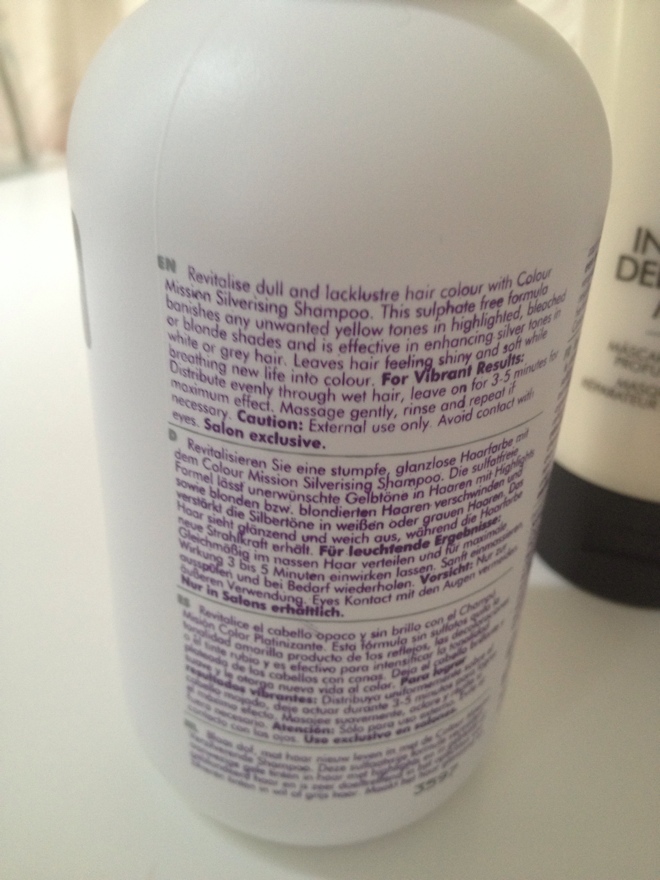
Stating the obvious here, but bleached hair needs a lot of TLC. I headed to Sally which, if you don’t have a physical store in your city or town, is a hair and beauty suppliers that stock salon brands. It is also potentially the most exciting place on earth (no exaggeration). To take care of my new straw-like hair I purchased Osmo Colour Mission Silverising Shampoo, Osmo Silverising Conditioner and Osmo Intensive Deep Repair Mask, which were each around the £6 mark. The silverising shampoo and conditioner are both designed to be left on for between 3-5 minutes for maximum results, and are supposed to take the brassier, yellow tones out of bleached hair. Seeing as I’m a trampo and basically never wash my hair (should I admit to that?) I think these should last me a fair few weeks so should be well worth the money.
Results – Before and After
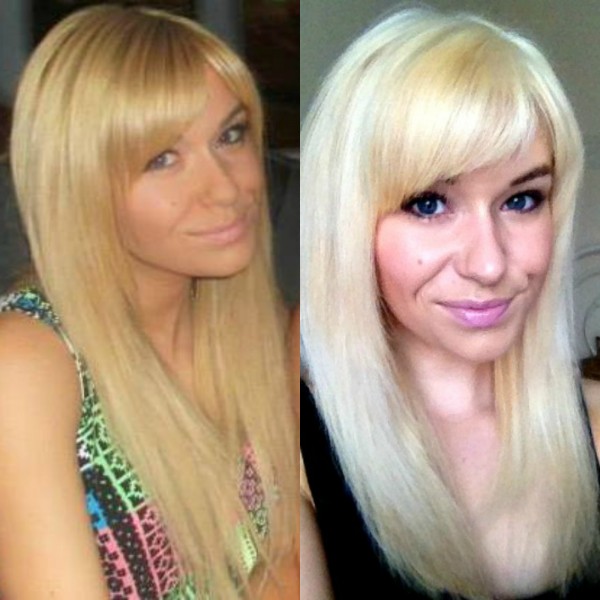
This was how my hair looked after its initial bleaching and one wash and condition with the Osmo products. There were still some strong yellowy tones, which was to be expected considering I was bleaching not only coloured hair but also extensions, which have been through Laaaawd knows how many processes before they landed on my head.
Some people might be happy with this as a final colour but I had a lusting for white blonde hair, so knew my work was not done. Because I’m a bloody mysterious bitch I’m not going to tell you what I used just yet because I have a full review of the product planned buuuuuuuut…. THIS is the final result!

Have any of you ever bleached your own hair? Share your tips in the comments below!
|| Don’t forget that you can follow us on Bloglovin’ and Twitter! ||
Lush Caca Brun Henna Review.
‘Ello lovely human beings,
Today is a slightly different post to our usual blog frolics. Today, I am discussing hair, hair dye and my first venture into the world of henna.
Backing up a little bit, my hair career (is that a thing?!) has been extremely varied. I started off a little ginger curly haired afro child, migrated to a strawberry blonde (with the help of highlights!) in my teens, bleach blonde and vibrant red at uni – finally settling on brunette when I graduated and decided to become a grownup. Here’s a little collage for your viewing pleasure.

I’m really loving being a brunette at the moment, but I have found that my hair’s condition hasn’t really got any better. Because my hair is quite light naturally, I look genuinely ridiculous when my roots start to come through. This means I have to dye my hair every month or so to keep myself looking less like a middle aged man and more like a 21 year old girl. Obvs this is WUBBISH for my hair and has meant that I decided to move away from chemical dyes.
I hotfooted it to Lush because I heard they did henna dye and after a rather complicated explanation from the lovely sales lady, I bought what looked like a smelly green bar of chocolate. I got it in the shade Caca Brun, which is just the plain brown henna shade. Whilst being somewhat intimidated, I also felt very smug and convinced that I had become some kind of Buddhist hippy in the space of about 10 minutes.
According to my new best friend at Lush, the henna takes about 5 hours to develop and is extremely messy so I prepared myself as fully as possible to do the deed a couple of Sundays ago.
This was my henna kit! Not as extensive as some blogs I saw, but it was actually fine and I’m glad I didn’t have too much crap around! The stuff really is messy…
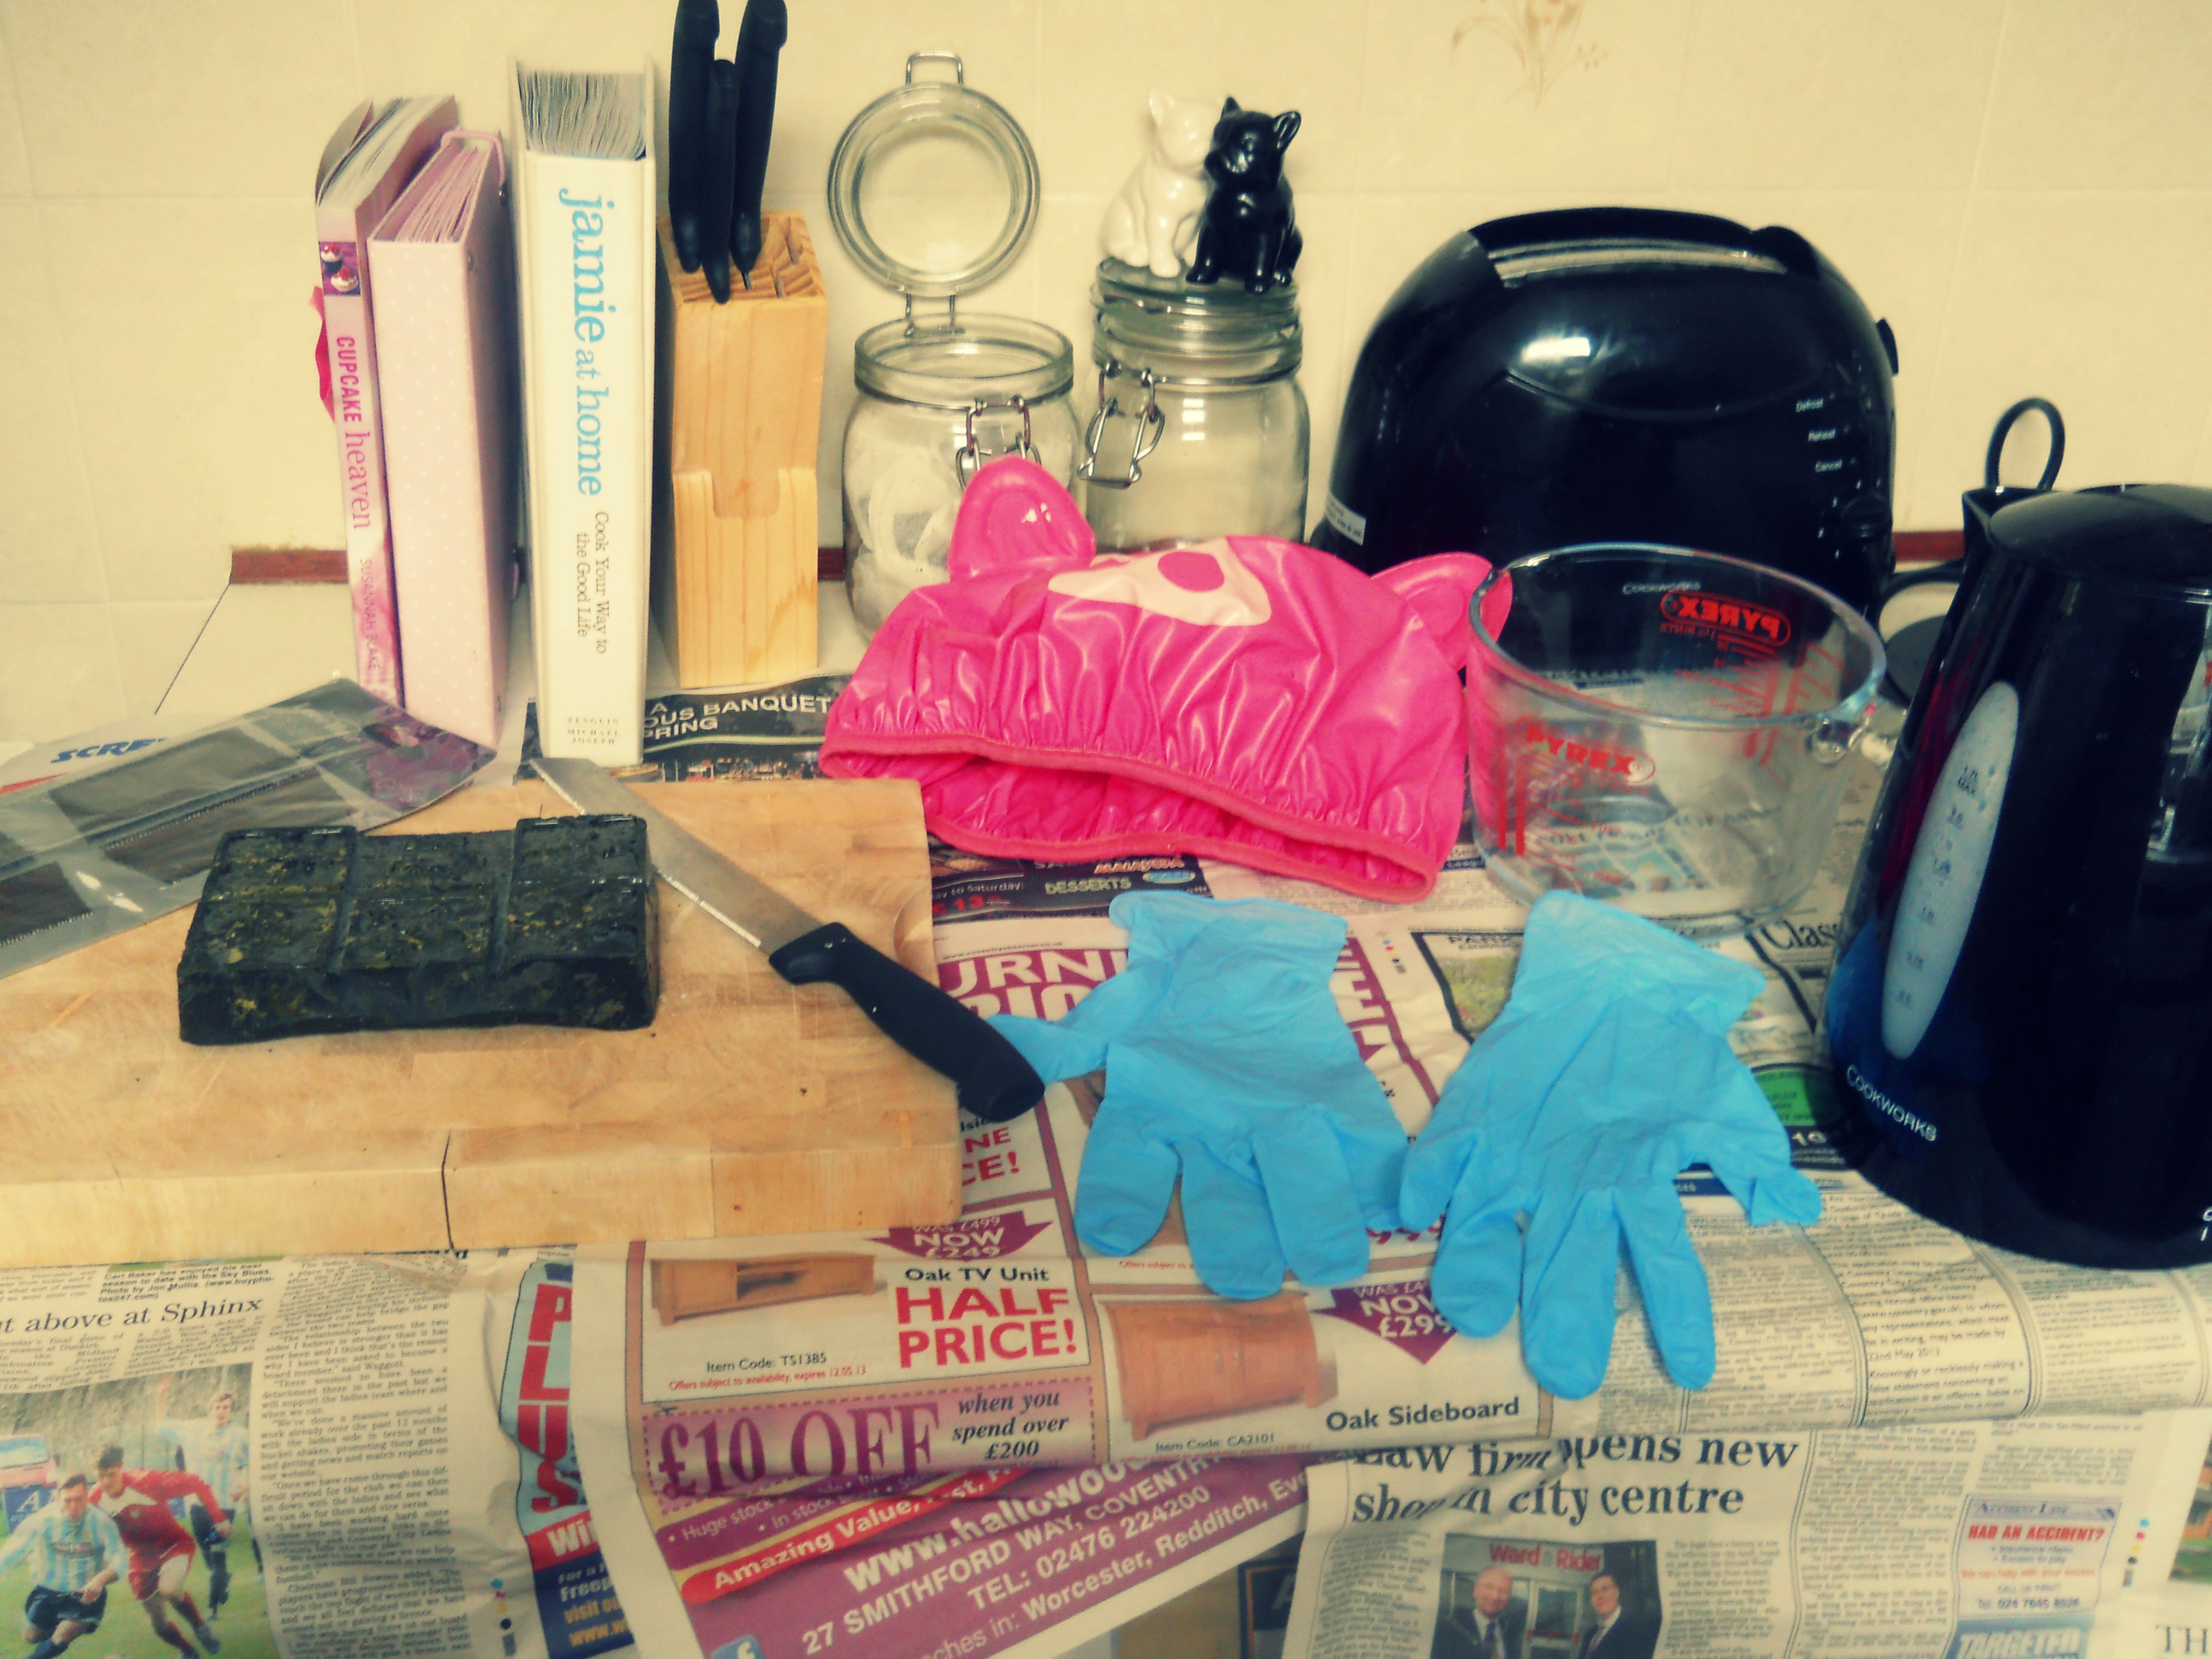 Hair grips | Chopping board | Knife | Gloves | Shower cap | Pyrex bowl | Kettle | LOTS of newspaper!
The general idea is that you grate the henna, mix it up with hot water to form a consistency of thin yoghurt and then apply to your head while it is still very hot. You obviously don’t want to scald yourself, but the henna becomes hard and thick when it dries, so virtually impossible to spread onto your head! I forgot to add a grater into this picture, so took another one to be thorough and in case you have forgotten what a grater looks like.
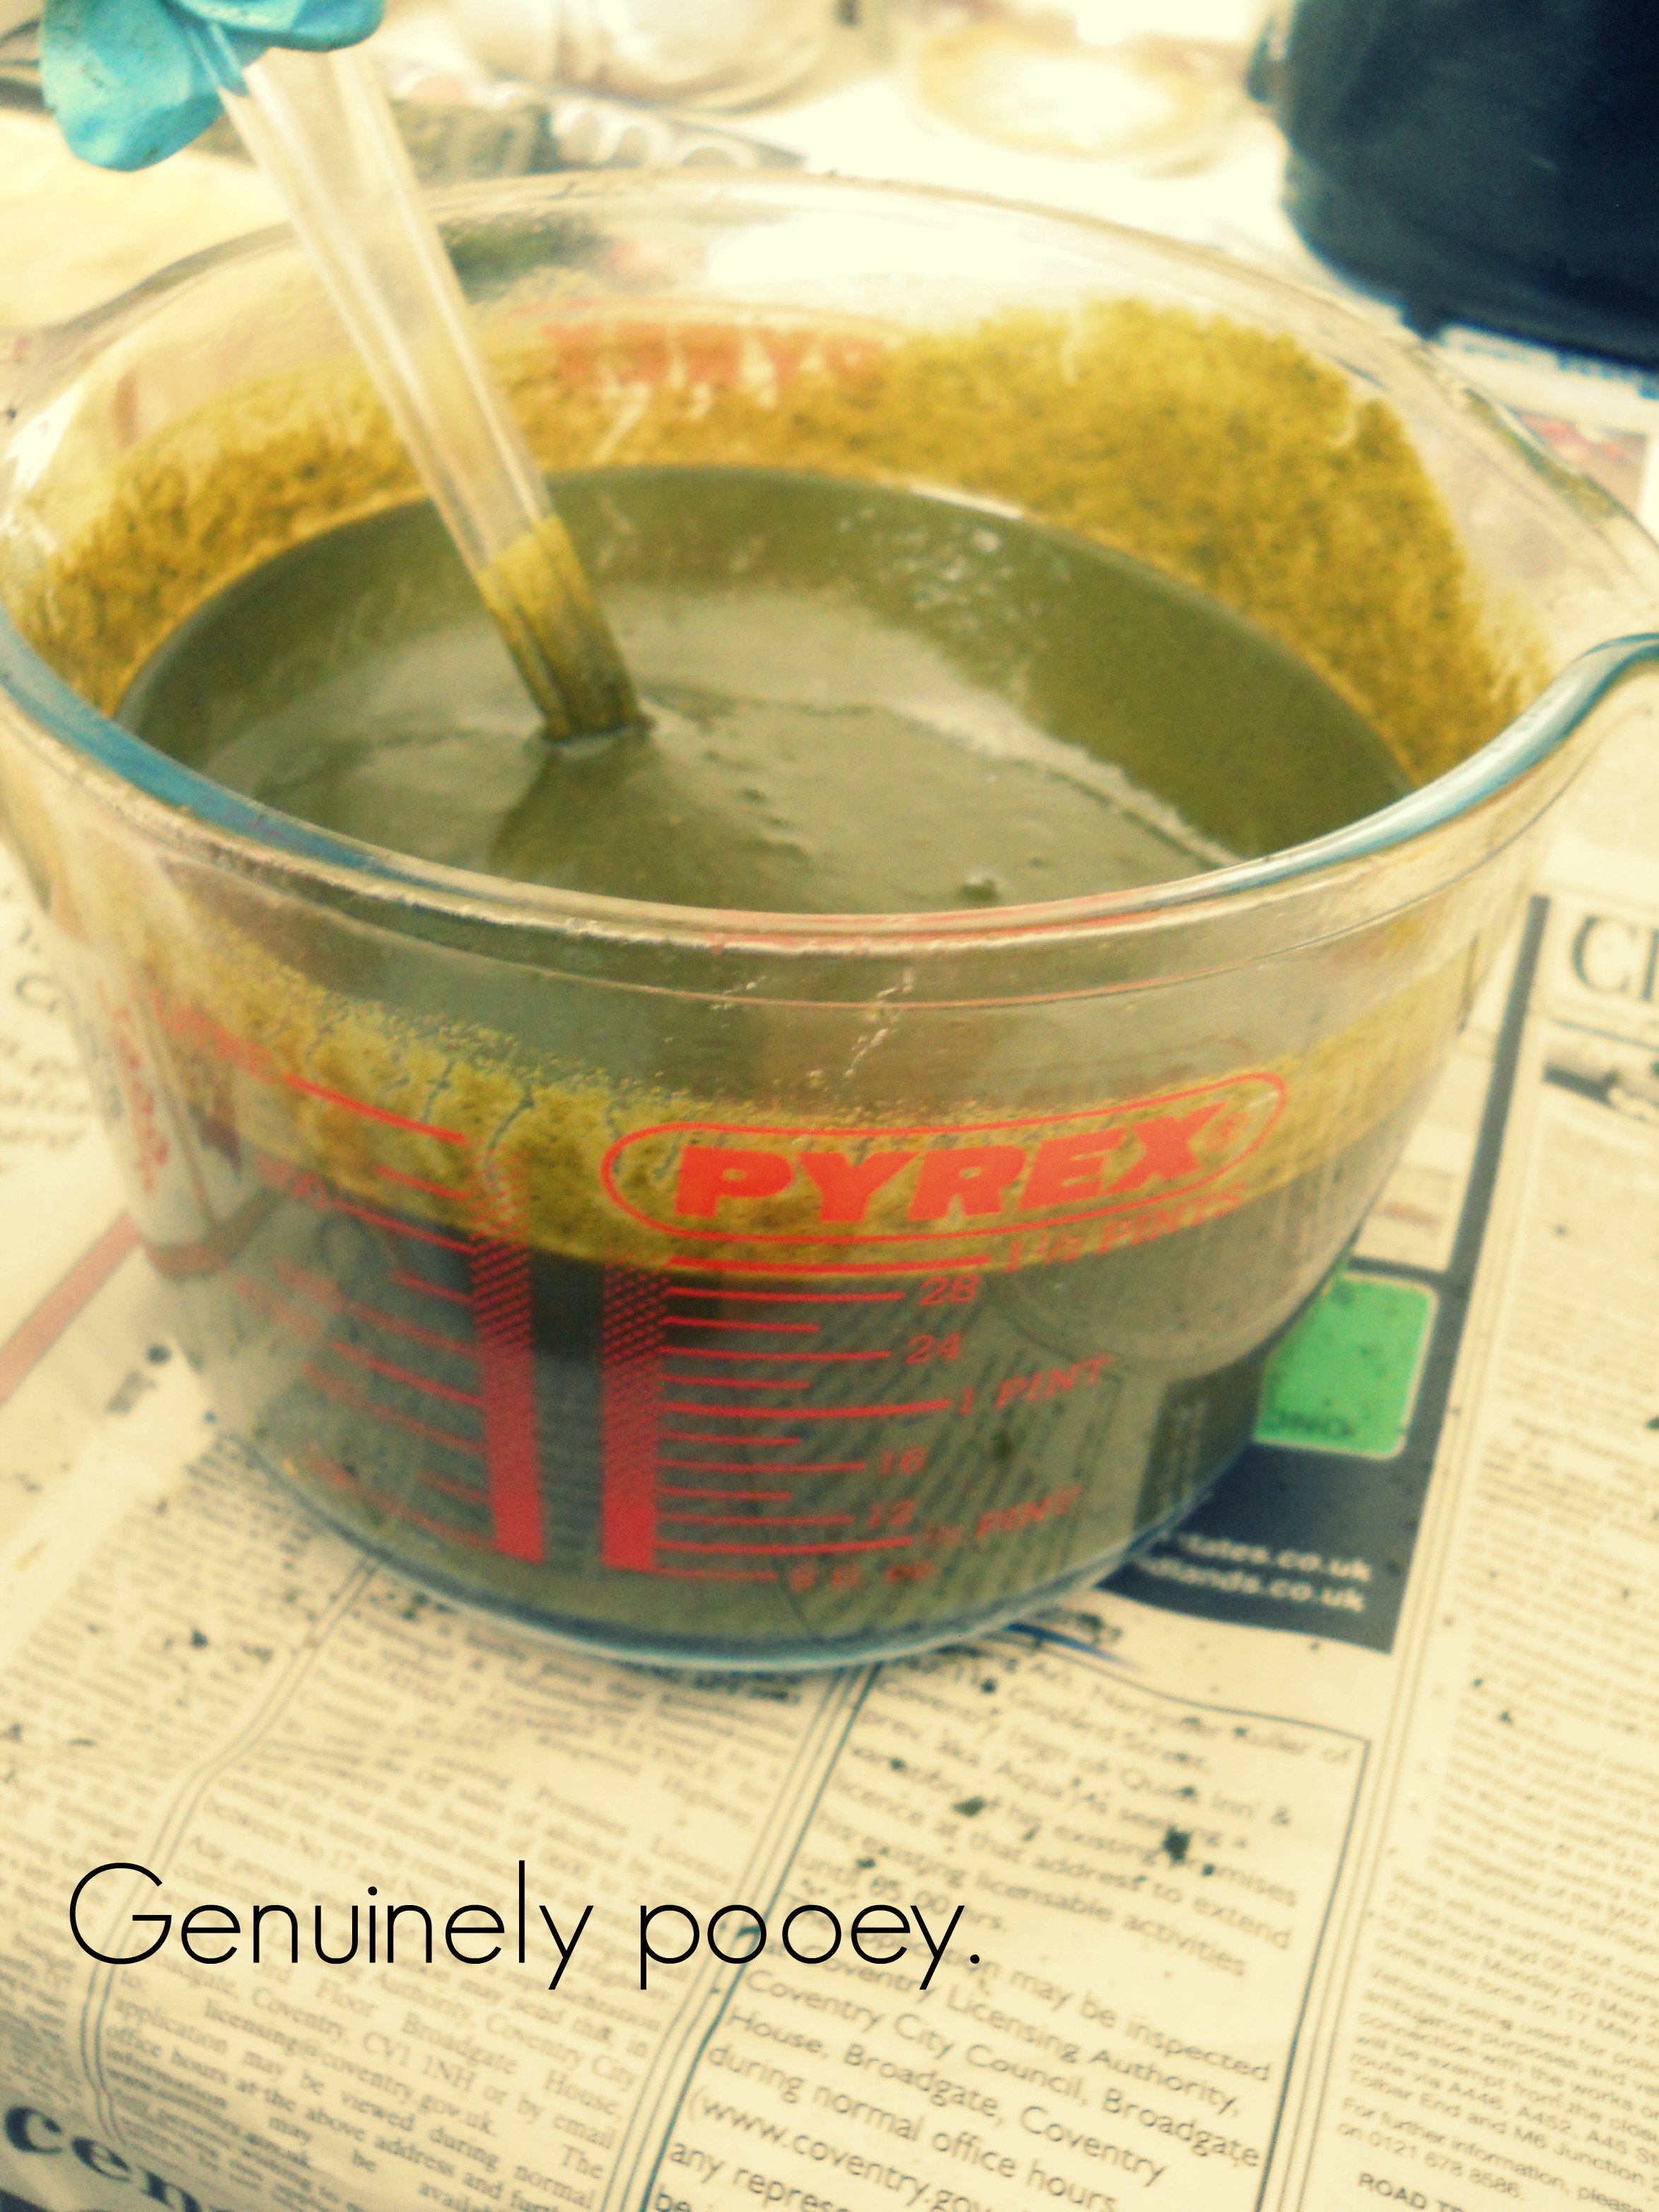
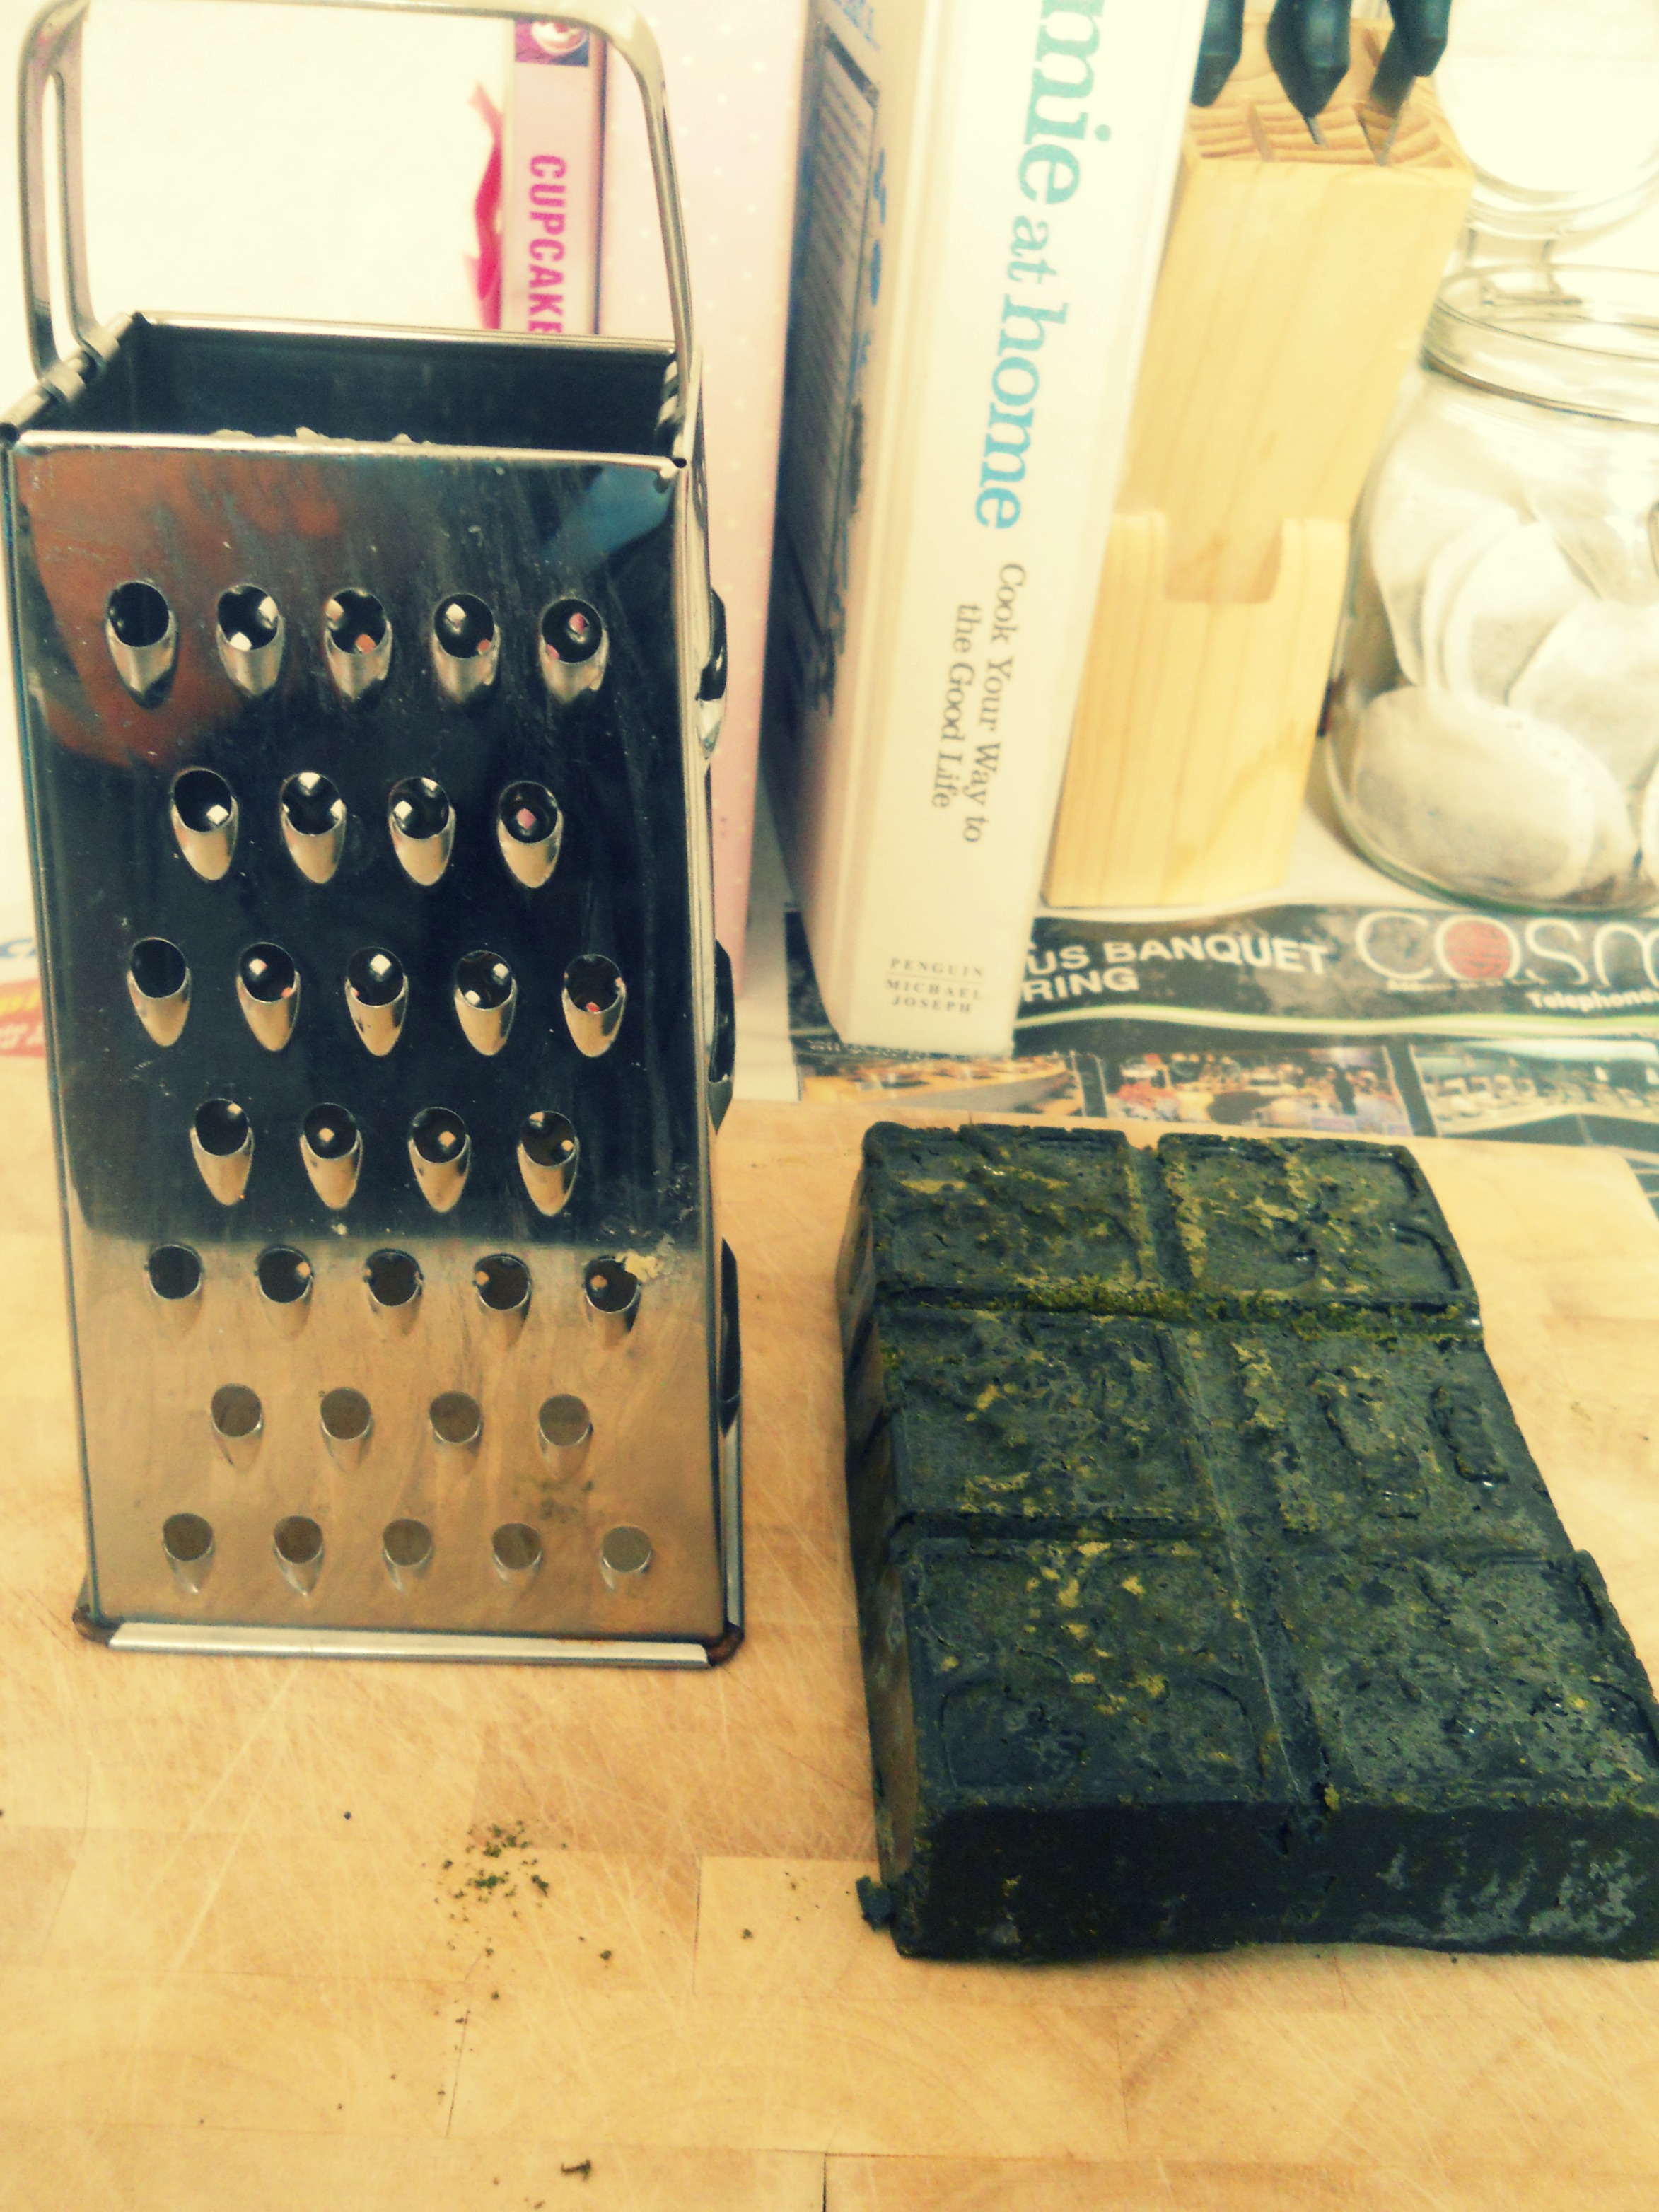 You can see how weird the henna looks in this picture – it’s so green! I mixed it up with hot water and it formed a liquid, which can only be described as looking like baby poo. Needless to say, I was very apprehensive about putting this stuff on my head.
I ploughed on though, and whacked loads of it on. They recommend starting at the back and working your way across the head, so this is what I did. I also concentrated on my roots, because that’s where I wanted most of the colour.
At the end of it, this is what I looked like! I piled the henna-ed hair on top of my head to make putting the shower cap/plastic bag on easier. It also made me feel like I was going to a fancy ball.
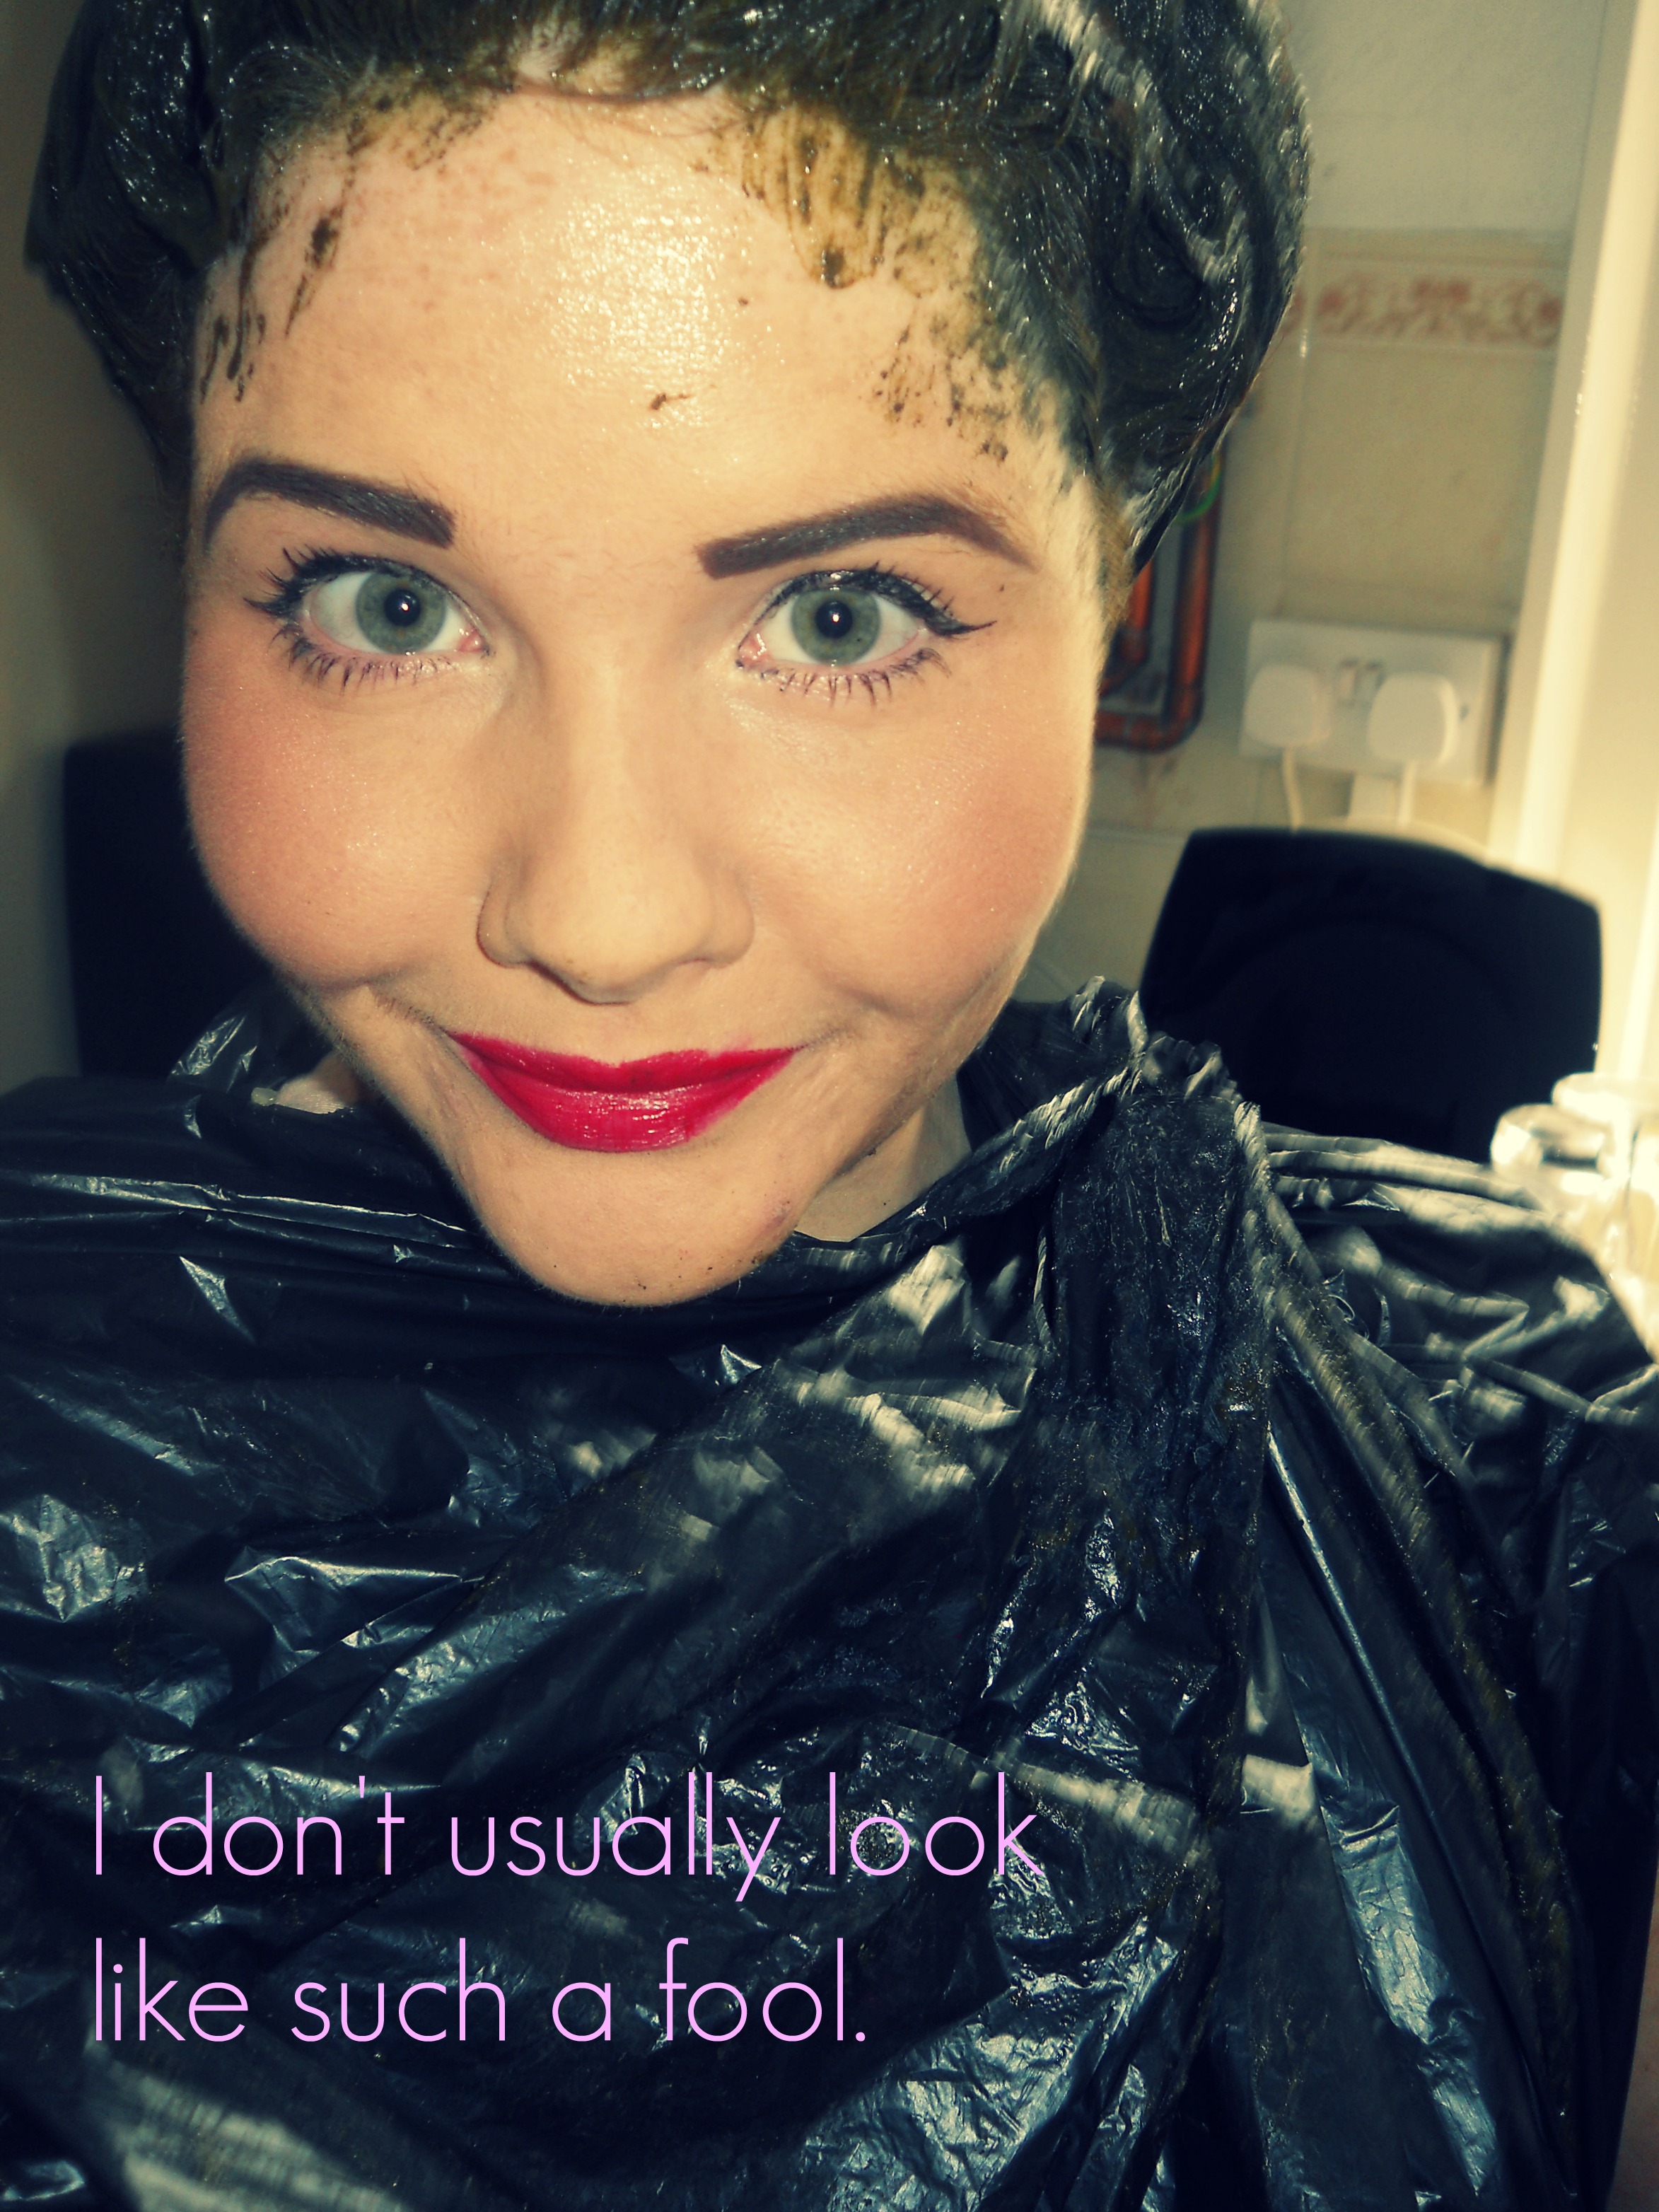 I am a moron, I am sorry.
I popped on my shower cap AND a plastic bag because I was worried about dripping. I looked genuinely mad.
A few things I noticed while hennaing my hair. It is REALLY heavy once it starts to dry/harden on your hair. In fact, I felt like I was carrying an extra person around all day. I was basically Professor Quirrell. It also drips, a lot. I ended up wrapping an old towel around my plastic bag head because even with my precautions, it dripped lots! Other than that, it didn’t stain my skin at all (I wiped all the bits on my head/ears) and it didn’t stain my kitchen either.
It also smells quite strange. Not necessarily unpleasant, just a little bit like wet hay, incense and cats.
Five hours is also a long time to wait. I discovered that Safe Haven is a terrible film.
So, what was my verdict?
Ah, henna. You cruel, cruel mistress. After all that effort, smelling of cats and discovering that who I thought was Nicola Sparks was actually Nicholas Sparks (WHO KNEW?!), the henna basically did nothing to my hair. My roots are now a delightful shade of weak tea, resembling nothing brown in the slightest. My hair, if anything, is a muddier colour than it was before. I didn’t even feel the lovely conditioning feeling that everyone raves about when using henna.
This is a useless picture I took on my iPhone but hopefully you can see the tragicosity that was my hair. Double vom.
IT BASICALLY WAS 5 HOURS OF MY LIFE WASTED THAT I WILL NEVER GET BACK. And I had to throw away my pink pig shower cap, which had ears and a tail and amused me on Monday mornings.
Back to the drawing board it seems…the drawing board being a cute salon in Oban, Scotland. They fixed my hair and now I look like this, marginally better I think!

Excuse the pout, I thought I was Kate Moss for a minute.
Body Shop Shampoo: Review

Hi. My name is Bells and I blog over at Bells’ Little Ones. My hair is very important to me. Well, it is to any girl right (any normal one anyway!)?
Somehow (I suspect through a blog) I got it into my head that my life hair would be changed forever if I started using a silicone free shampoo. Apparently this yucky stuff can be found in most shampoos and conditioners and over time, builds up on your hair. End result? Dull, limp, flat hair with no shine. Oh dear God.

Apologies for my early morning unattractiveness
Obviously, like Claire I am a totally natural blonde *ahem* but I often find every few months that this unexplained darker hair starts taking over the top of my scalp. Weird huh. Anyway, when my hair is dirtier these so called ‘roots’ often show up a lot worse – see exhibit A below. I find myself washing my hair every day (yes, the hair in these horrific ‘before’ photos was only washed 24 hours ago…. shocking) which I know is not good for it but what can I do when these pesky silicones are sucking the life out of it?

Don’t judge me!
So what was I hoping to get out of this shampoo? Well obviously I was hoping for hair that looks like Scarlett Johansson’s but that might be an unrealistic expectation for high street shampoo. However I was at least hoping that my hair would feel fresher, less heavy and still have the volumising effect that I look for in a good shampoo.

I have to say, I wasn’t disappointed and I was impressed with the volume I achieved (no upside down blow drying necessary… come on, I know you’ve all done it!). However, I wouldn’t say that my life was changed in any earth shattering way, it slightly irritated me that I couldn’t seem to work up a really good lather with it and, at £6.50 for a 400ml bottle (so £13 for your shampoo and conditioner set), it’s a bit more expensive that your average products. I’ve always been an avid user of the (no doubt silicone filled) Herbal Essences range which are more reasonably priced at £3.79 per bottle, even when they aren’t on offer…. which they nearly always are.
I haven’t decided if I’m going to stick with this new silicone free approach – while I can’t deny that my hair does feel cleaner and I do like to support shops like The Body Shop for at least trying to save our planet a teensy bit, I’m not sure if my purse strings will allow it! However if I persevere and find myself only needing to wash my hair every other day, I figure the extra cost will balance itself out, not only in the amount of product used but also in wasted time and shower water! One final photo…. the dreaded roots test! A vast improvement I’m sure you’ll agree!

If you want to see how my little shampoo experiment pans out (oh the important tasks I undertake for the good of womankind) then feel free to bombard Claire and Lauren with emails and tweets begging them to invite me back!
My Outfit of the Day and a Fashion Tragedy.
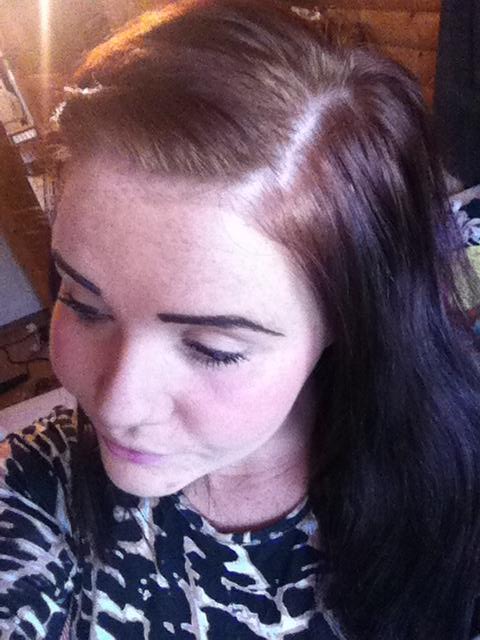
I had a quarter life crisis last week (much like Claire and her strange purple dip-dye phase) and decided to overhaul my general appearance in my eternal quest to become a trendy wendy. This meant dashing to the hairdresser in my lunch break on Friday and carefully explaining that I wanted a fringe cut well above my eyebrows, so that all the effort I spend drawing them on is not wasted. After a disdainful “that’s a bit short isn’t it…’ and my hairdresser deciding not to charge me (probably because she thought it looked horrible and I was upset by it. I wasn’t, I love it and I got a free haircut), my new look is on its way to being complete. For those of you who follow us on Instragram, you may have seen a picture but here is the final result anyway:

I’m also lying slightly when I say outfit of the day because this was actually my outfit on Saturday. However, I generally look slightly trampy at work because I get ready at 6am and forget how to dress myself, so there will rarely be a good outfit post here. Anywhoo, this was my favourite outfit from the weekend (the rest of the time was spent in a tshirt with a strange Jamaican man on it) and I wore it to do a spot of shopping in Birmingham.
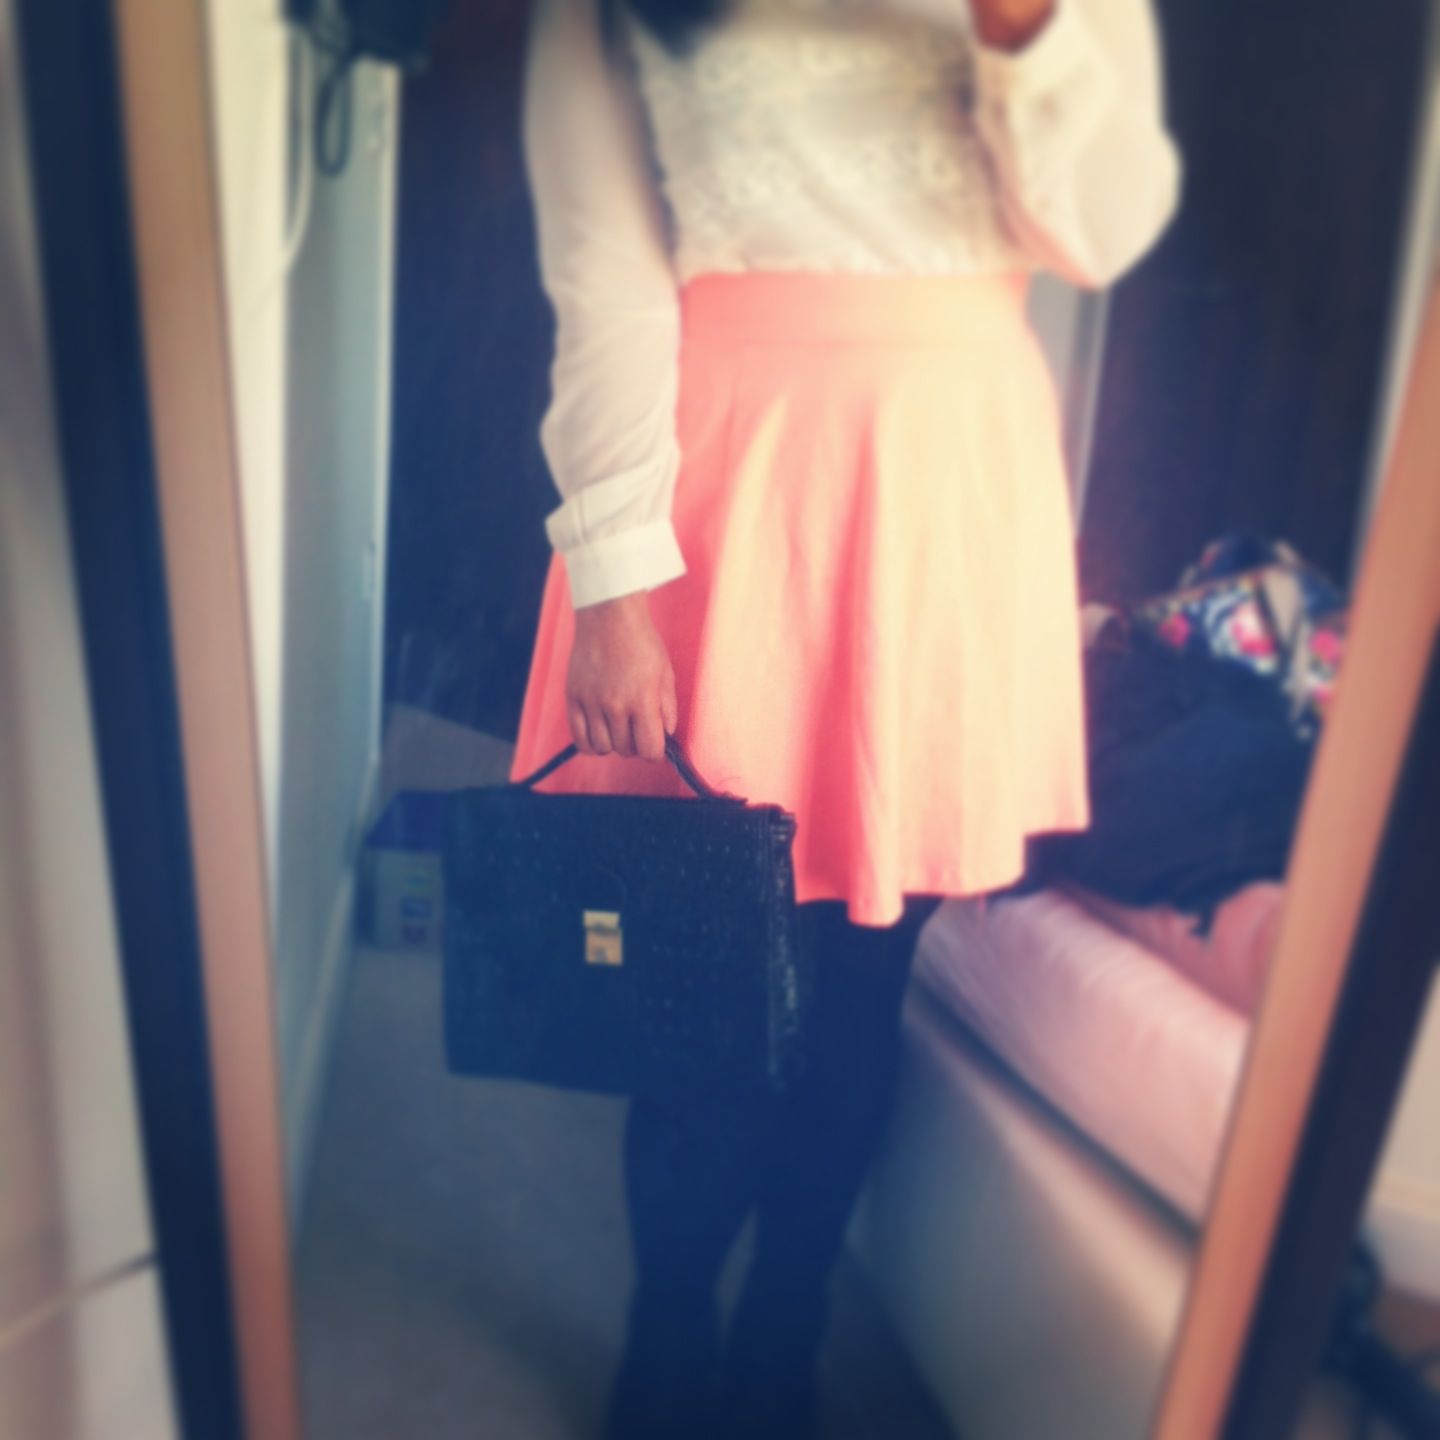
Neon skirt: H&M
Lace top: Next
Box bag: Primark (its hilariously old so I wont even attempt a link)
Black boots: Dorothy Perkins
I also have to share with you all possibly the worst fash trag (also know as a fashion tragedy) that has happened to me yet. On my shopping ventures on Saturday, I bought these absolute stunners from New Look. I’m a big fan of New Look heels in general (although I don’t love their clothes) and these ones are bang on the mark in every single way. I can’t describe to you how much I love(d) them; my day, NAY MY LIFE, was infinitely improved. They were only £24.99 too, so literally the biggest bargain of my entire human life.
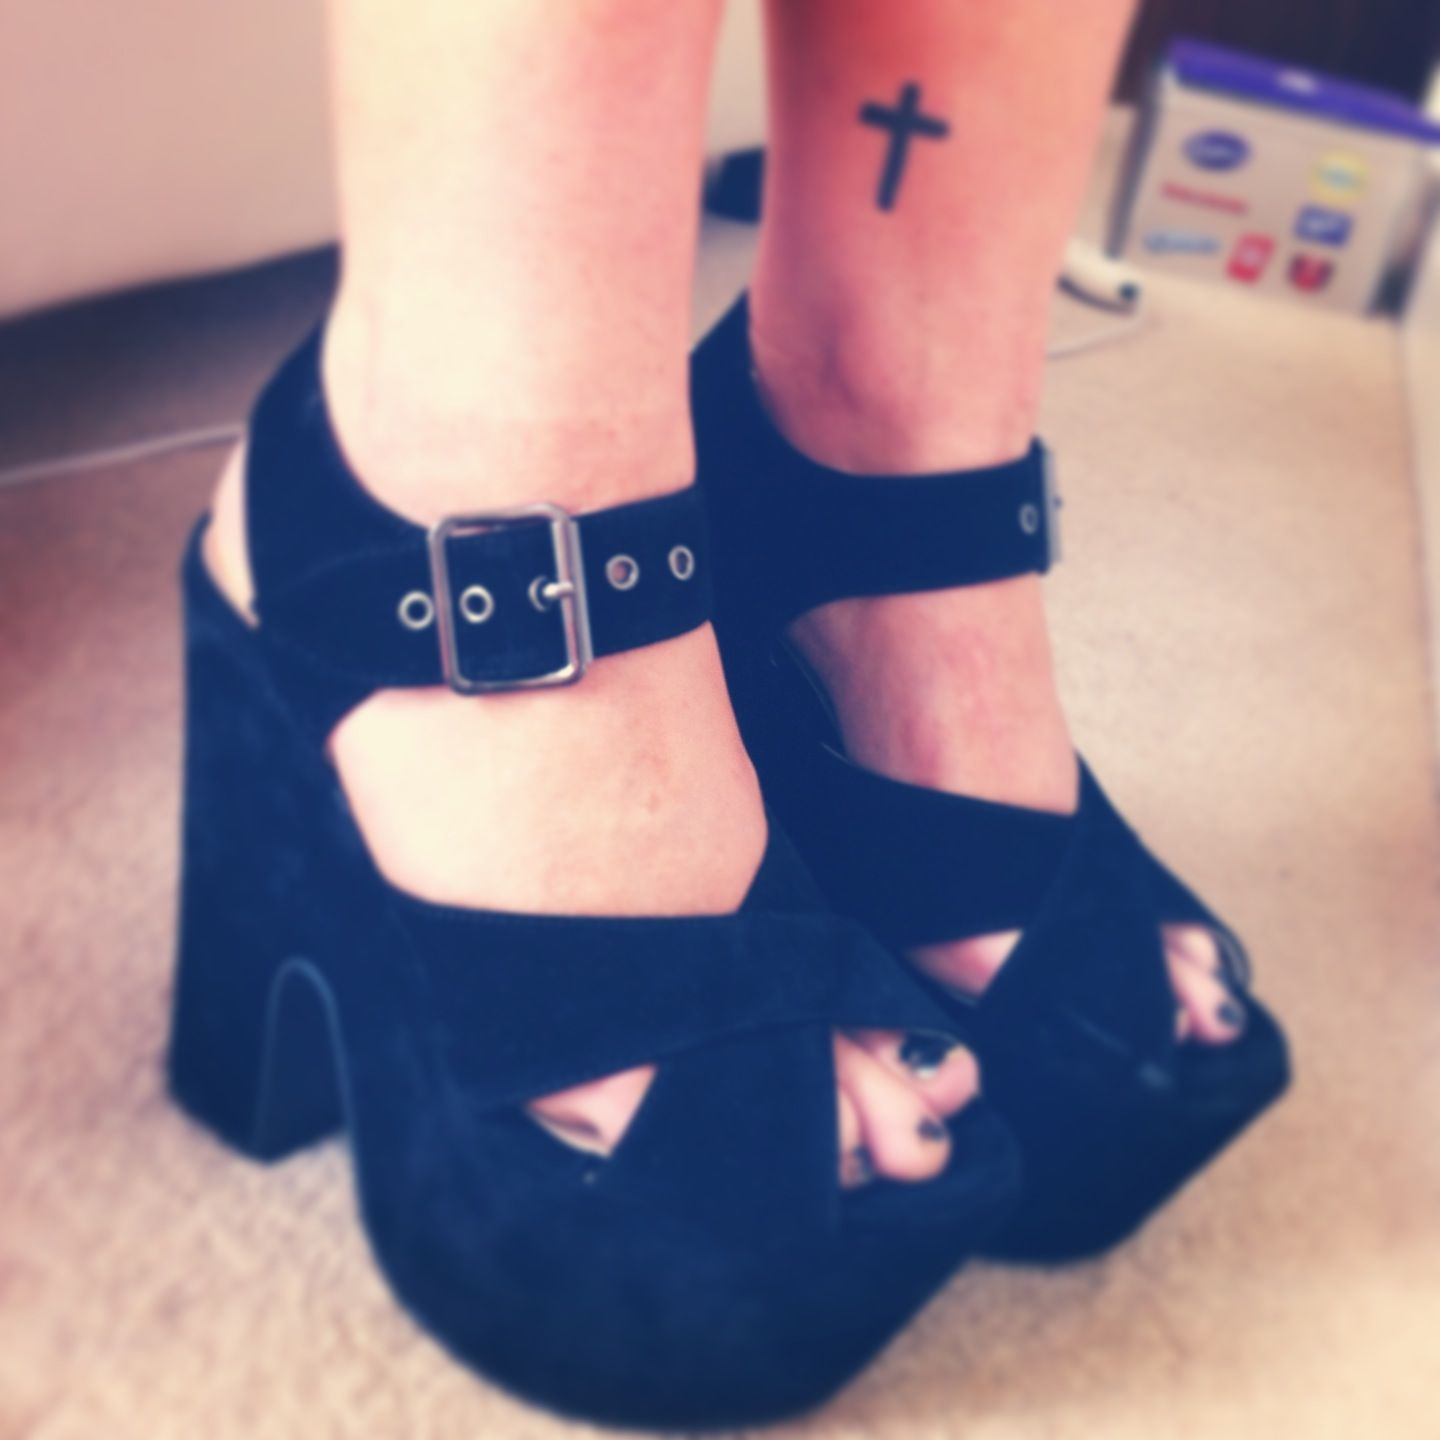
So, my shoes and I should have lived happily ever after. We had all the makings of a perfect couple. I wore them out on Saturday night for a casual one at Snobs and things were going swimmingly. They were comfy. I was tall. It was a most exciting time. HOWEVER, being the literal clumsy idiot I am and also blaming New Look somewhat, I managed to break ALL of the straps on one of the shoes. I wasn’t even vigorously dancing; I managed to break my shoes by simply standing up. Obviously, I was more upset about the fact my shoes had broken than the fact that I had to spend a million pounds to go home, get another pair of shoes and come back out. I’m going to replace them this weekend and hope that the next pair survives longer than an hour because I really, really can’t live without them!