Body Shop Shampoo: Review

bodyshop_shampoo

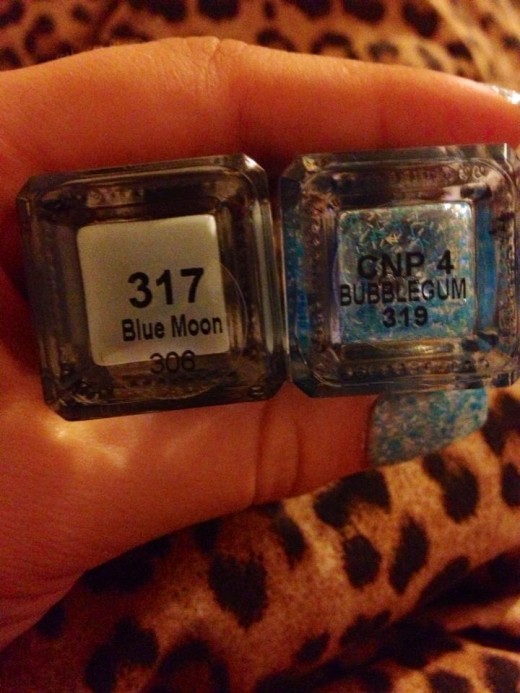
Hi. My name is Bells and I blog over at Bells’ Little Ones. My hair is very important to me. Well, it is to any girl right (any normal one anyway!)?

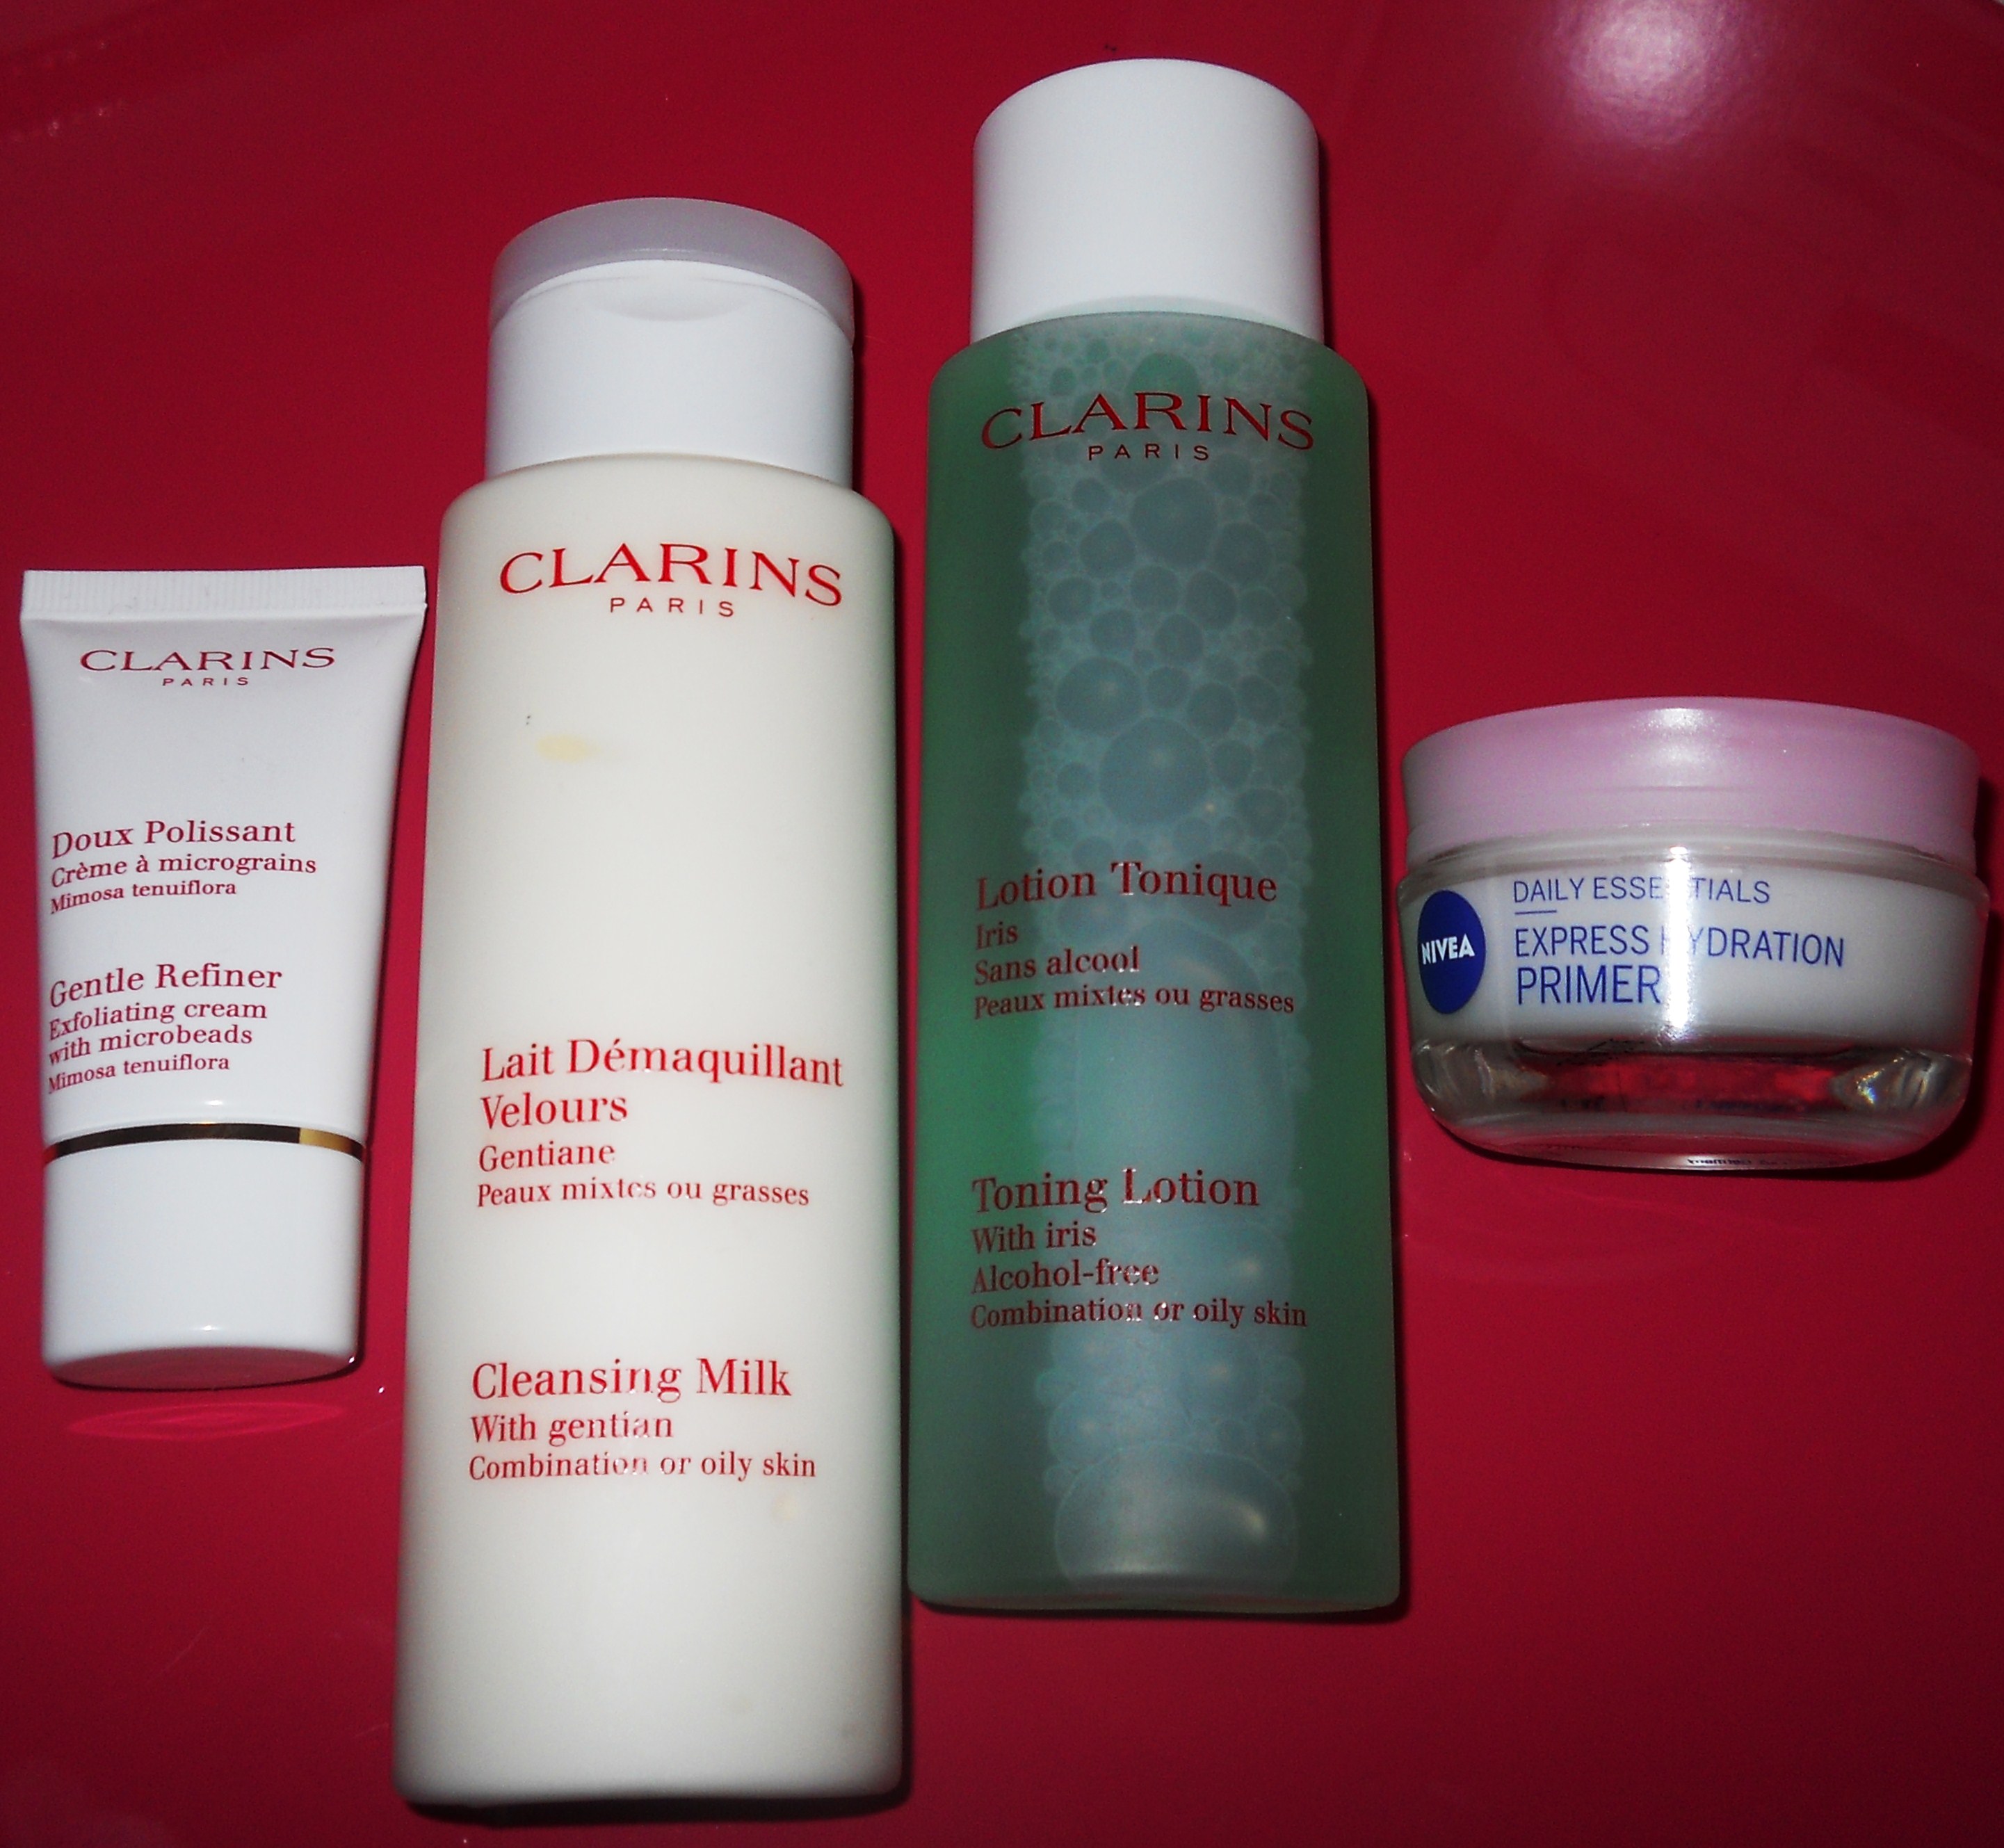
Somehow (I suspect through a blog) I got it into my head that my life hair would be changed forever if I started using a silicone free shampoo. Apparently this yucky stuff can be found in most shampoos and conditioners and over time, builds up on your hair. End result? Dull, limp, flat hair with no shine. Oh dear God.

IMG_0219
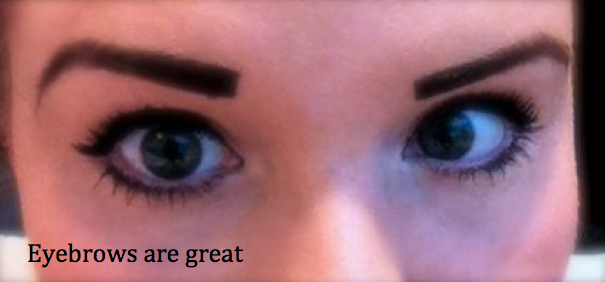
Apologies for my early morning unattractiveness

Obviously, like Claire I am a totally natural blonde *ahem* but I often find every few months that this unexplained darker hair starts taking over the top of my scalp. Weird huh. Anyway, when my hair is dirtier these so called ‘roots’ often show up a lot worse – see exhibit A below. I find myself washing my hair every day (yes, the hair in these horrific ‘before’ photos was only washed 24 hours ago…. shocking) which I know is not good for it but what can I do when these pesky silicones are sucking the life out of it?

IMG_0220
Don’t judge me!

So what was I hoping to get out of this shampoo? Well obviously I was hoping for hair that looks like Scarlett Johansson’s but that might be an unrealistic expectation for high street shampoo. However I was at least hoping that my hair would feel fresher, less heavy and still have the volumising effect that I look for in a good shampoo.

IMG_0233

I have to say, I wasn’t disappointed and I was impressed with the volume I achieved (no upside down blow drying necessary… come on, I know you’ve all done it!). However, I wouldn’t say that my life was changed in any earth shattering way, it slightly irritated me that I couldn’t seem to work up a really good lather with it and, at £6.50 for a 400ml bottle (so £13 for your shampoo and conditioner set), it’s a bit more expensive that your average products. I’ve always been an avid user of the (no doubt silicone filled) Herbal Essences range which are more reasonably priced at £3.79 per bottle, even when they aren’t on offer…. which they nearly always are.

I haven’t decided if I’m going to stick with this new silicone free approach – while I can’t deny that my hair does feel cleaner and I do like to support shops like The Body Shop for at least trying to save our planet a teensy bit, I’m not sure if my purse strings will allow it! However if I persevere and find myself only needing to wash my hair every other day, I figure the extra cost will balance itself out, not only in the amount of product used but also in wasted time and shower water! One final photo…. the dreaded roots test! A vast improvement I’m sure you’ll agree!

IMG_0234

If you want to see how my little shampoo experiment pans out (oh the important tasks I undertake for the good of womankind) then feel free to bombard Claire and Lauren with emails and tweets begging them to invite me back!

E.l.f. Contouring Kit: Review

Contour 1

I’ve mentioned a few times in this blog how one of the main beauty techniques I’m interested in developing my skills in is contouring. I dabbled in it a bit, just by using my bronzer and blusher but was keen to see what else could be done. So as part of our E.l.f haul last week, I couldn’t resist trying out their contouring kit. For under £4, how could I say no?

I chose the ‘St Lucia’ shade, which I think is the lightest shade in the range – but I was a bit worried about the bronzer being too light on days that I’ve fake tanned and am sporting a touch of Orangeface (which is a technical term, just in case you were wondering). What I didn’t like about the look of this kit in comparison to ones from other companies like Sleek was the fact that it’s more of a bronzer-blusher duo as opposed to a bronzer-highlighter. I did wonder whether it would look any different to what I currently do, so also ordered a highlighter with the intention of maybe incorporating that too.

Contour Collage 1

Contour Spotlight CollageContouring Kit / ‘Spotlight’ Colour Stick

So, what do I make of it? The contouring kit itself is good quality. I like the packaging, and the mirror inside the compact is a nice touch .I needn’t have worried about it being too light, the bronzer is quite dark. The colours are really pigmented too, particularly in the bronzer.  This means that less is definitely more – the first time I applied it, I ended up with way too much product and looked like I was trying to do army camo down my cheeks. Less Kardashian, more Rambo. Mistake.

Contour Swatch

The blush is a bit less intense and once I applied it I was left feeling a bit like it didn’t add a great deal to the look. So this is where the highlighter came into play. I applied this across the top of my cheekbones and it had a much better effect with the bronzer. I actually ended up being quite in love with this product and might do a full post on how to use it once I’ve mastered the art myself.

The contouring kit IS good, but like I said – it wasn’t a huge difference to what I was already achieving myself with my bronzer and blusher. So it’s a nice product if you’re new to contouring, but not one that’s really going to change your life (some people might say no makeup product can change your life; to these idiots I say ‘SHUT UP, YOUR PRIORITIES ARE WRONG AND YOUR PARENTS DON’T LOVE YOU’)

Contour Face 1


Have you tried this product? What are your fave contouring kits?

Skincare haul | Clarins and Nivea Review

DSCN2558

Skincare has never really been my forte. I’m definitely the type of girl who just used whatever mum bought from Tesco and that was that. I would go as far as saying I bothered to take my makeup off most nights (and feel proud whilst doing it) but other than that, my skincare regime has been pretty poor. Recently, I’ve been noticing how WUBBISH my skin actually is. I suffer from pretty much everything terrible; large pores, oily t-zone, blackheads, prone to breakouts etc etc (WHY. WHY MUST YOU SPITE ME, FACE). A bad skin routine hasn’t really helped this either and as I have become an old and wise twenty-something, I have decided that things have to change.

For people who have read a lot of our blog, you might have noticed that Claire and I are not ashamed to be bargain lovers. We’re firm believers in Primark, cheap tan from Bodycare and general poor person behaviour. This is partly because we are a bit poor (rent and council tax is something neither of us are fans of) but also because spending £20 on a plain tshirt when you could get it for £3 seems a bit silly. Saying that, I have come to notice that spending a bit of money on certain things does go a long way. For example, shoes that don’t feel like you’re walking with a thin bit of cardboard between your foot and the pavement are quite pleasant. Makeup that doesn’t give you a giant head rash is also preferable. And now I have joined the ‘skincare that doesn’t cost £2 is probably a good idea’ club.

This all came about approximately 3 days ago when I was having a lovely conversation on Twitter with a beauty blogger who had done a Clarins Pure Melt Cleansing Gel review (check her blog out here – Shot of Beauty). She got me thinking that it was probably time to bite the bullet and invest in some decent skincare and when I went shopping on Sunday, there was a Clarins offer on. It was fate. I shed a few tears. I clutched at the box with unadulterated happiness and shelled out £20 for a Clarins set. It wasn’t the cleansing gel I had my eye on but you can’t really shake your head at a bottle of cleansing milk, a bottle of toner, a little tube of exfoliator AND a washbag for £20. It’s definitely a good start and a good way to ease myself into the world of proper, grown up face care.

As I mentioned, the set included Cleansing Milk (with gentian), Lotion Tonique (with iris) and their Gentle Refiner exfoliator (with microbeads, ooo-er). It’s designed for oily/combination skin, which is grand because this is what my face actually is. I’ve only been using it for a few days, so I can’t give a full review but what I can say is that I have noticed a difference already. My skin looks a lot smoother, it feels fresher and I find that I don’t have to powder my nose as much throughout the day. The exfoliator seems to have done a good job with minimising my blackheads so I am excited to see what a few weeks of using the three together will do. I’ll keep you all updated with the results and do a more detailed review later on!

DSCN2559

I also bought a product that I have heard quite a few mixed reviews on. I needed a new moisturiser, so decided to invest in the Nivea Express Hydration Primer from Bodycare for £2.99 (not breaking the bargain habit quite yet). I’ve actually been really pleased with it. It’s kind of a mix between a moisturiser and a primer so it feels a bit strange when it goes on. It doesn’t have the texture of either really and the only way I can explain it is that it is a watery gel texture. Saying that, I feel it gives the best of both worlds. My skin feels moisturised and my makeup is staying on a lot better than before, so a definite win-win in my books! What do you all think? Have you tried this before?

All in all, quite a successful skincare haul and I’m looking forward to seeing what difference it makes to my skin in the coming weeks. I’ll never have perfect skin but hopefully it will begin to even out and look a bit more fresh with proper care.

Give us a follow on Twitter, we love to chat everything fashion and beauty and would love to hear more from all of you. 🙂

One Girl’s Trash… | Bedhead’s ‘Dumb Blonde’ Review

Have you ever read terrible reviews of an item that you’ve then ended up loving? Or recommended a brilliant product to a friend, only for her to absolutely hate it (and leave you feeling really guilty for her spending £20 on a moisturiser)? The fact is that we’re all different, and what works for you won’t necessarily work for someone else. In our new series of posts, ‘One Girls Trash…’, we provide two reviews for the same product to see whether a product with a bad rep really deserves to live in the metaphorical beauty doghouse, or whether it’s just a simple case of ‘you say tomato, I say this is frickin’ awful’.

We start with a review of Bedhead’s ‘Dumb Blonde’ shampoo and conditioner. My friend recently contacted me, furious that she had spent so much on hair products that definitely haven’t lived up to the hype. I’m going to try this same range later in the week to see how I find it, but for now have a read of Beth’s review. You can find Beth on Twitter at @xbethsharpe.

 Bedhead ‘Dumb Blonde’


Bedhead 3

After months of nagging by my hairdresser to purchase a better shampoo for my newly bleached locks, I finally gave in and decided to try Bed Head’s Dumb Blonde Shampoo and Conditioner. Specifically designed for Highlighted and Bleached Hair. This was purchased from FeelUnique.com, where I paid £9.30 for the shampoo and £17.00 for the conditioner in the hope of achieving strong, healthy and vibrant blonde hair.

On the website it boasts of a product that is a perfect, protecting blend of nourishing elements balance bleached & multi-processed hair for an amazing, healthy look & TIGI’s Colour LockDown Technology helps safeguard against fading so colour tone stays pure & perky. Throw on 3-5 minutes for a full-on mask or massage into ends daily for high maintenance hair.

– Helps repair surface damage and strengthen hair.
– Adds shine and maintains colour vibrancy.
– Can be used as a hair mask.
– Protects from UV and thermal damage.

(Source: Feel Unique)

I was really hoping that this product would be my new favourite product in my bathroom cabinet, after all, the hefty price tag would definitely be justified to have the amazing hair it promises, right?

Bedhead Review Picture 1

Wrong! I couldn’t be more disappointed.

The shampoo wasn’t that best, it was really thick and difficult to lather and I found it sticking to my hair as I tried to wash it out. It was a nice pearly pink colour and smelled of strawberries though!

The conditioner I found was absolutely awful. Thick, yellow goo that well and truly glued itself to your head. In fact you had to wash it out with shampoo to make it disappear, which made the whole thing even worse. When finally washed, my hair just felt like a heavy mess, sticking to my neck. Not what I was expecting at all…

When the time came after that horrific experience to blow dry and style, I was hoping that the problem would vanish. However, after spending double the time blow drying than normal, I was left with a greasy, waxy mess which was difficult the brush. It looked like I’d washed my hair in chip fat, I might as well not have washed my hair at all! As for the styling, well, it was like straightening straw dipped in maple syrup, so I gave up and hopped back in the shower, this time with my trusty Dove Daily Care shampoo.

Never again would I go out of my way to buy expensive shampoos and conditioners, when the cheaper everyday brands do a much better job! Avoid this product like the plague!

Have you tried the Dumb Blonde range from Bedhead? What did you think – will I be more successful when I give it a go later in the week? 

Barry M Confetti Nail Varnish: Review

Barry M Nails 2

I’ve been a huge fan of Barry M nail varnishes for years now, and I think over the last year or two they have really established themselves as the ultimate high street brand for innovative nail products. It seems that whatever new formulas and effects high-end brands release, Barry M are never too far behind, providing the same products for us mere mortals who don’t want to spend upwards of a tenner on nail polish. As such, whenever they launch a new range I get pretty giddy with excitement and want to try it.

One of their newest offerings is the ‘Confetti Nail Effects’ range. These polishes are a dead ringer for the Nails Inc Feather Effect polishes that I first saw reviewed on ETC LLYMLRS (don’t most of our first-glimpses come from that girl? Thank you, Lily!). They’re clear polishes that contain little strands of various colours to create a textured look and feel.

I chose to buy the ‘Bubblegum’ shade for my first one, as I’ve been loving blue nails a lot recently. Bubblegum is mainly a bright blue, with flecks of white.


Barry M Nails 4

At first I planned to be an extremely dedicated blogger and aim to get a fully opaque effect with the polish. But after doing a quick coat and seeing how thinly it applied, I realised I would still be sitting there by the time my 5-year-old niece turned 18, so decided to go for a base coat first. I chose the Barry M nail paint in ‘Blue Moon’, which is a nice pale blue shade, if a bit too milky for my taste.


Barry M Nails 6


Barry M Nails 1With flash/without flash

I soon realised I’d been a little quick to judge the application of the confetti polish; once I started applying it over the base coat I found that you actually could get quite good coverage from just one dip in the pot. You just need to go over the nail quite a few times to get all of the bits off and onto the surface. After two applications, I was pleased with the finished effect. It’s a bit like I’ve dipped my fingers in hundreds and thousands, which I personally think is quite a charming look. The colour is bright and summery, and the texture is nowhere near as ‘bitty’ (I still can’t write that word without squirming thanks to Little Britain) and rough as I expected it to be.

The light blue works nicely under the confetti polish, but I’m excited to see how it looks on other base coats too, especially a white or even lemon-y coloured one.

My final thoughts, then, are this is an impressive little range that nicely mimics higher end brands. I haven’t tried the Nails Inc polishes yet, but the main difference to me so far appears to be that the Barry M pots are much cheaper than their £11 counterparts, at only £3.99. For such an interesting effect and easy application, I think I’ll definitely be buying more from the collection. The black and peach look particularly tempting!


Barry M Nails Collection

Have any of you tried the confetti effects range – if so, what do you think of them?

Nivea In-Shower Body Moisturiser Review

IMG_1211

Moisturiser is something that I have a massive love-hate relationship with. On the one hand, my skin resembles a St Moriz drenched freckled lizard that is permanently dry and in need of a boost. Because of this, I am constantly on the search for the perfect moisturiser (much like Claire and her mascara quest). I’ve never quite found one that leaves my skin feeling soft for longer than a few hours and this is why I secretly throw tantrums when a new moisturiser doesn’t do what it promises. I’ve tried everything from Chanel to E45 and nothing has impressed me overly much. View Full Post

MUA Lipsticks: Review

I love a bargain. In fact it gets a bit embarrassing; particularly when I say “Hahaha I am so cheap” and no one contradicts me (a nice “no you’re not, don’t be silly” wouldn’t go amiss, guys). So, I got a bit excited when I was doing my weekly Superdrug/Boots browse a few weeks ago and spotted a 3 for 2 on all MUA makeup. I’ve never actually bought anything from MUA (which ambiguously stands for makeup academy…right), mostly because I tend to stick to mid-range stuff. I’m not a big makeup snob, but I do think you can tell the difference between cheaper stuff and makeup you’ve spent a bit more money on. View Full Post

Sleek Brow Kit: Review

We are in the year of the Strong Brow. Some might say that Cara Delevinge made the look popular but ever since discovering Erin O’Conner, I’ve had a big and inappropriate crush on striking eyebrows. Thankfully, gone are the horrible high school days of plucking brows so thin that we all looked permanently surprise and/or terrified. We can now draw our eyebrows on with gay abandon and look super trendy and cool while doing it.

Screen Shot 2013-05-21 at 12.46.56

I feel like I can now claim the title of professional eyebrow artist. I’ve been drawing my brows on for a few years now and have dabbled in pretty much every method available. For those of you who are lucky enough to see me without makeup on, you will know that I look like a strange albino Lord Voldemort without my trusty eyebrows, so I do my best to rectify the situation. As a secret ginger, my eyelash and eyebrow hair is really, really pale and you cant really see it at all from afar/in pictures. Things were ok when I used to have blonde hair, but it’s all a bit of a mess now that I have migrated to the dark side. Good eyebrows are a necessity so I’ve put together a little ‘how to’ with my favourite eyebrow product for those who have no eyebrows like me or who just want a bit more definition.

photo-1


For your entertainment, here is a picture of me without my eyebrows drawn on. Someone at work said “it wasn’t that bad” but they clearly couldn’t see the giant five head in front of them.

My absolute favourite eyebrow product is the eyebrow palette by Sleek. Sleek do loads of brilliant stuff, which tend to be the cheaper alternatives to Benefit products. The Brow Kit I use is the ‘Dark’ colour but they also come in ‘Light’, ‘Black’ and ‘Extra Dark’. I can’t stress how great the Sleek Brow Kit’s are. They come with little mini tweezers (which I unfortunately lost – but before I did, I gave them a whirl and they are good quality for a mini pair), an angled brush and a small powder brush. There are two products within the kit; an eyebrow wax and setting powder. The idea is to use these both in tandem to create perfect eyebrows.

sleek_brow_kit

To start with, I always use the kit after I’ve applied the rest of my makeup. I tend to follow the top and bottom line of my eyebrow and then use the flat side of the angled brush to fill them in. I then apply the setting powder (they recommend sparingly but I just whack loads on willy nilly) and my brows are done! It usually takes a couple of minutes, which is a lot quicker than when I used to use a pencil. The kits are also good for precision, which you don’t get as well with a pencil or eyebrow powder. That’s pretty much it really. The kit retails at £8.49 online but I think I got mine for about £8.00 in Superdrug.

What do you all think? Have you tried the Sleek Brow Kit?