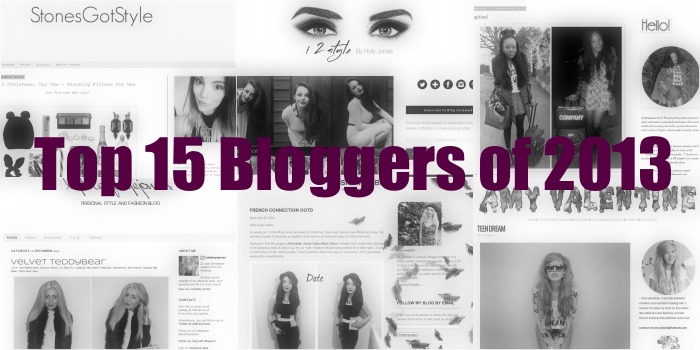
Hola chicas! We hope you’re all in the festive spirit and already three stone heavier from excessive mince pie consumption. As we get towards the end of the year we’re feeling all nostalgic and looking back at our first year as part of the blogging community. Here is our list of our ultimate favourite fashion and beauty bloggers that we’ve discovered in the year 2013…
Stone’s Got Style
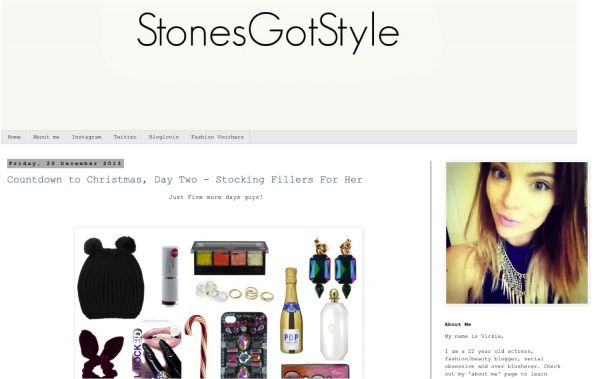 The beaut Vickie Stone from Stone’s Got Style began blogging around the same time as us this year, and we instantly fell in blogger lurve with her quirky style and frankly quite bonkers personality.
Lydia Faye Jones
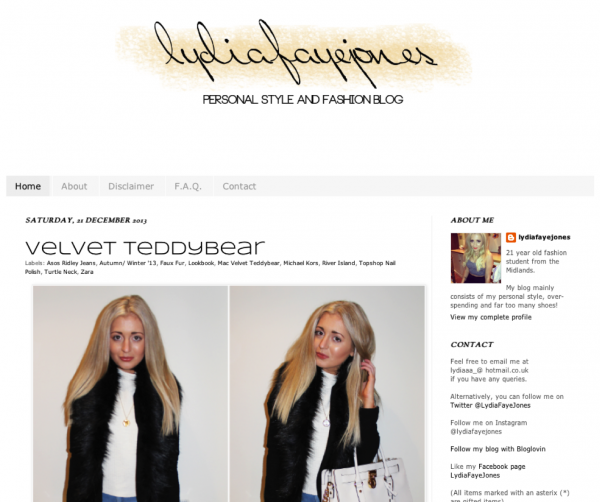 Lauren and I both have what can only be described as an embarrassingly large girl crush on Lydia Faye Jones. Always groomed and effortlessly chic , she’s basically everything we wish we could be but aren’t because we can never be bothered to brush our hair enough. Lydia has a wardrobe so stocked with Topshop and Zara that it will make you weep with jealousy.
JessicaWabbit
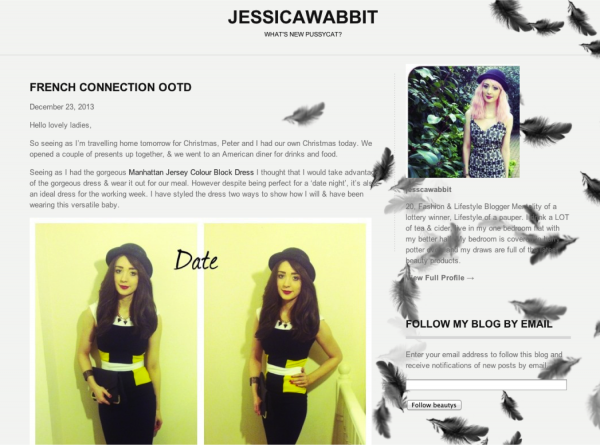 Jess is not only one of our favourite fashion bloggers, she’s also one of the nicest people to speak to on Twitter and a genuinely lovely girl. If you read us regularly then you also might have already seen the brilliant guest post that Jess wrote for us a while back. The way she puts outfits together is amazing, and she can wear any look perfectly.
i2 Style
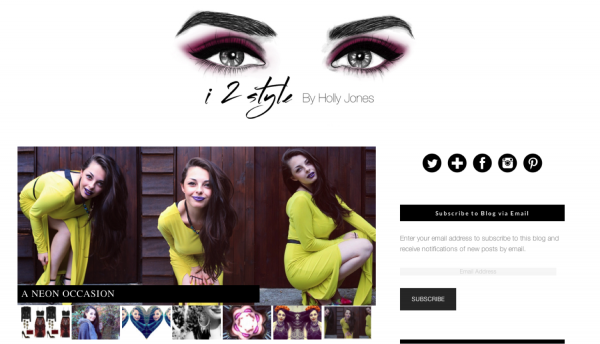 Holly is much much more than just an (incredibly) pretty face; she also has heaps of industry knowledge and experience, and a gorgeous styling portfolio. Her blog’s full of beaut outfits, photos and inspiring wishlists. We were lucky enough to meet her at a recent event and can confirm that she’s just as lovely in person as she seems online!
It’s All the Rage These Days
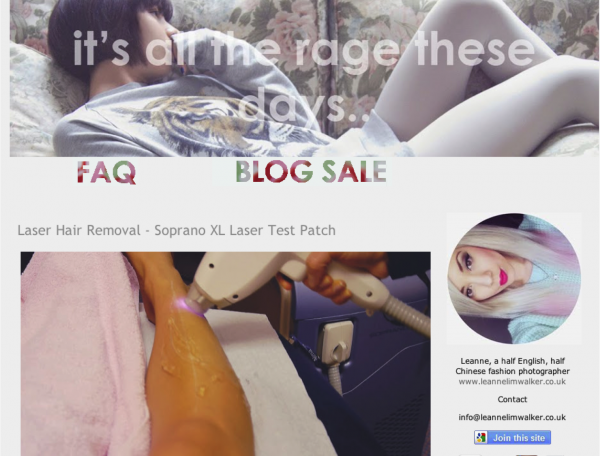 Another complete girl crush of mine, Leanne Lim Walker can singlehandedly be blamed for my obsession with trying to dye my hair white. She’s utterly stunning and also a brilliant fashion photographer in her own right. I spend far too long
 perving reading her blog, It’s All the Rage These Days, and am also borderline obsessed with her Youtube channel.
A Fashion Fix
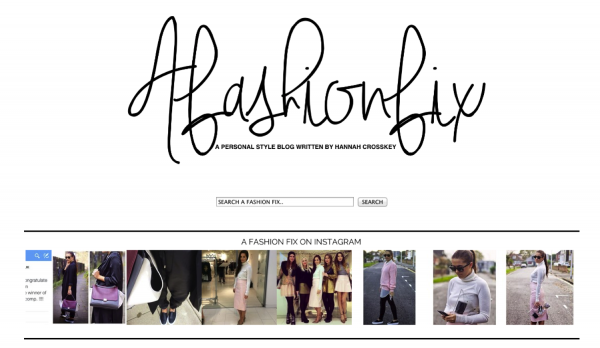 There aren’t many girls that can pull off that pink PVC Topshop skirt, but Hannah Crosskey is one of the few that does – and she looks freakin’ amazing. Her outfits are aways perfect, managing to combine edginess with a classic groomed finish.
Glam Beautys
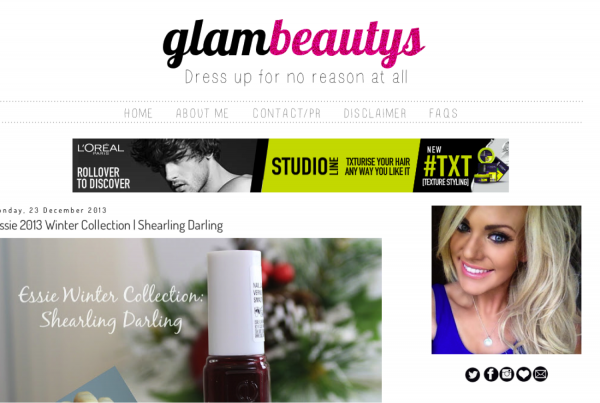 Liza was one of the first bloggers that we started speaking to, and she remains a firm favourite of ours. There’s nothing about the world of fake tan and contouring that this girl does not know, and her tutorials are all amazingly helpful. Her blog’s going from strength to strength at the moment, and it’s brilliant to see such a genuinely nice person doing so well.
Tease Flutter Pout
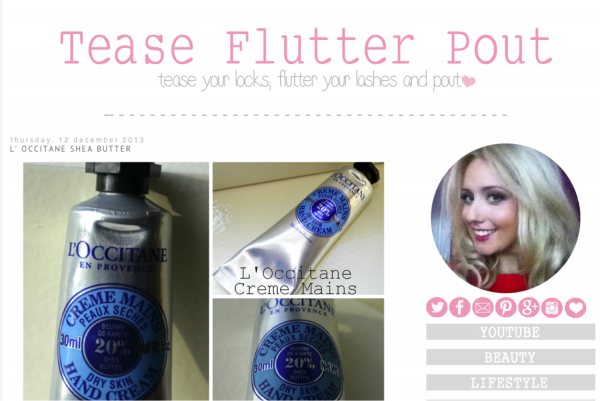 Laura from Tease Flutter Pout is another of our go-to bloggers when we need some honest and informative beauty and makeup reviews. Her lifestyle posts are also a personal favourite of mine, bringing into the spotlights issues such as the media’s influence on self-esteem.
Clo’s Beauty Spot
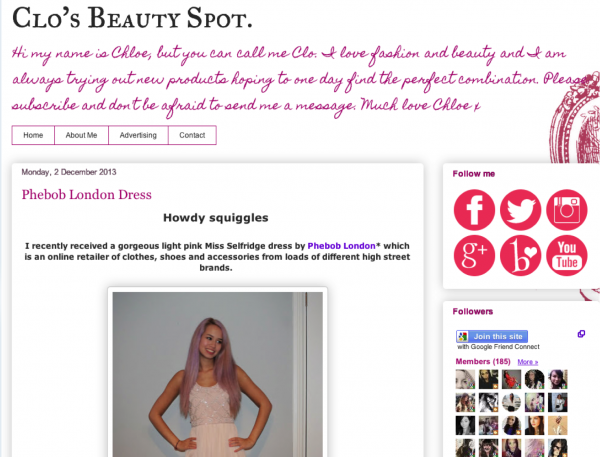 Clo’s Beauty Spot is without doubt one of my favourite blogs to read, but I love her YouTube channel even more. When Lauren and I first discovered her videos, we sat watching them in separate rooms and could hear each other guffawing away like lunatics through the wall. As well as being straight up hilarious, her outfits are also beaut and her reviews are honest and thorough. All round winner.
Crystal Cosmic Chic
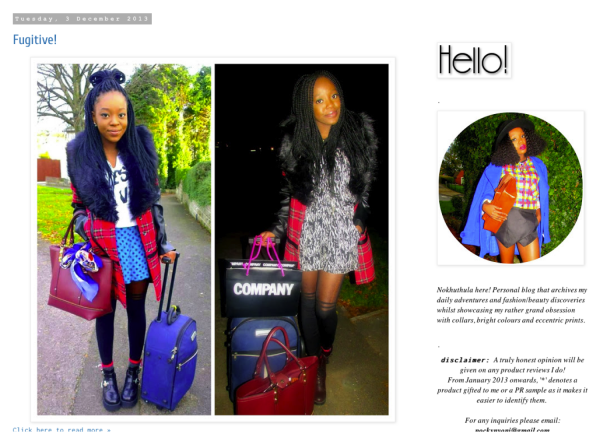 For bold fashion and an extensive vocabulary that would put Russell Brand to shame, you should definitely visit Crystal Cosmic Chic. As a Visual Merchandiser, Nokhuthula’s got a brilliant eye for fashion and her outfit photos are always worth a look. We bumped into her at The Clothes Show and she’s one of the loveliest – and possibly tiniest – people we’ve met recently.
Holly Mixtures
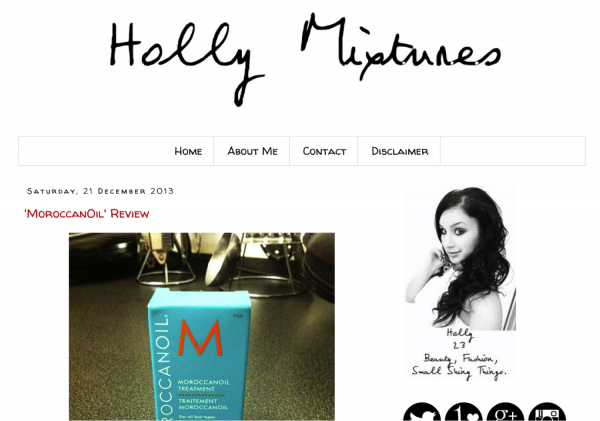 Who can resist a girl who documents the adventures of her runaway Angelina-inspired leg? Nobody, that’s who. Holly’s blog makes me literally cry with laughter, but she also knows what she’s talking about and looks fantastic too.
Amy Valentine
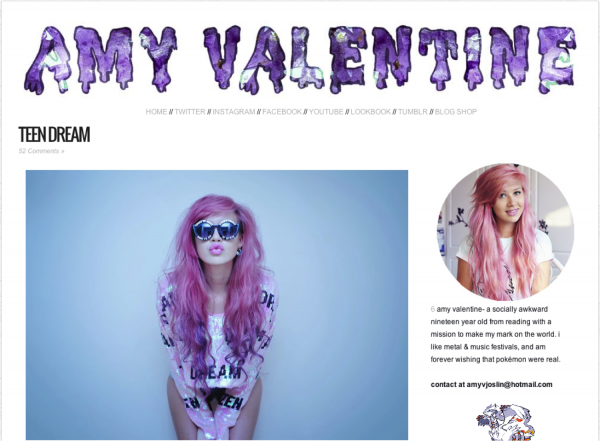 With bright pink hair and the best legs in the blogging land, Amy Valentine is another girl crush creeping her way into this list. This girl looks absolutely flawless in everything she wears, and her writing’s warm and witty.
Byootee
 Harriet’s a trained MUA and beauty therapist, so I really trust all of her tutorials and reviews. If good makeup is really the secret to her stunning looks then I’m willing to give up food for the next year to fund a makeup collection filled with MAC.
The Love Cats Inc
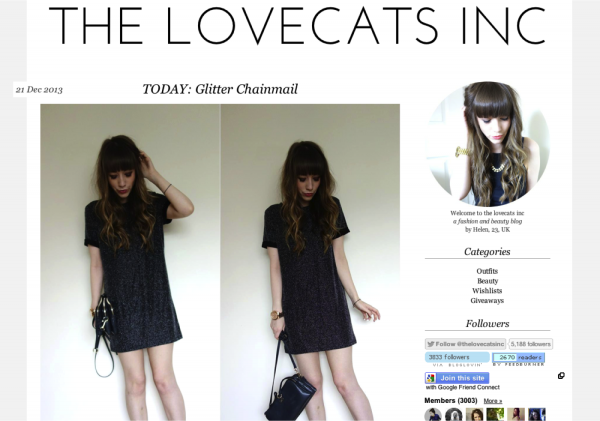 If I had a pound for every time I leave a comment on Helen’s blog praising her amazing fringe, then I’d probably have enough money to hire someone to come and tame my own fringe every day (and thus I could stop pestering Helen and give the girl a break). As well as having top notch bangs, she also has a perfect sense of style, always looking effortlessly on-trend and perf.
In the Frow
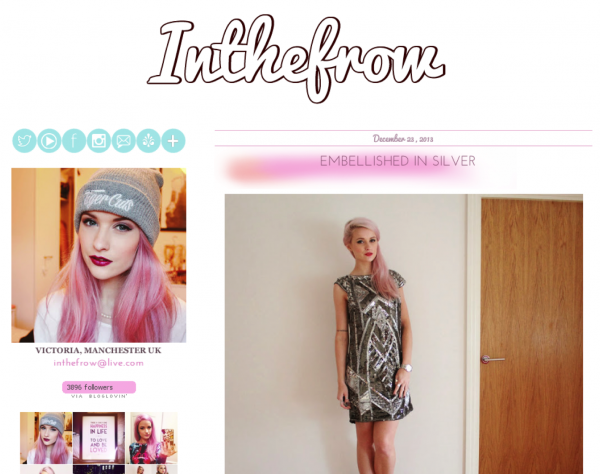 Did any of your uni lecturers look like this? No, ours neither – but Victoria from In the Frow has a PhD and lectures in fashion. She’s also stunning and comes across as lovely and down-to-earth on her YouTube channel. Her blog has bounded along at amazing pace since launching just over a year ago, and it’s very well deserved as each post is perfect fashion inspiration (fashpo? Can I pretend that’s a thing? Well I’m GONNA).
What do you all think of our Top 15 picks? Have we chosen any of your favourites, or are there some bloggers you think are missing from our list? Let us know in the comments below!
 Hi gals,
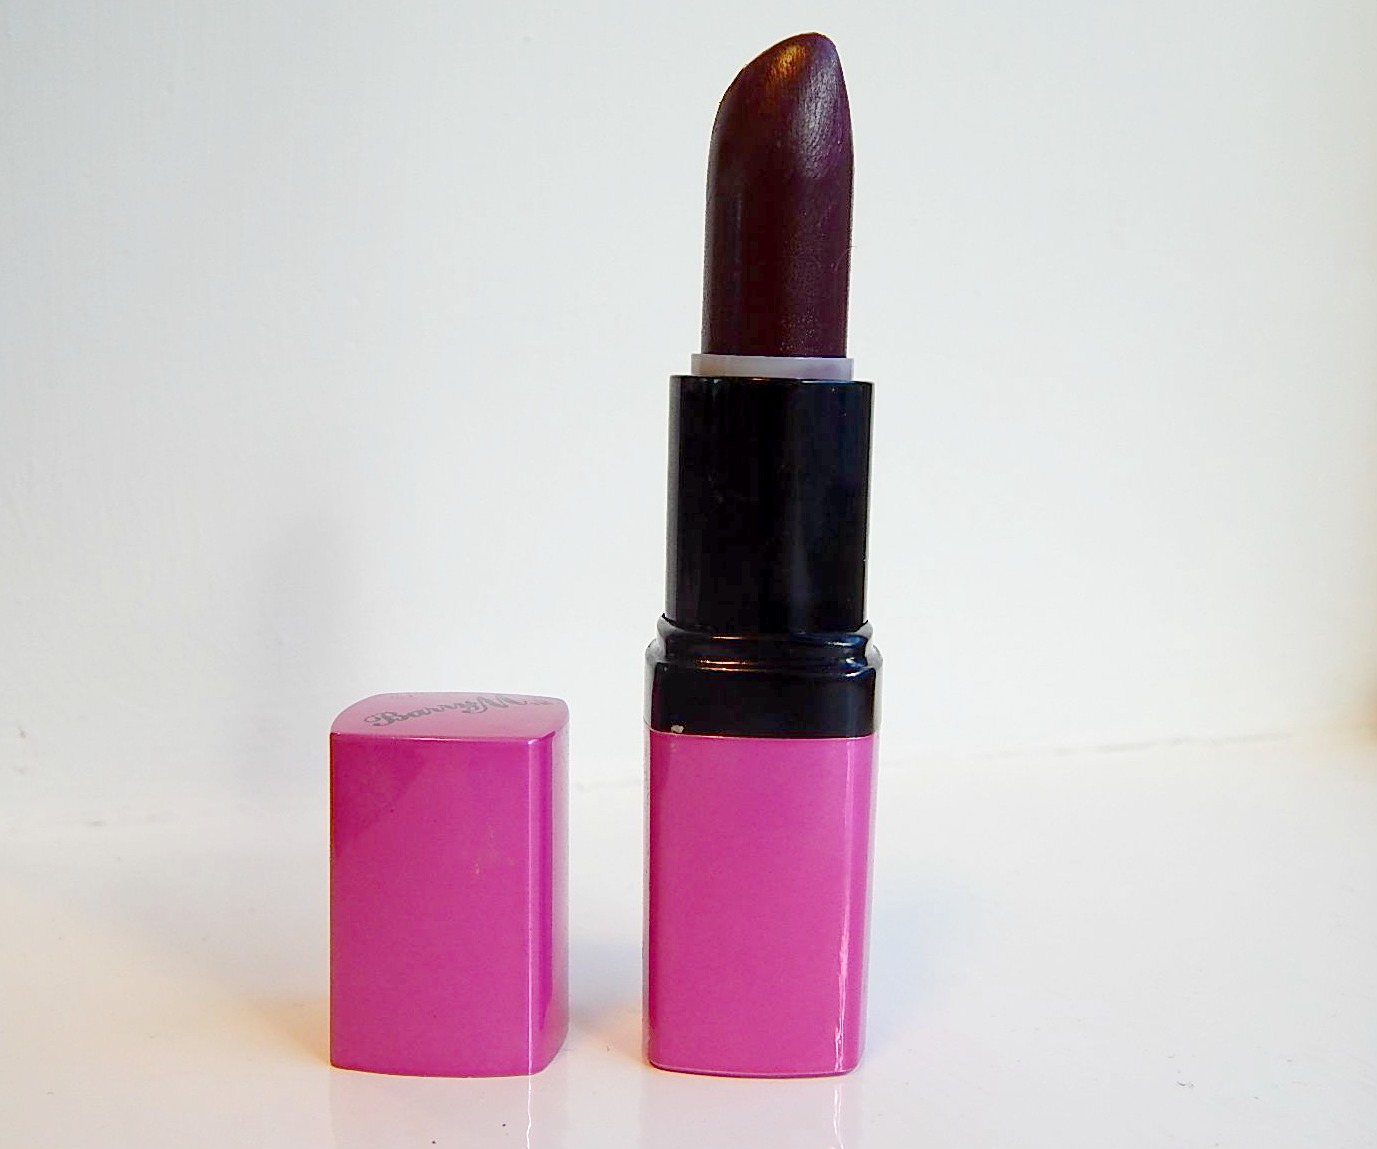

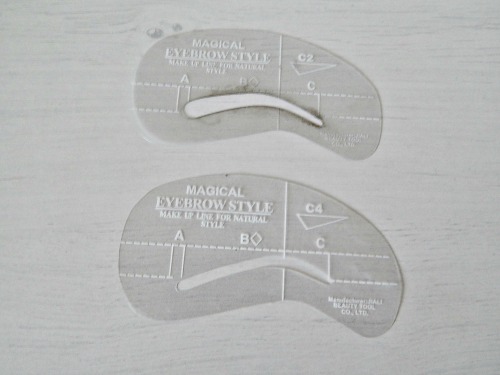
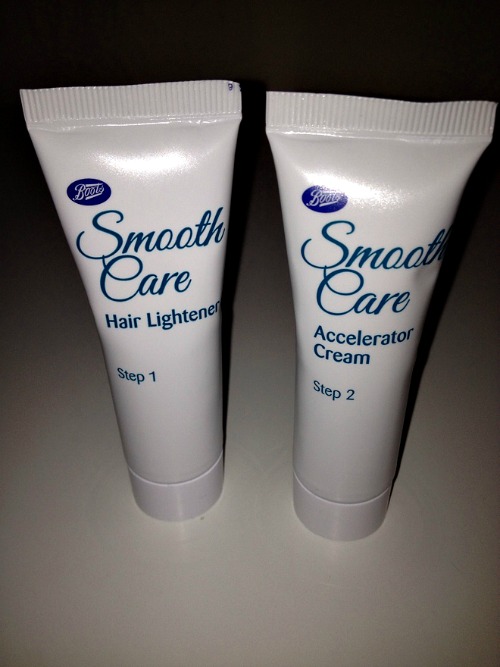
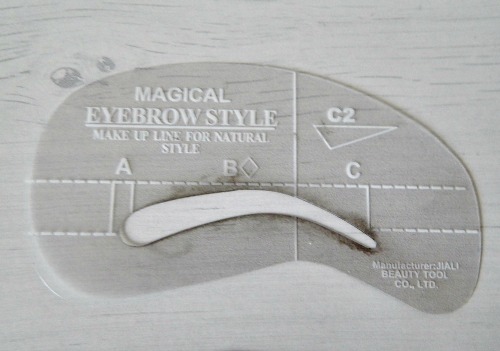 Eyebrow stencils are things I only learned about a few months ago. I think they’re mainly used for girls who draw on/fill in their eyebrows every day and want to achieve the same flawless shape each time, but they can also be used for initially shaping.
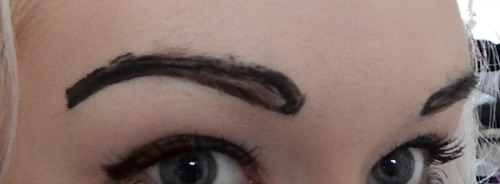
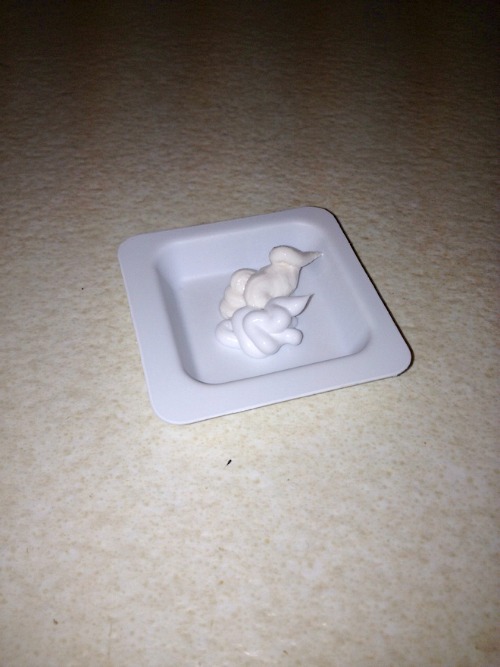
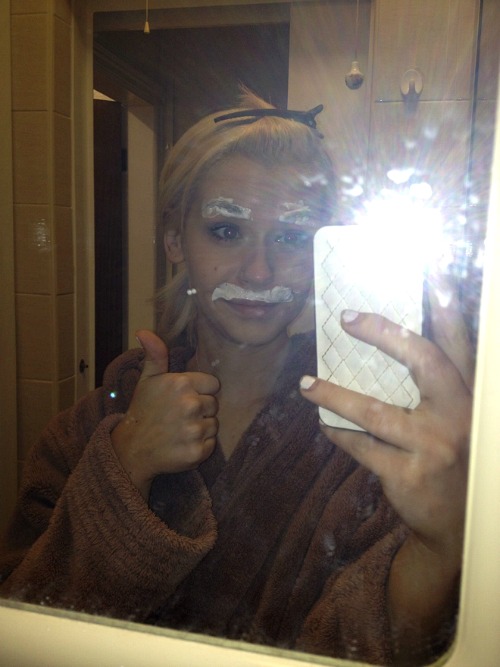
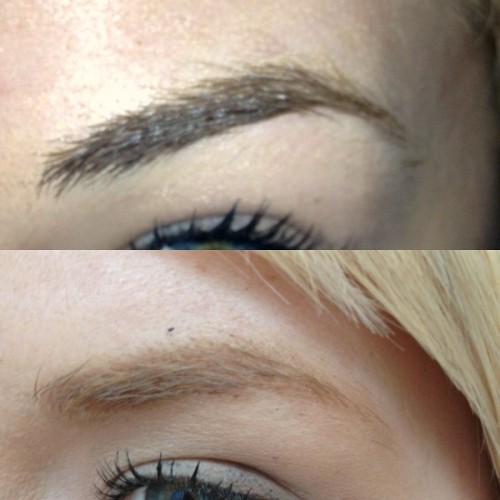
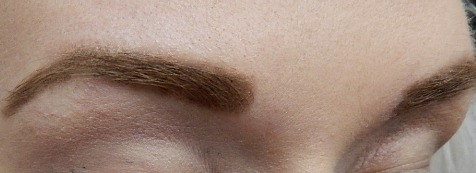 Once you’ve finished plucking, wash off the outline and say hello to your new eyebrows. As well as getting rid of a lot of unneeded hair, I think the stencils are also brilliant for showing you the parts of your eyebrows that you need to grow back. Particularly when it comes to the middle part of my brows, I have a tendency to over-pluck, and carry on plucking whenever the strays grow back. The stencils should show you where your eyebrows should really start from, meaning that you know to grow these bits out (and can fill in with powder/pencil in the meantime).
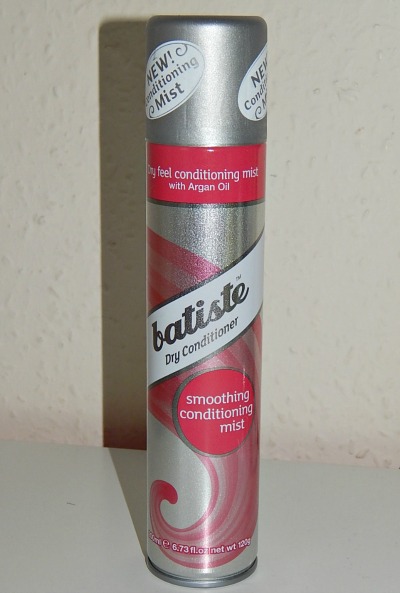
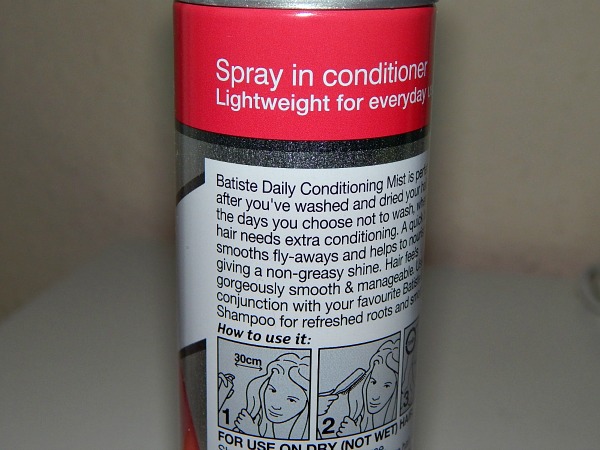
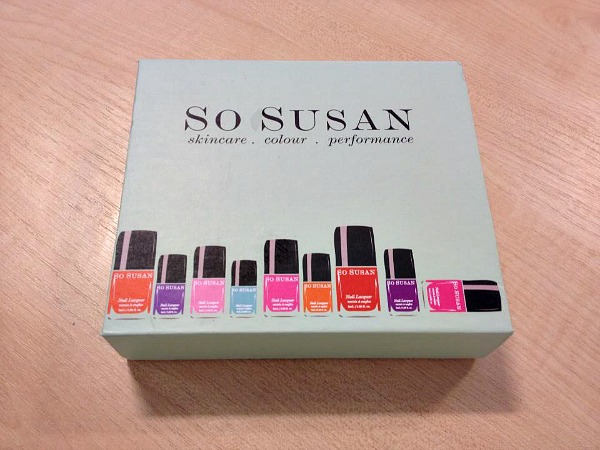
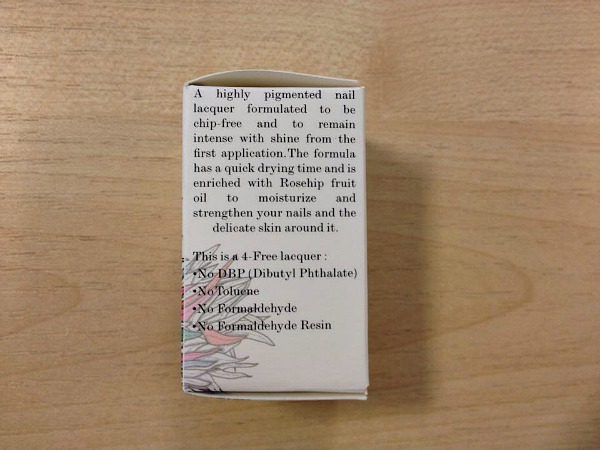
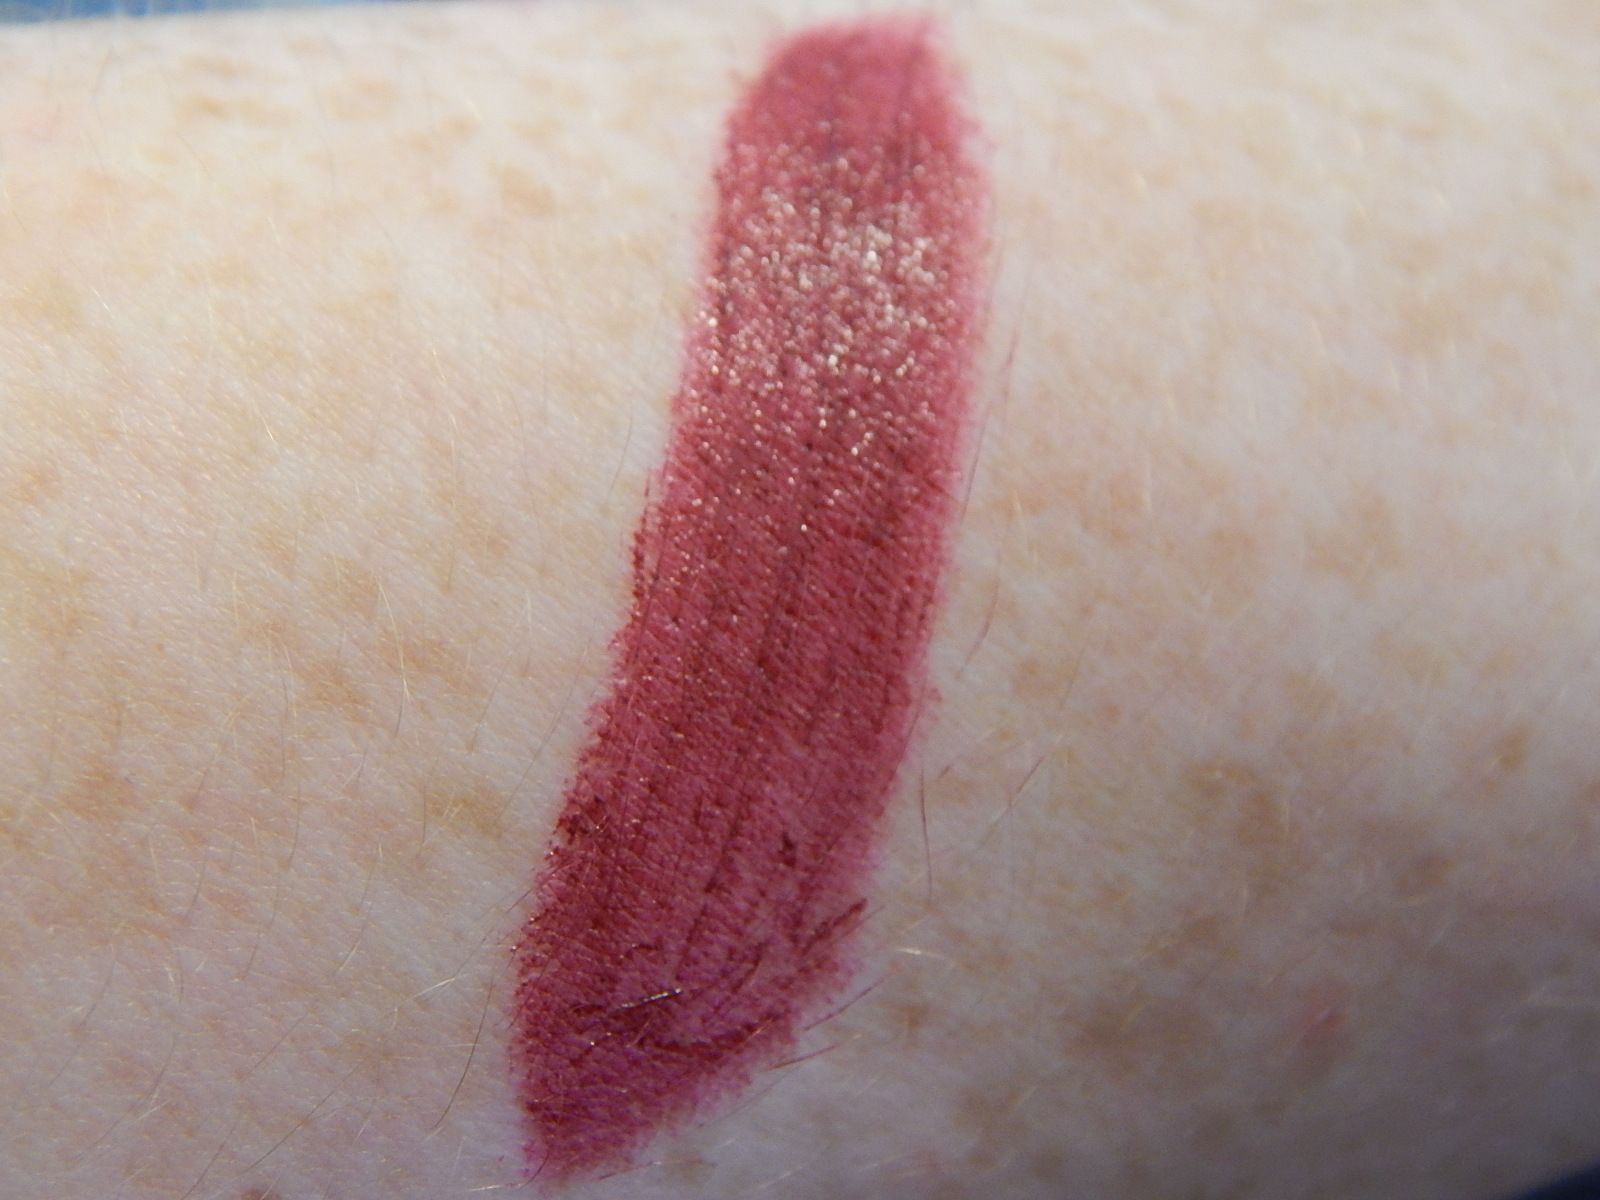
 The reason that my personal love affair with beauty boxes was cut quite short was due to the amount of products I received that simply weren’t relevant to me. I’m more into my makeup than skincare, so building up a collection of shower gels and face serums just didn’t thrill me all that much. When the lovely Susan herself contacted us to see if we would like to review one of their Lacquerlove boxes, though, what attracted me immediately to the concept was the focus of the products inside. The Lacquerlove Box is designed for nail polish lovers, and 3 of the 4 products that you receive each month will be from their range of 4-Free Nail Lacquers. So Susan also stocks a range of other cosmetics which may be included as the bonus items. So NO MORE SHOWER GELS, hurray!
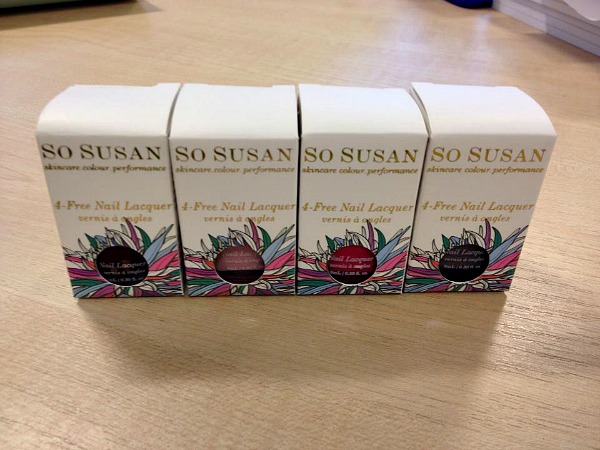
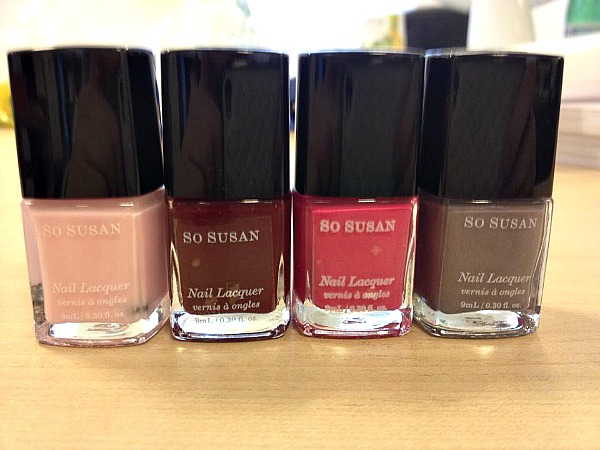
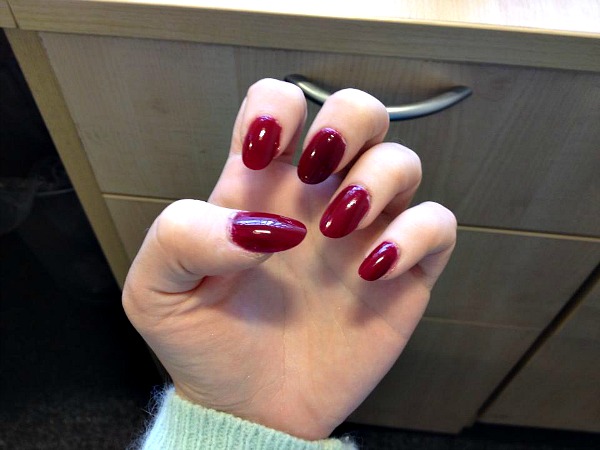
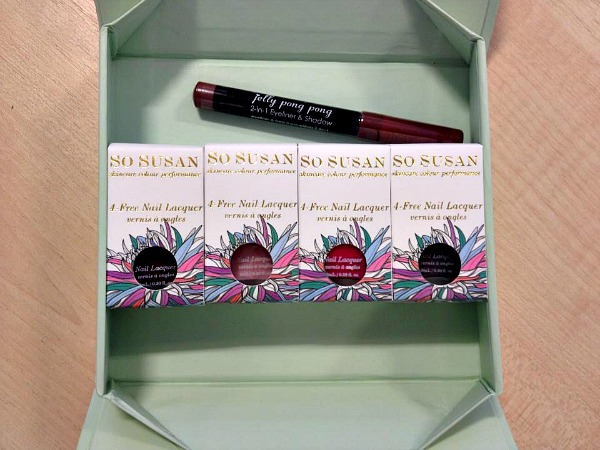
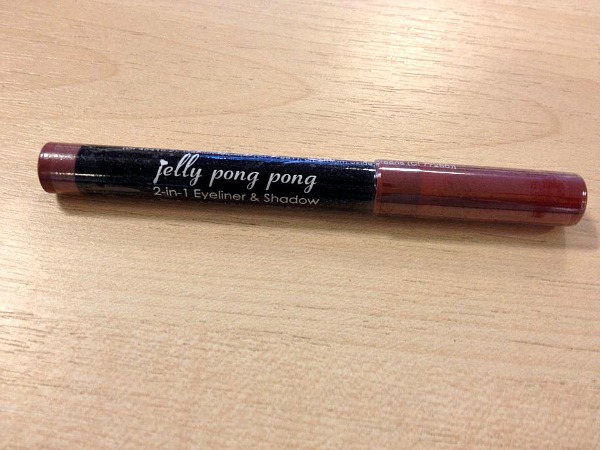 We received the launch box this morning and are really impressed with its contents. It came with four nail polishes from the range, and also a 2 in 1 eyeliner and shadow product from Jelly Pong Pong. I actually received this item in a past Glossybox, so fans of other beauty boxes might be able to expect some other recognisable brands in the future.