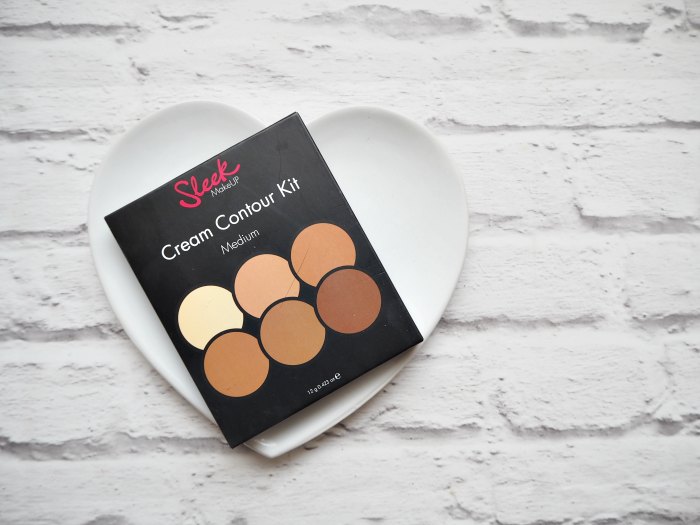
 If you’ve read my bog for a while then you’ll know I’m into my contouring. Like, very into my contouring. Like, ‘burn all photos of me before 2013 because I can’t stand looking at my natural moon face’ into my contouring. So of course when I saw that Sleek were releasing their Cream Contour Kit, I nearly piddled with excitement. Like most of other females on the planet, I’d lusted over the Anastasia Beverly Hills Contour Kit for a long time, but could never quite bring myself to fork out the £40 to buy it. At £10.99, the Sleek dupe was much more up my (skint) street, so I couldn’t resist snapping it up. View Full Post
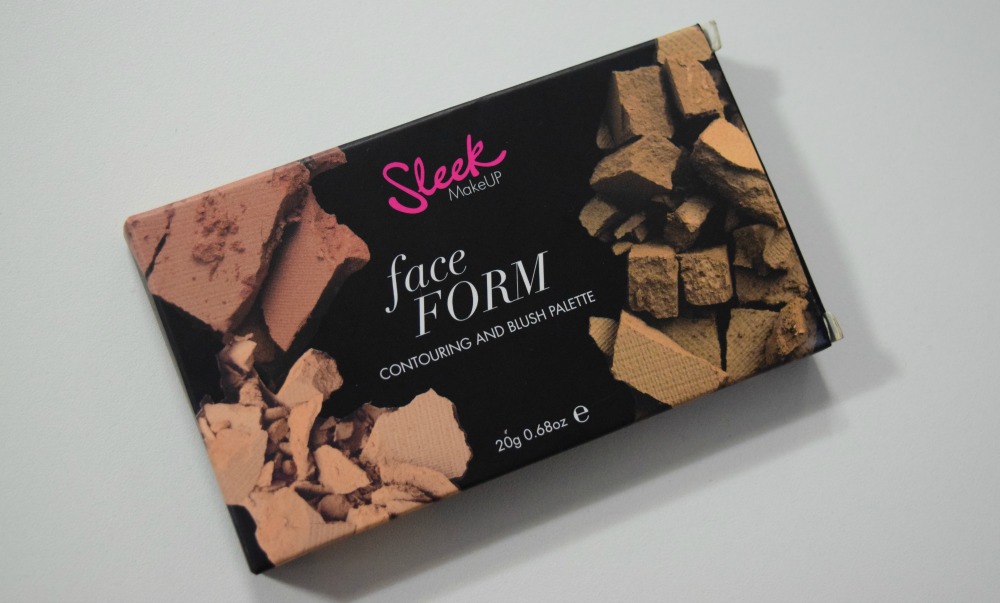
Sleek Face Form Contouring & Blush Palette in Fair Review
How Much Is My Face Worth?
G’day mates. Today we’re finally getting round to doing the blogger favourite ‘How Much Is My Face Worth?’ post. We both love reading these posts, and are usually left gawping at how much people’s everyday makeup actually costs, and bloggers are usually pretty surprised themselves to find that their collections often add up to as much as £100 or £200. I’m pretty sure that mine is going to be nowhere near this, but you never really know (well actually, I do because I’ve already worked it out. But let’s not ruin the suspense).
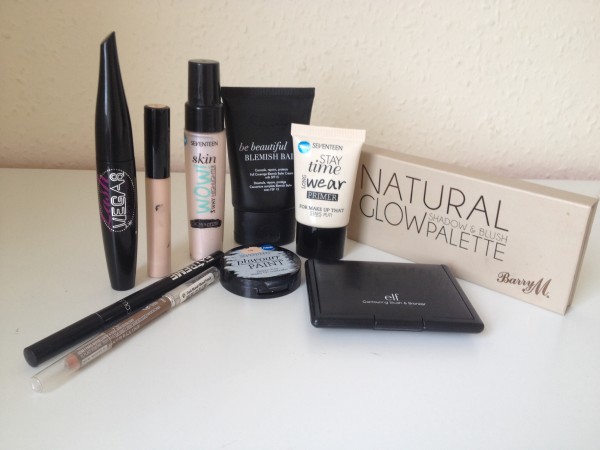
- Seventeen Stay Time Primer: £5.49
- Sleek Be Beautiful Blemish Balm: £8.99
- Seventeen Phwoarr Paint: £5.49
- Collection Lasting Perfection Concealer: £3.99
- E.L.F. Contouring Kit: £3.75
- Barry M Lash Vegas Mascara: £6.49
- Barry M Natural Glow Eyeshadow Palette: £6.49
- Collection Felt Tip Liner: £2.99
- Maybelline Eye Studio Master Shape Brow: £2.99
Total: £46.68
This surely has to be in the running for one of the cheapest HMIMFW ever? My everyday makeup actually changes at least monthly and there will have been times when the total would have been a fair bit more, but my current love affair with super cheap and cheerful brands such as Collection and Seventeen means that my total price is driven right down.
I have to admit that I’m torn between feeling like a total pikey and actually feeling pretty relieved that if disaster were ever to strike and I were to lose my everyday makeup bag (possible reasons for this: leaving it on a bus, being mugged by criminals with a penchant for eyeliner, zombie apocalypse, etc) then it really wouldn’t be too much of a hardship to replace.
Have any of you done this tag? Leave your links in the comments below!
|| Don’t forget that you can follow us on Instagram, Bloglovin’ and Twitter! ||
The Best Deep Red Lipstick: MUA vs Sleek
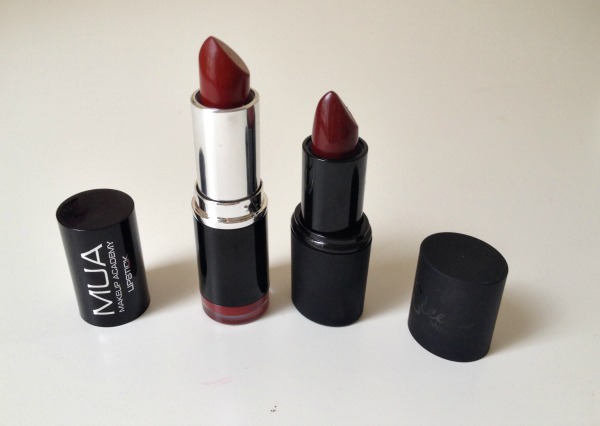
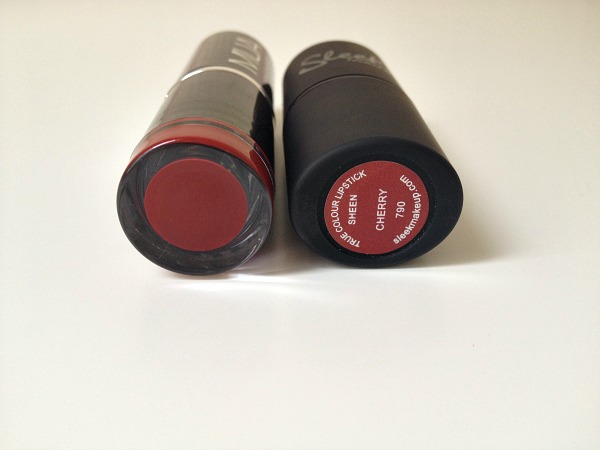
IN THE RED CORNER… we have MUA in shade 1 (don’t stretch your creative brains too much MUA, they might explode). AND IN THE, ER, OTHER RED CORNER… we have Sleek in shade ‘Cherry’. These are two different lipsticks from two different brands, but they’re practically identical in shade. So – which is better?
First Impressions
MUA’s shade 1 retails for just £1. This is in itself completely ridiculous. How can a lipstick cost you just a quid? You go into Poundland and pick up a pack of Cadbury’s Chocolate Fingers for a pound and you’re happy to have got those that cheap; never mind a WHOLE lipstick that you can use time and again (unlike the Cadbury’s Fingers, which usually last for approximately one cup of tea). Cherry by Sleek costs the much more sensible price of £4.99, which is still extremely reasonable even for a high street lipstick.
In terms of packaging, MUA has its usual black casing, with the really nifty little pot at the end containing an extra bit of product. Although I know that this is a cool feature, I’m not 100% sure what its actual purpose is. Sleek also has black packaging, though the matte makes it look (correctly) a little more expensive. It’s very small for a lipstick, and actually only has 3.5g of product compared to MUA’s 3.8g. I don’t think that 0.3 of a gram is really going to ruin your life, but it’s worth mentioning – yes, mainly because I’m proud of myself for bothering to look at this detail, and now feel really maths-y like Carol Vorderman. Anyway, moving on…
Swatches
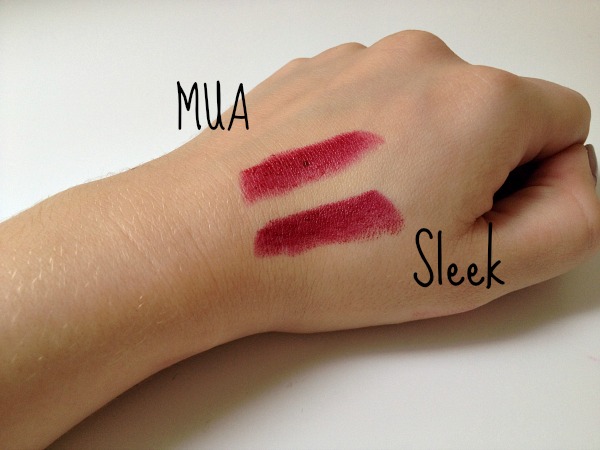
As you can see, the shades looks practically identical both within the packaging and when swatched on the hand. The only difference in the swatches is that Sleek seems to have a slight edge when it comes to pigmentation, though MUA is still extremely vibrant. Ain’t nobody accusing MUA of being wishy washy.
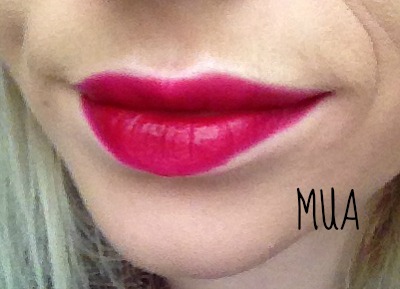
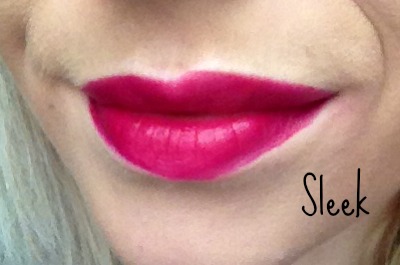
On the lips, again both shades look practically identical. They both apply nicely, have a very smooth finish and appear very vibrant after only one layer. Ignore the pinky tones in these pictures – both actually appear much deeper than this in real life, and I can confirm they’re BOTH that dark red shade that is so perfect in autumn/winter for vamping up a daytime look or for a glamorous finish on nights out (whatever they are). Both feel very hydrating on the lips and not at all cakey. Of course, a lot of things in life that seem great at first can quickly turn awful – certain men, BBC sitcoms, etc – so the proof with a good lipstick is always in the…
Staying Power
I wore the Sleek lipstick out for my birthday ‘meal and drinks’ shindig last weekend and can confirm that it is a BEAST. After several cocktails and a lasagne, I popped to the toilet to re-apply my lipstick and found that I didn’t even have to. It. Had. Not. Budged. Nor had it started to go cakey; it was just as much of a satin dream as it was when I first applied it. I think I only touched up once or twice throughout the rest of the night (memory gets a little hazy, damn fishbowls) and it never felt at all dragging upon re-application as some lipsticks can. A HUGE thumbs up from moi.
Determined to test the MUA lipsticks under the same circumstances, I FORCED myself, in the interest of RESEARCH, to head out on Saturday night for another couple of cocktails. You have to test things in the same conditions; that is just a fact I learned in Science GCSE. Although the colour stayed vibrant and looked okay overall, I did notice that after a couple of drinks the colour had began to come away from the inner part of my lip and needed touching up. Again though, it re-applied very well so wasn’t really a huge drama.
The Conclusion of the Matter
So here we have two insanely similar lipsticks, both extremely good value for money and very good quality. I think Sleek has a slight edge on MUA in this instance, due to being a bit more pigmented and longer lasting. MUA is only one pound and so a complete bargain, but then I also think £5 for a lipstick is really reasonable so can’t fault Sleek for pricing either. This was my first lipstick from both brands, and I’m happy to report that I’ve been left with a great impression of them both and will definitely be stocking up on more of them in the future!
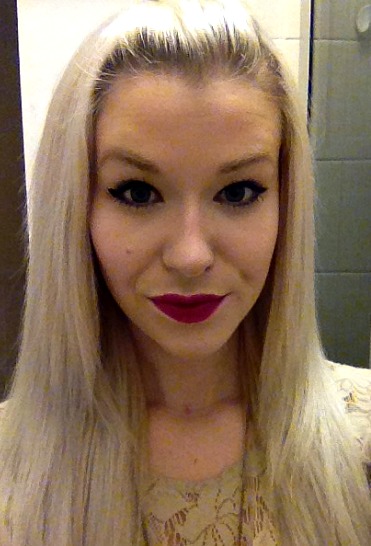
Me wearing MUA 1
What do you all think of MUA and Sleek?
|| Also, don’t forget that you can follow us on Instagram, Bloglovin’ and Twitter! ||
October Birthday Haul: Marc B, Juicy Couture, Primark, Sleek & More!
 Hi there errybody! I’ve got a few minutes free on the retirement home’s desktop before a rousing mid-afternoon game of backgammon accompanied by a fine glass of sherry awaits me, so thought I’d quickly do a post for all of you young’uns. In case you’re wondering what in the name of all that is holy I’m waffling on about, I am of course referring to the fact that I turned 23 on Friday and am now probably the World’s Oldest Blogger.
I actually had a really nice birthday, despite my mammoth reservations in the run-up to the occasion. The actual day was quite a nice chilled one; I took the day off work to see various family members and friends, shop and eat cake. Then last night I went out for dinner with some of my besty friends, which was inevitably followed by cocktails, spiking our own fishbowls and crap dancing. Superb.
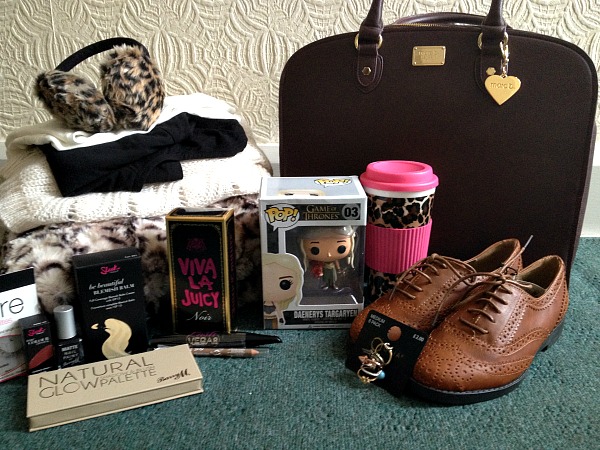
As it was my birthday I received some absolutely amazing presents, which I thought I would share with you all now in the form of a birthday haul post! Some of these were given to me, others were bought with birthday money – all have equal amounts of love attached to them.
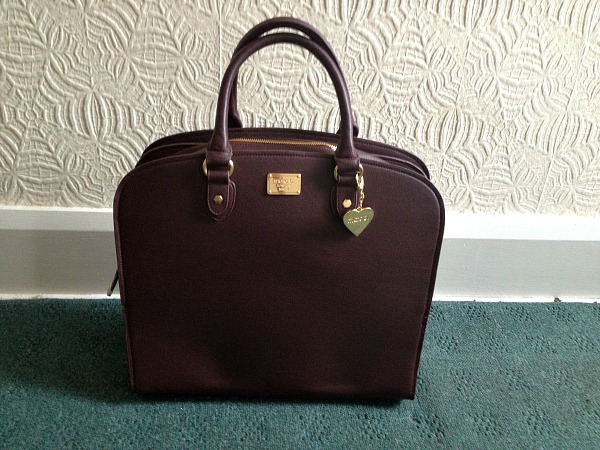 Marc B ‘Giselle’ Bag in Maroon: Be still my beating heart! I’ve been after a Marc B bag for ages; they’re so sophisticated and classic, yet also retain a fun element with the leopard print lining and gold plaque detailing. I desperately needed a new everyday bag as my Topshop one was literally going bald (damn you, leopard print panel!), so when my dad asked what I wanted for my birthday, this was top of my list. It is absolutely BEAUTIFUL. It’s also bloody massive – you can see it in its full glory in this OOTD post where you will see that it has basically made me look like
 even more of a Borrower.
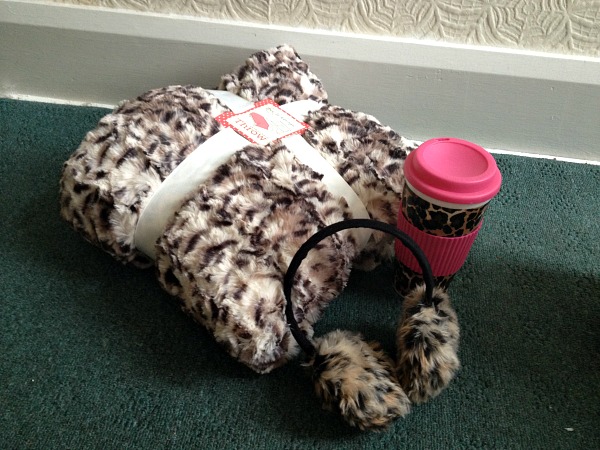 Leopard print throw, ear muffs and thermos: my dad sent my sister on a shopping mission to pick up a few more presents for me (I know, how lovely of him! I think he takes pity on me not having a boyfriend so spoils me more as a result) and she oh so wisely picked up an array of leopard print treats. The thermos is a particular fave; tea AND animal print, TOGETHER?! No finer combination of things has ever existed.
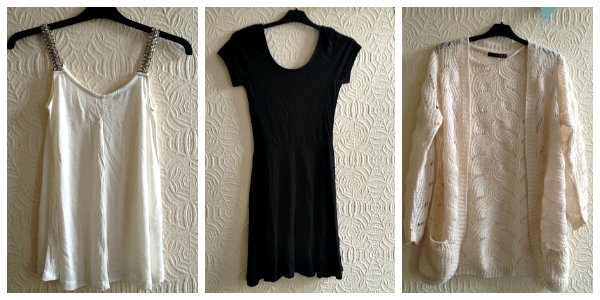 Clothes: knowing how dear Primark is to my heart, my sister also picked me out a few bits from there.
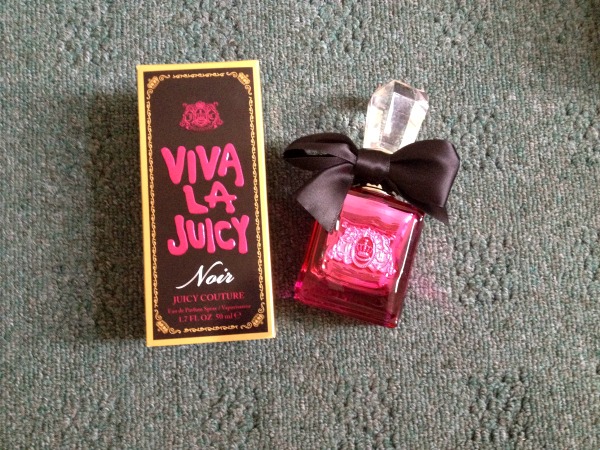 Viva La Juicy Noir: I’ve loved this since I got the sample version in one of my Glossyboxes and now a full size bottle is mine!
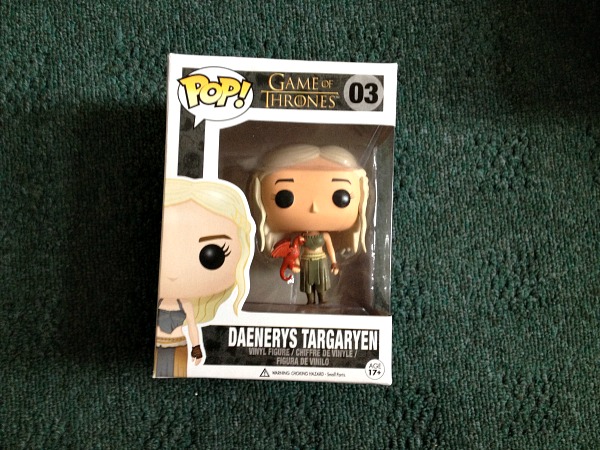 Game of Thrones figurine: ’nuff said
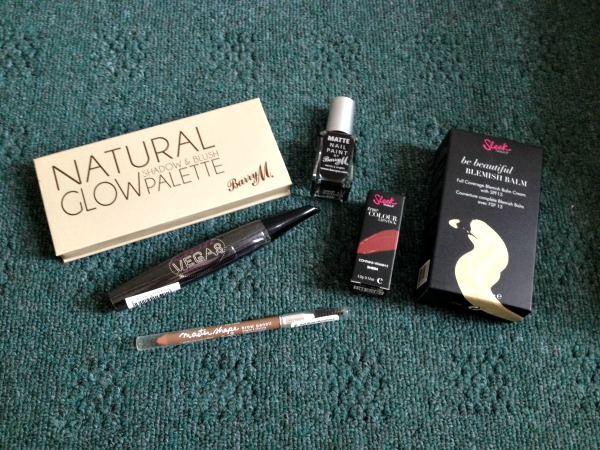 Makeup: with some birthday money from my momma, I couldn’t resist buying some new makeup. I ordered the Sleek stuff about a week ago, and decided to get the BB Cream in the ‘Fair’ shade to actually match my skin tone (shudder) and a new lipstick in the shade ‘Cherry’. I picked up the Barry M bits in town – I opted for the new matte nail polish in black, the new Natural Glow eyeshadow and blush palette and then because of an offer I got the Lash Vegas mascara for free for spending over £10! I am always a bargain hunter, even when it’s someone else’s money. I also bought this eyebrow pencil from Maybelline.
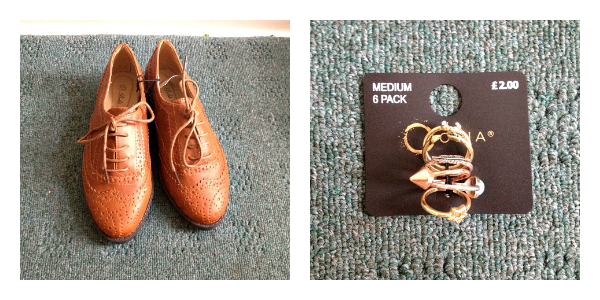 Brogues and rings: couldn’t resist popping into Primark and picking up these beauties. I’ve been after some brogues for ages but have just never really got round to buying some – these were only £12 I think, so it was finally time to actually get some. The stacker rings are a mixture of silver, gold and rose gold so will come in vair handy.
I have to stop writing now because I’m very hungover and need a vat of squash in my system RIGHT NOW. But let me know what you think of this haul!
Barry M Liquid Brow Marker Pen: Review
I hate to be the bearer of bad news (what am I talking about, I LOVE BEING THE BEARER OF BAD NEWS), but this is going to be a blog post full of hatred and disgust.
I’m usually a big slut big lover for all beauty products and I don’t usually dislike things very often. As long is it vaguely looks ok, then it will have a place in my leopard print makeup bag. Unfortunately, today is a day that I have to hate on a beauty product. I have tried to like it, I truly have. But I just can’t, mainly because it doesn’t do the job properly and makes me look like an idiot.
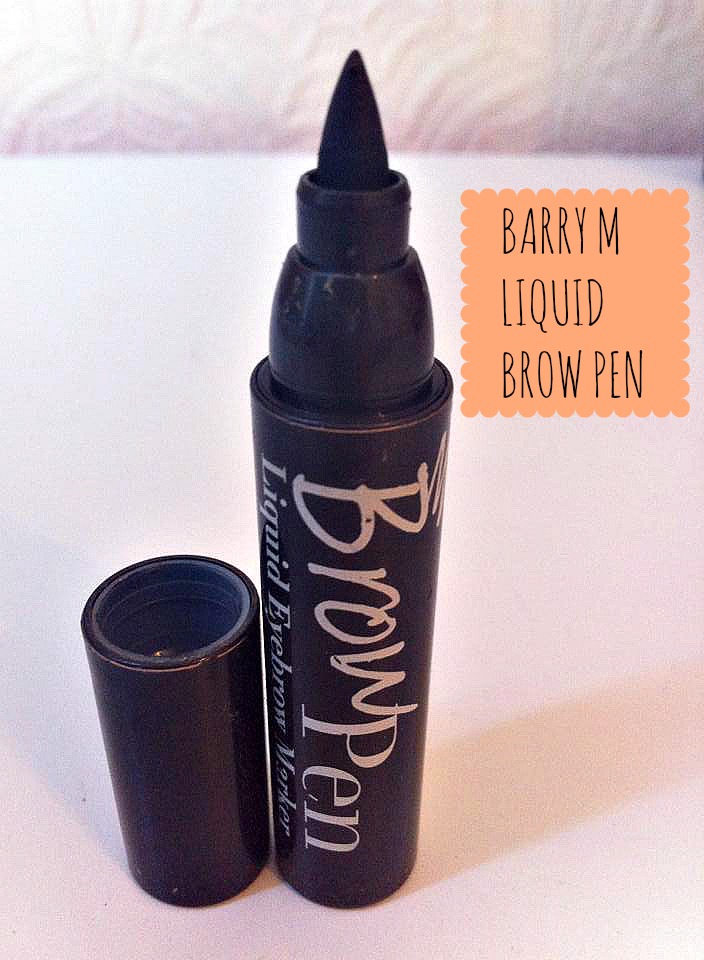
This mysterious product, if you hadn’t gathered from the giant picture and the title of this blog post, is Barry M’s Liquid Brow Marker Pen. I bought it at the weekend because I’m on the dregs of my Sleek Brow Kit (which I love by the way!) and I also needed some change for the bus (which is a great excuse to pop into Boots if you ever need one). I decided to branch out and get something different to my Sleek Brow Kit and spotted this eyebrow product lurking in the Barry M makeup display. You might have heard me shout ‘GREAT SCOTT, what sorcery is this’ if you’d been there at the time, as I rushed to shove it in my basket and pay.
I really like the idea of marker pen style makeup. They’re great for the cack-handed like me, and it makes me feel a little bit like Picasso every time I draw on my face. Unfortunately, the Liquid Brow Marker Pen actually made me look like one of Picasso’s abstract paintings and I have to say that this is THE MOST USELESS product in the history of useless products. I have a few main issues with it, which I have decided to list in a handy list (oo-er) for you all.
1. It doesn’t work properly if you have any foundation/makeup lurking in your eyebrows: This is an issue. I don’t know how you all do your makeup, but I tend to whack on my foundation/concealer and then do my eyebrows. This means that there tends to be a bit of product in there and while I could remove it with a cotton bud, why on earth would I bother doing that?! The problem with the Brow Marker Pen is that once the nib (ew) gets a bit of other product on it, it stops working. Basically, no more brown eyebrow stuff comes out of it and you look like a fool scraping away at your face with useless marker pen that is progressively ruining your morning makeup.
2. The colour that comes out is uneven: Even if you manage to get the pen working normally, the colour that comes out isn’t that even. I don’t know about you guys, but I don’t have time to faff around going over and over my eyebrows to make sure they don’t look patchy and bald. NO THANK YOU. (This is particularly problematic for me, because I have to draw my eyebrows on from scratch. I have blonde brows, so it is a full on mission rather than just filling in!)
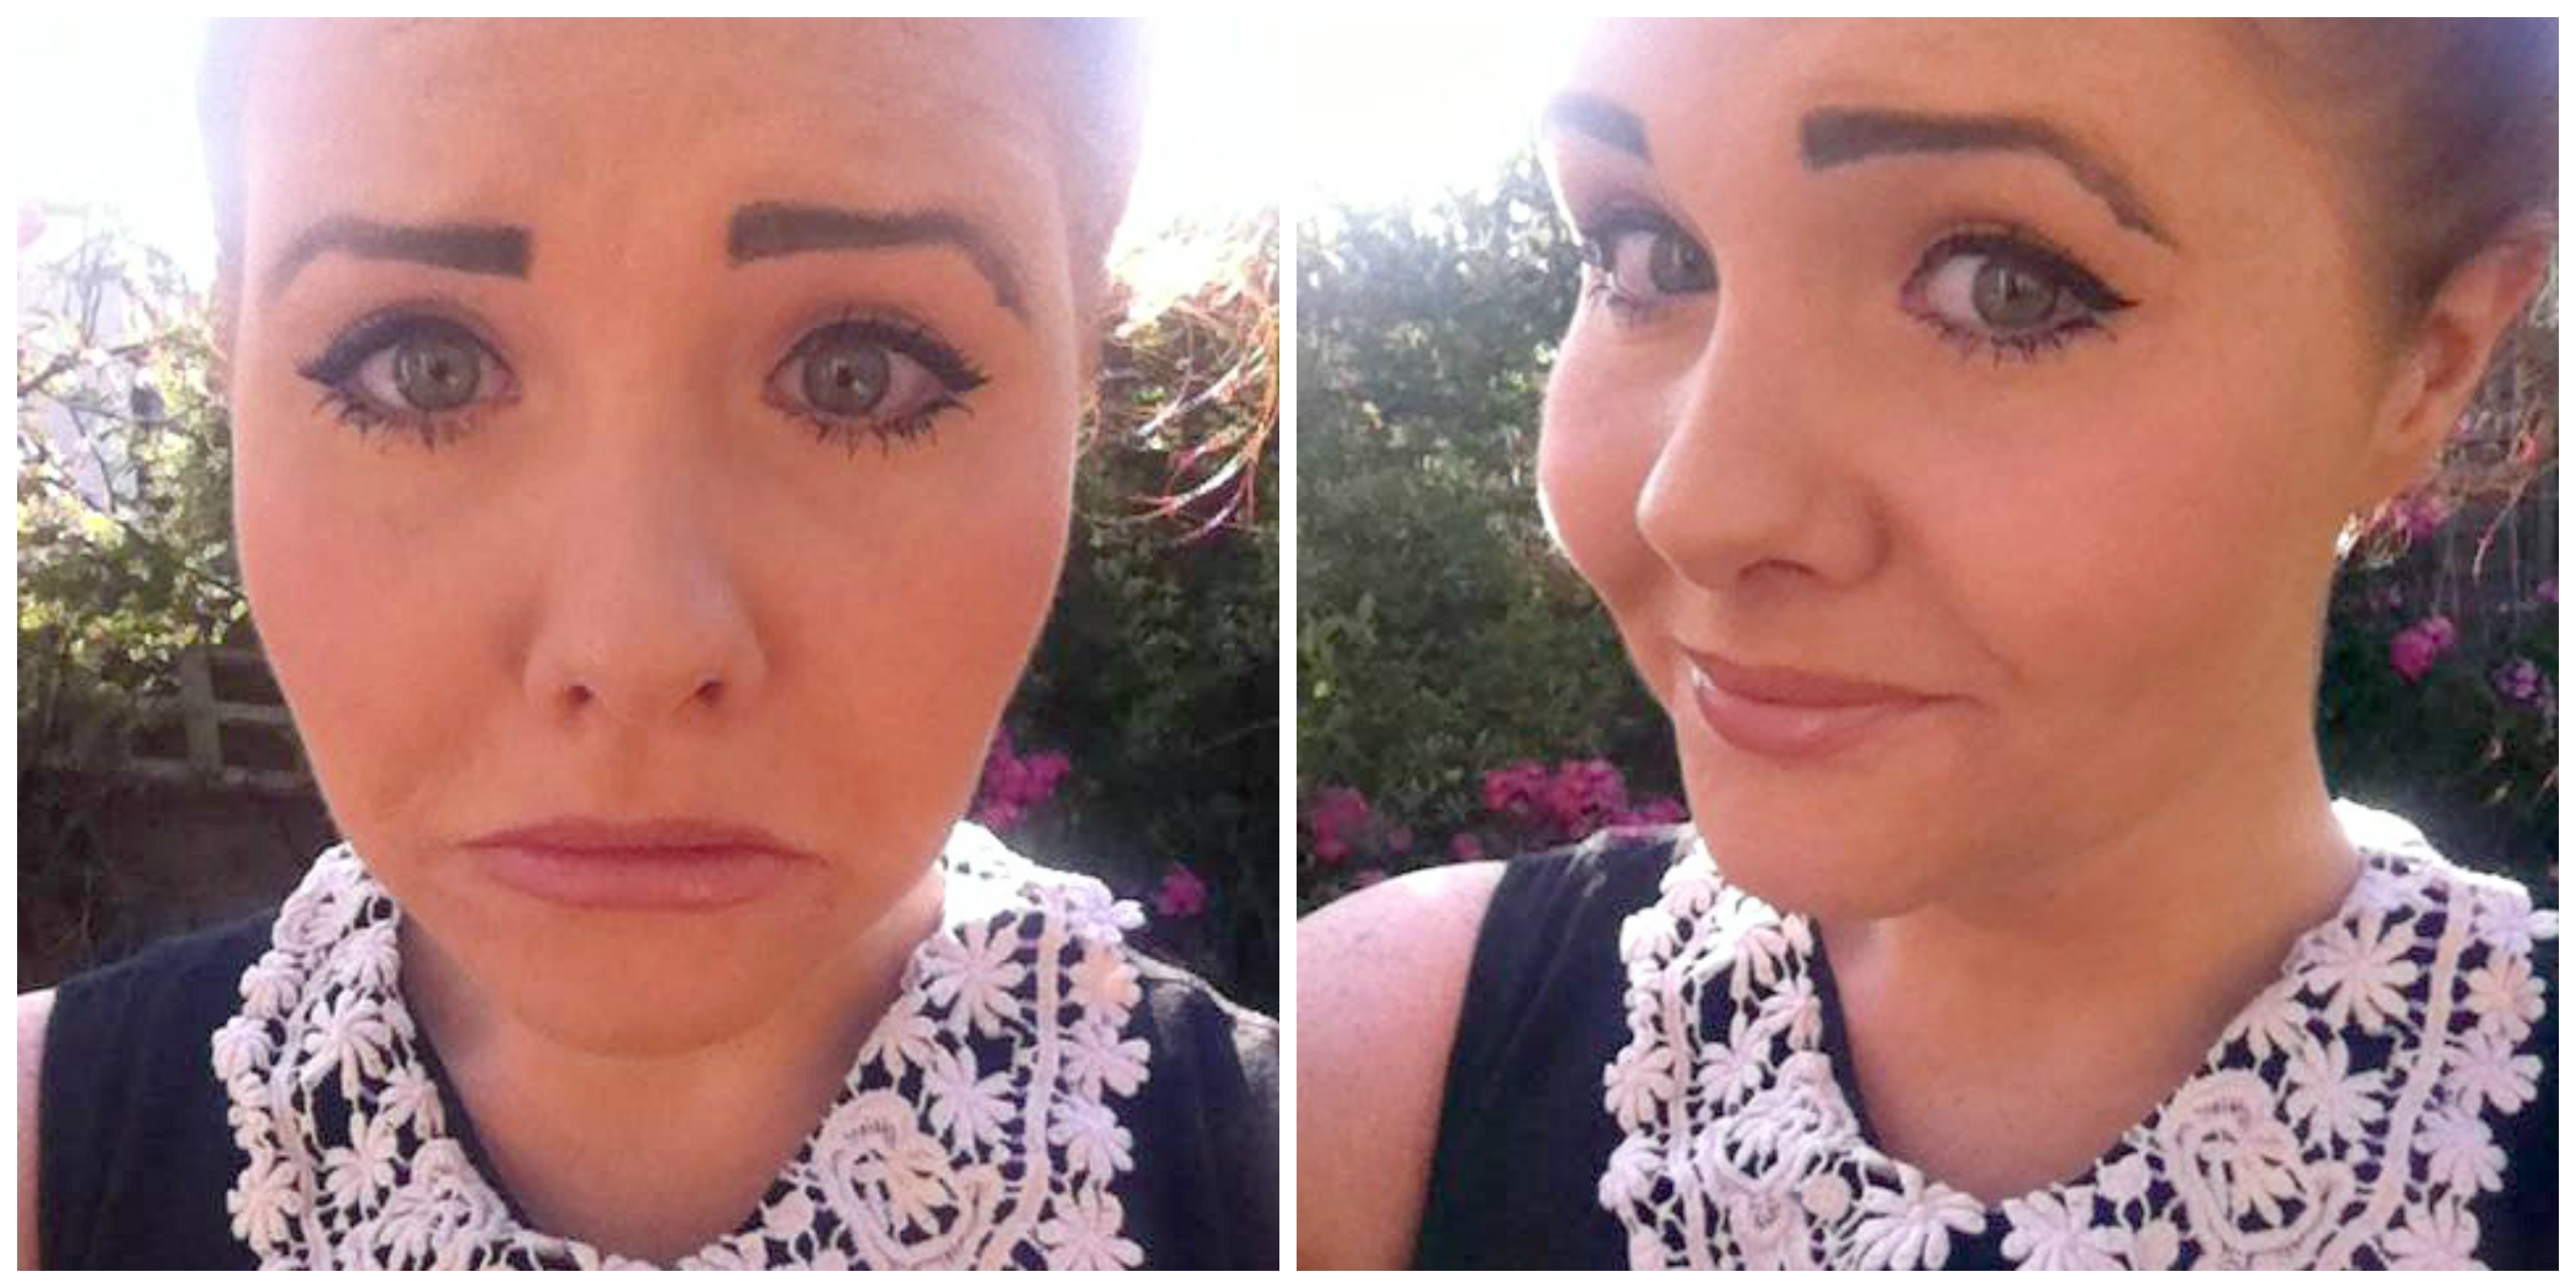
3. The ends of your eyebrows are DIFFICULT to do: As you can probably see from my tragic eyebrow picture, doing the outer ends of your eyebrows is really difficult with the Brow Marker Pen. I find that it slips a bit and gets all wonky. If the nib has stopped working too, then you have to faff around trying to use the side and IT ALL GOES HORRIBLY WRONG AND YOU END UP LOOKING LIKE A MAD PERSON.
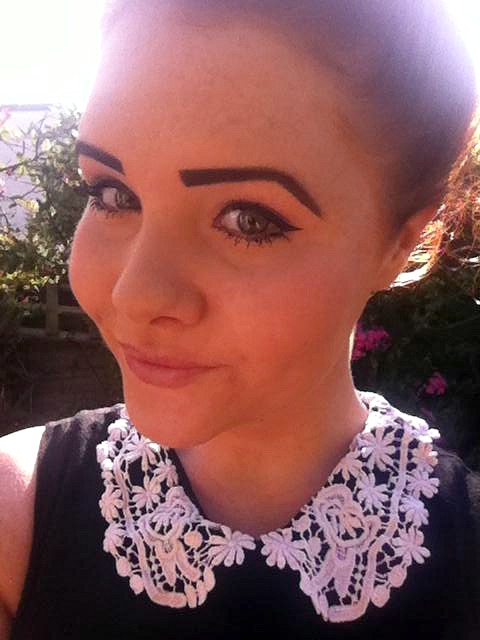
All in all, I ended up spending longer on my eyebrows than the rest of my face when using the Barry M Liquid Brow Marker Pen. What is the point I ask you? This product might be ok if you already have dark eyebrows and just want to fill them in a little bit, but if you’re looking for heavy duty eyebrow makeup like I am, don’t bother. I was forced to fill in and try and fix the Brow Pen disaster with the last of my Sleek kit, and this was the result. Much better, ja?! JA.
I think I’m just going to go back to my Sleek Brow Kit but if you guys have any other recommendations, please let me know! I would love to try something new and not tragically horrible.
|| Don’t forget that you can follow us on Bloglovin’ and Twitter! ||
Sleek BB Cream in ‘Light’: Review
Okay, I know what you’re all thinking: ‘a BB cream review? Have we time travelled back to 2011?’ No dear readers, we have not, so stop being so rude and pay attention. View Full Post
My Wild Sunday Face of the Day
This week has been a bit manic for Claire and I. From an epic Ikea shop (is it appropriate to do an Ikea haul post??) to having lots of big jobs to do at work, I’ve not had a huge amount of time to do my face properly. Claire did an Everyday Makeup post (it’s really fascinating I’ve heard) a few weeks ago and that pretty much sums up my makeup during the week too. A quick bit of foundation, powder, blusher and mascara and I’m done. We get up at 6am during the week and leave the house at 7, so it doesn’t leave a huge amount of time to be faffing with foundation brushes, contouring and any sort of blending hoo-hah.
ANYWAY I DIGRESS. I woke up ridiculously early this morning (tried to get up at 4 and got a stern “If you get up now I will punch you in the tit” in return. Bit rude) so decided to get up at 7ish, fix up my face and spend AGES doing it. Yes. Hello stippling brush, it’s been a while. Missed you.
Most people who know me will agree that I’m a big fan of shoving a huge amount of makeup on my face. I don’t feel like this is a problem and I definitely don’t follow the general rule of “if you’ve got lots of eye makeup on, then go for a nude lip.” With this in mind, my Sunday face of the day might be a bit much for you lucky gals who can pop a bit of tinted moisturiser on and look all fresh faced and lovely (DARN YOU ALL TO HELL). But ya know, it’s Sunday and I have tomorrow off work, so I figured it was the best time to be a bit jazzy and have a great face.
The general process goes as follows:
- Moisturise. I’m using a cheap moisturiser from Tesco’s new range of skincare. It’s not the best thing I’ve used and is a bit heavy for my oily/combination skin. I’ve nearly finished using it now so will be on the hunt for a better one soon. My standard used to be Olay and I do love their moisturisers, so there is a good chance I will just go back to that!
- Stipple on my foundation. My favourite foundation for the past few years has been Rimmel’s 25 Hour Lasting Finish foundation. It’s a heavy coverage, oil based liquid foundation and not for everyone, but I love it. It goes on smoothly and has been one of the best heavy coverage liquid foundations I’ve used (I think it’s quite a good replacement for Mac’s Studio Sculpt). The shade I used is 303 in True Nude, which is quite orange but I’m also usually quite orange so it works.
- Stippled on concealer. I use concealer under my eyes (where did these dark circles come from) and on whatever blemishes I have. I’m using a TERRIBLE stick concealer from Collection 2000 and I don’t recommend it at all, but it’s better than nothing. My usual fave is their Illuminating Touch liquid concealer, it’s amazing. I stipple using the Real Techniques stippling brush.
- Puff on powder. I’ve used a big range of powders in my wise and fulfilled years of makeup wear and I will keep coming back to the £2.99 Collection compressed powder. It does what it says on the tin, smells nice and goes on really well. What more could you want really? I’m using it in the shade Tender Touch 02 at the moment.
- Contour. For nights out, I’ll go the whole hog and contour everything on my face, although I tend to prefer doing this by using two different colours of foundation. I’ll then do a very light bit of shading on my nose, forehead, cheekbones and chin. For daywear, I just do a bit of shading on my cheekbones. I have a bit of a strange process, but I mix face powder with a dark brown eyeshadow – it’s the perfect colour for those of us who have orange faces (…when bronzer doesn’t show up, sob). I used a Look Statement Eyes shadow and my trusty Collection powder.
- Blush. I tend to use whatever blusher I find knocking around in my makeup bag. I usually buy the exact same shades of warm pink so I’m pretty non-adventurous in this respect. Today I used a Seventeen blusher pot.
- Eyebrows. Read my eyebrow post here, but I use the Sleek Brow Kit in dark.
- Eyeshadow. I like neutral colours for eyeshadows so use a combination of tans and light browns with a highlighter on my browbone. I used a well-used and nearly finished Rimmel palette today.
- Eyeliner. I use liquid and pencil. Pencil on my water line and then a winged liquid eyeliner on my lid.
- Mascara. I’m not too fussy when it comes to mascara because my eyelashes are blonde. Anything that goes on black and makes me look less like a baldy is fine by me. Claire is more of the mascara expert, so read her post about her quest for the perfect mascara here! I used a Collection 2000 one in black/brown today!
- Lips. I popped on one of my new MUA lipsticks, which I reviewed over here. I used the light pink shade in an attempt to look less like a prostitute.

And there you have it. My Sunday FOTD. Now I just need something to do today and ignore the fact it’s 9am and I have a full face of makeup. Hmm.
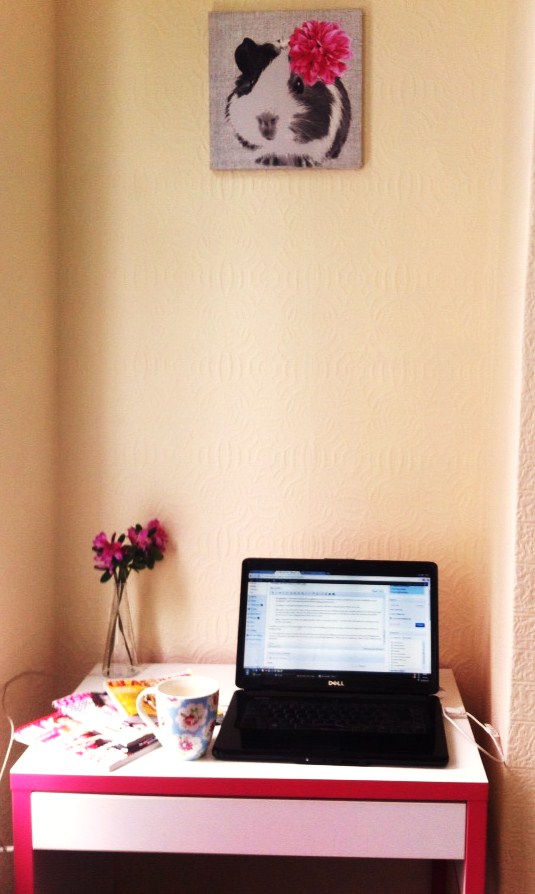
P.s. You might have seen on Twitter that me and Claire are in the process of kitting out our front room as a work space/blogging area (which is marginally better than the Gym Disco room we had initially planned..). This is our new desk area, which I LOVE. What do you all think??
Sleek Brow Kit: Review
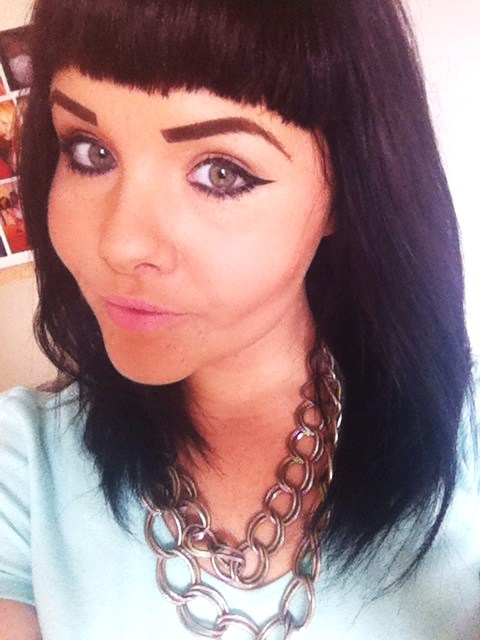
We are in the year of the Strong Brow. Some might say that Cara Delevinge made the look popular but ever since discovering Erin O’Conner, I’ve had a big and inappropriate crush on striking eyebrows. Thankfully, gone are the horrible high school days of plucking brows so thin that we all looked permanently surprise and/or terrified. We can now draw our eyebrows on with gay abandon and look super trendy and cool while doing it.
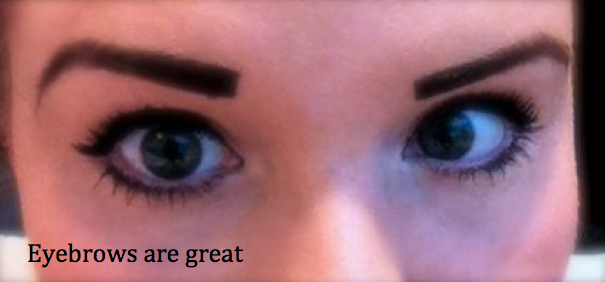
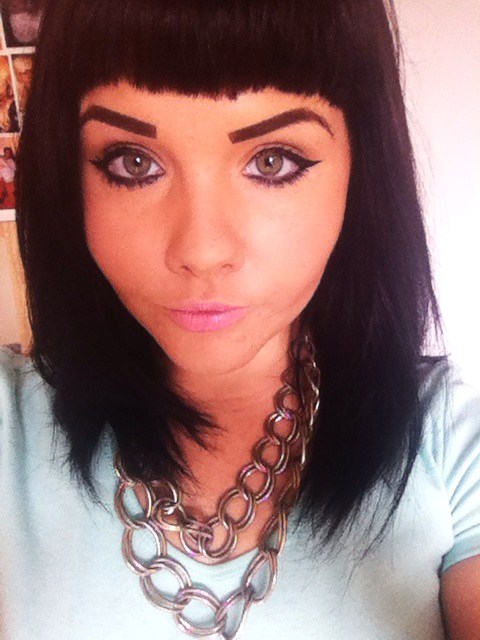
I feel like I can now claim the title of professional eyebrow artist. I’ve been drawing my brows on for a few years now and have dabbled in pretty much every method available. For those of you who are lucky enough to see me without makeup on, you will know that I look like a strange albino Lord Voldemort without my trusty eyebrows, so I do my best to rectify the situation. As a secret ginger, my eyelash and eyebrow hair is really, really pale and you cant really see it at all from afar/in pictures. Things were ok when I used to have blonde hair, but it’s all a bit of a mess now that I have migrated to the dark side. Good eyebrows are a necessity so I’ve put together a little ‘how to’ with my favourite eyebrow product for those who have no eyebrows like me or who just want a bit more definition.

For your entertainment, here is a picture of me without my eyebrows drawn on. Someone at work said “it wasn’t that bad” but they clearly couldn’t see the giant five head in front of them.
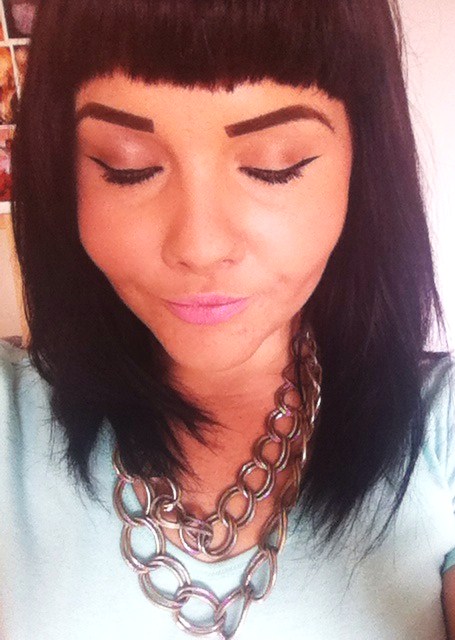
My absolute favourite eyebrow product is the eyebrow palette by Sleek. Sleek do loads of brilliant stuff, which tend to be the cheaper alternatives to Benefit products. The Brow Kit I use is the ‘Dark’ colour but they also come in ‘Light’, ‘Black’ and ‘Extra Dark’. I can’t stress how great the Sleek Brow Kit’s are. They come with little mini tweezers (which I unfortunately lost – but before I did, I gave them a whirl and they are good quality for a mini pair), an angled brush and a small powder brush. There are two products within the kit; an eyebrow wax and setting powder. The idea is to use these both in tandem to create perfect eyebrows.
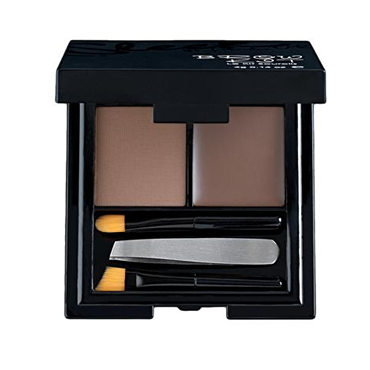
To start with, I always use the kit after I’ve applied the rest of my makeup. I tend to follow the top and bottom line of my eyebrow and then use the flat side of the angled brush to fill them in. I then apply the setting powder (they recommend sparingly but I just whack loads on willy nilly) and my brows are done! It usually takes a couple of minutes, which is a lot quicker than when I used to use a pencil. The kits are also good for precision, which you don’t get as well with a pencil or eyebrow powder. That’s pretty much it really. The kit retails at £8.49 online but I think I got mine for about £8.00 in Superdrug.
What do you all think? Have you tried the Sleek Brow Kit?