‘Ello lovely human beings,
Today is a slightly different post to our usual blog frolics. Today, I am discussing hair, hair dye and my first venture into the world of henna.
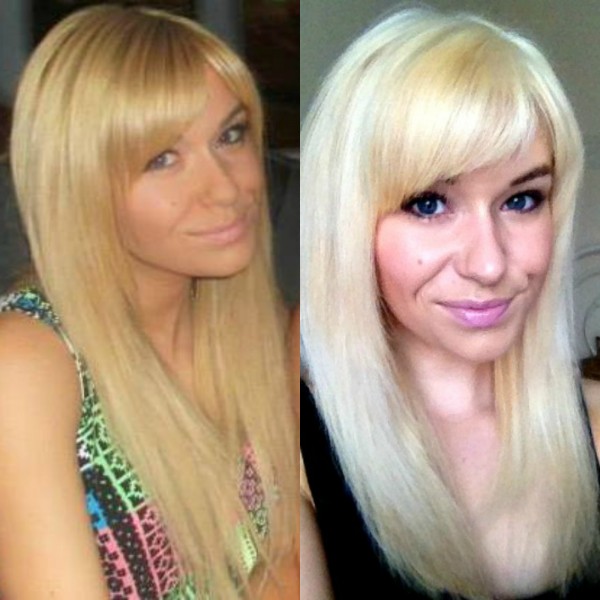
Backing up a little bit, my hair career (is that a thing?!) has been extremely varied. I started off a little ginger curly haired afro child, migrated to a strawberry blonde (with the help of highlights!) in my teens, bleach blonde and vibrant red at uni – finally settling on brunette when I graduated and decided to become a grownup. Here’s a little collage for your viewing pleasure.

I’m really loving being a brunette at the moment, but I have found that my hair’s condition hasn’t really got any better. Because my hair is quite light naturally, I look genuinely ridiculous when my roots start to come through. This means I have to dye my hair every month or so to keep myself looking less like a middle aged man and more like a 21 year old girl. Obvs this is WUBBISH for my hair and has meant that I decided to move away from chemical dyes.
I hotfooted it to Lush because I heard they did henna dye and after a rather complicated explanation from the lovely sales lady, I bought what looked like a smelly green bar of chocolate. I got it in the shade Caca Brun, which is just the plain brown henna shade. Whilst being somewhat intimidated, I also felt very smug and convinced that I had become some kind of Buddhist hippy in the space of about 10 minutes.
According to my new best friend at Lush, the henna takes about 5 hours to develop and is extremely messy so I prepared myself as fully as possible to do the deed a couple of Sundays ago.

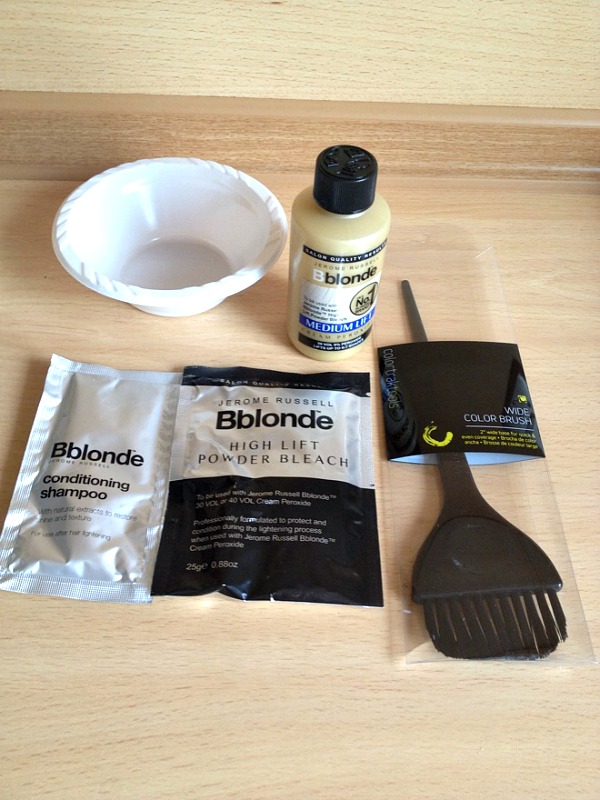
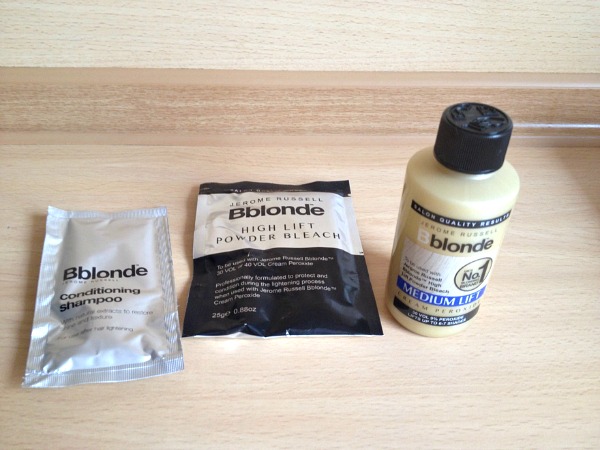
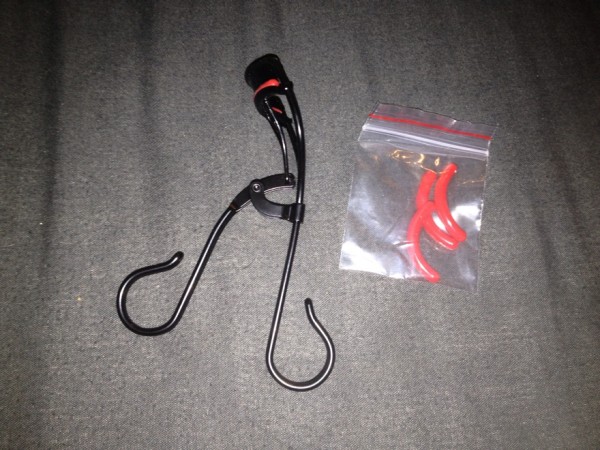
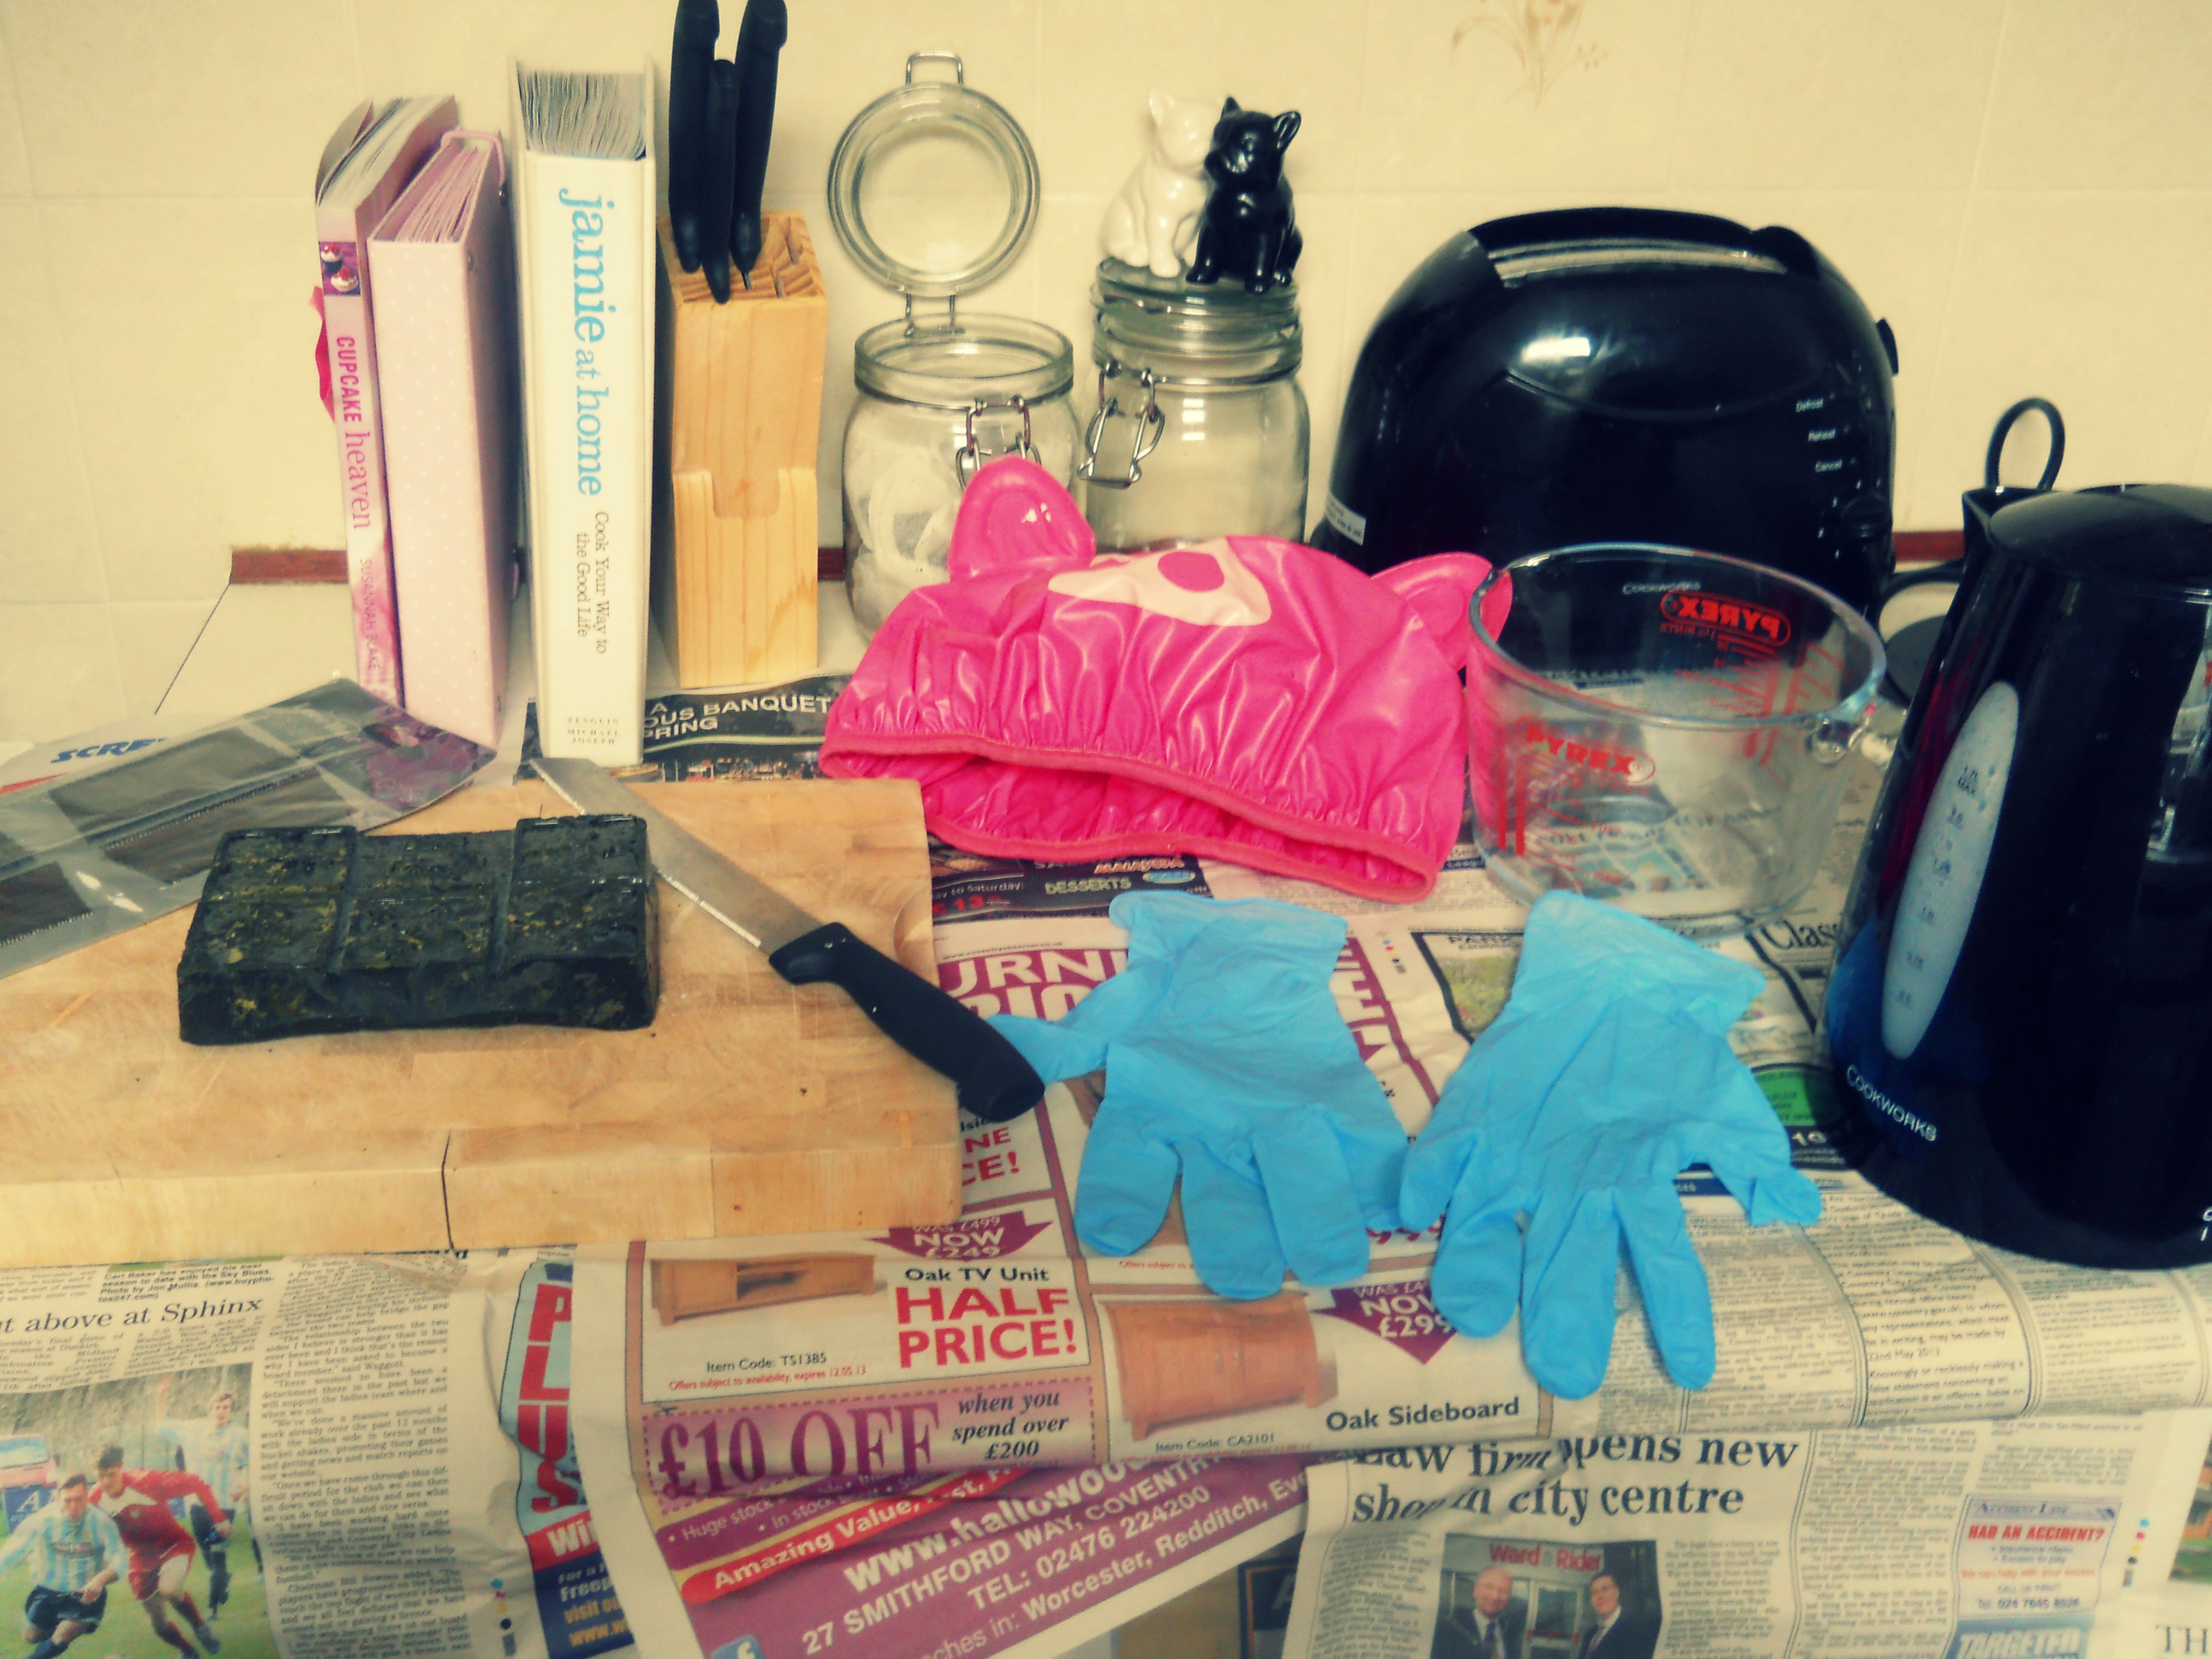
This was my henna kit! Not as extensive as some blogs I saw, but it was actually fine and I’m glad I didn’t have too much crap around! The stuff really is messy…
 Hair grips | Chopping board | Knife | Gloves | Shower cap | Pyrex bowl | Kettle | LOTS of newspaper!
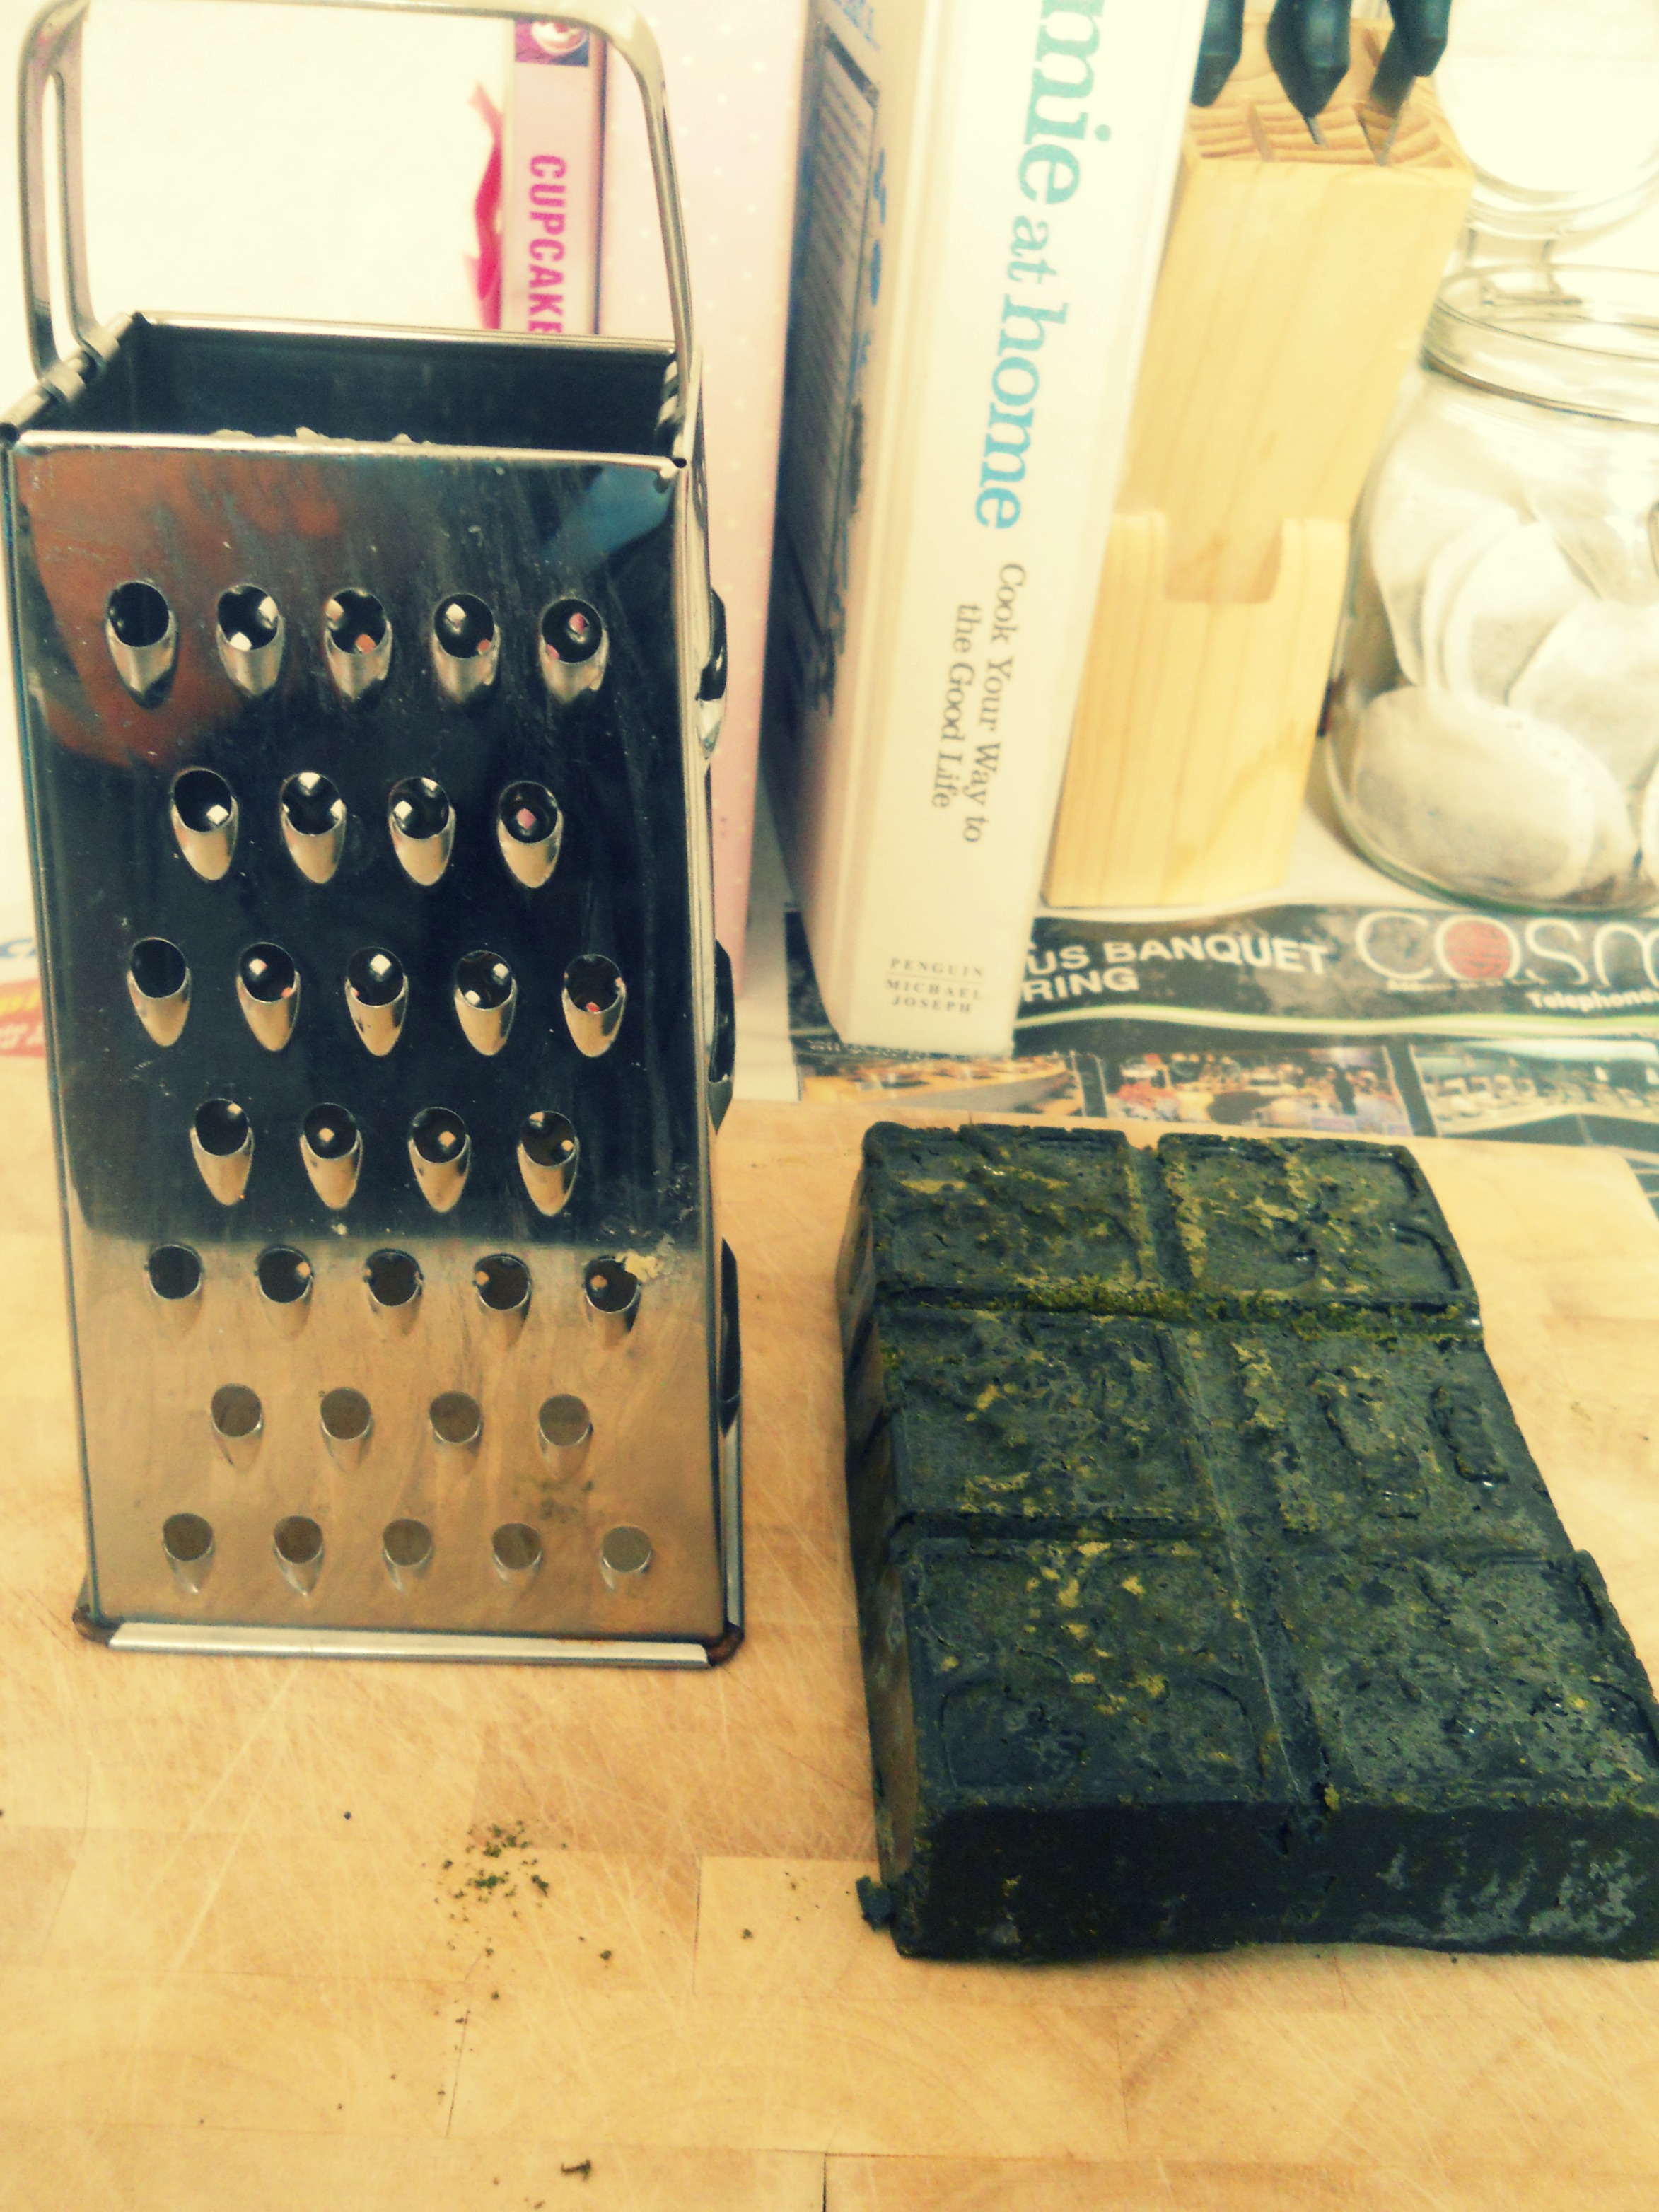
The general idea is that you grate the henna, mix it up with hot water to form a consistency of thin yoghurt and then apply to your head while it is still very hot. You obviously don’t want to scald yourself, but the henna becomes hard and thick when it dries, so virtually impossible to spread onto your head! I forgot to add a grater into this picture, so took another one to be thorough and in case you have forgotten what a grater looks like.
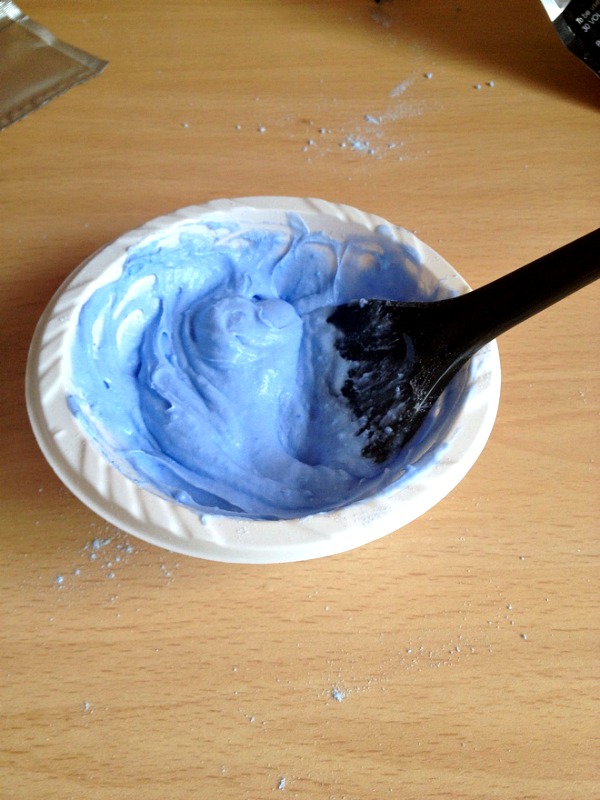
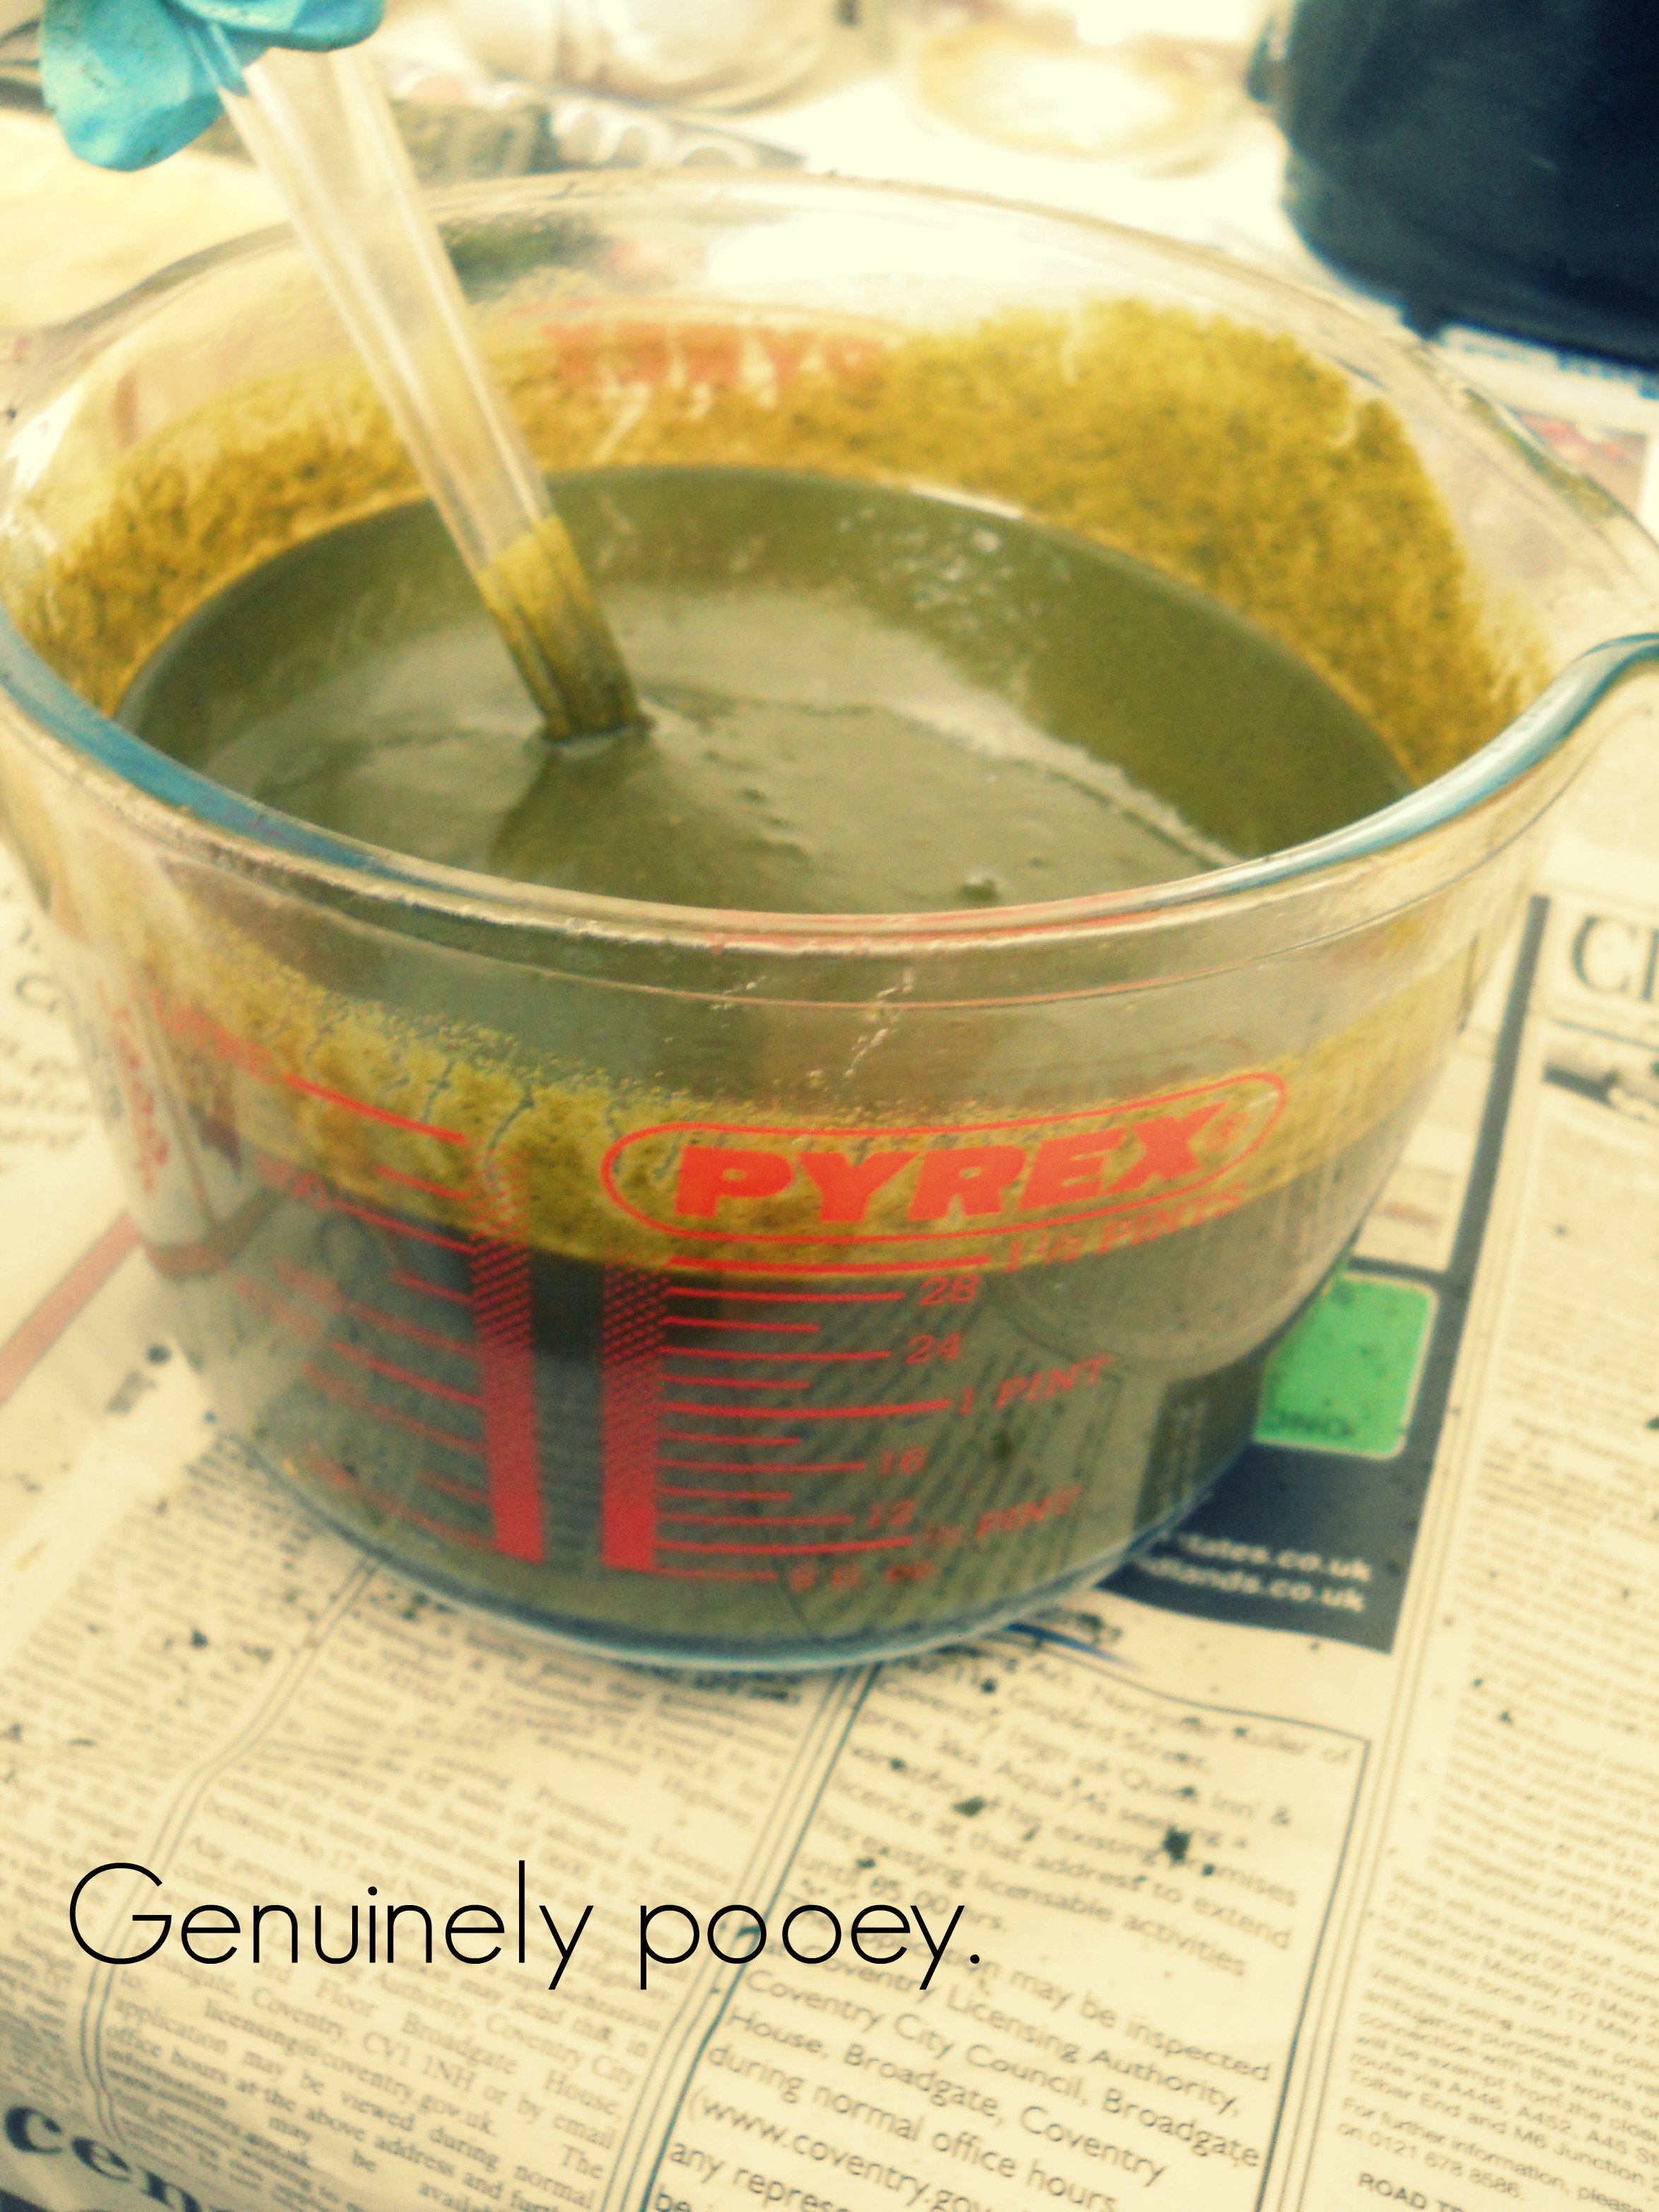
 You can see how weird the henna looks in this picture – it’s so green! I mixed it up with hot water and it formed a liquid, which can only be described as looking like baby poo. Needless to say, I was very apprehensive about putting this stuff on my head.

I ploughed on though, and whacked loads of it on. They recommend starting at the back and working your way across the head, so this is what I did. I also concentrated on my roots, because that’s where I wanted most of the colour.
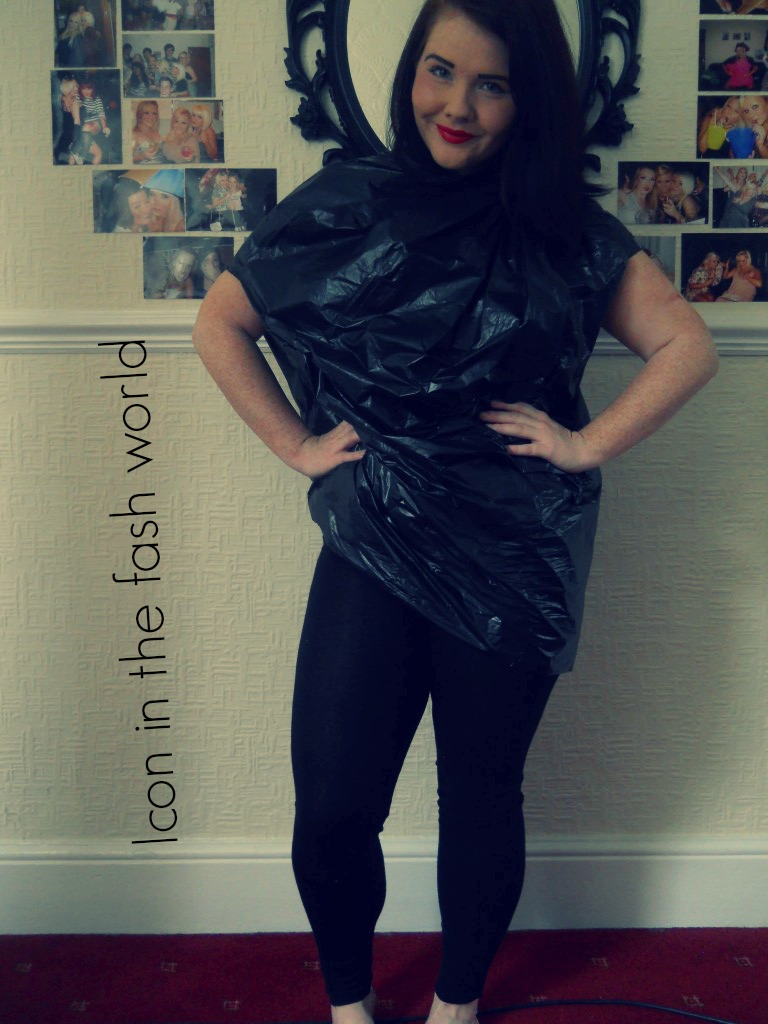
At the end of it, this is what I looked like! I piled the henna-ed hair on top of my head to make putting the shower cap/plastic bag on easier. It also made me feel like I was going to a fancy ball.
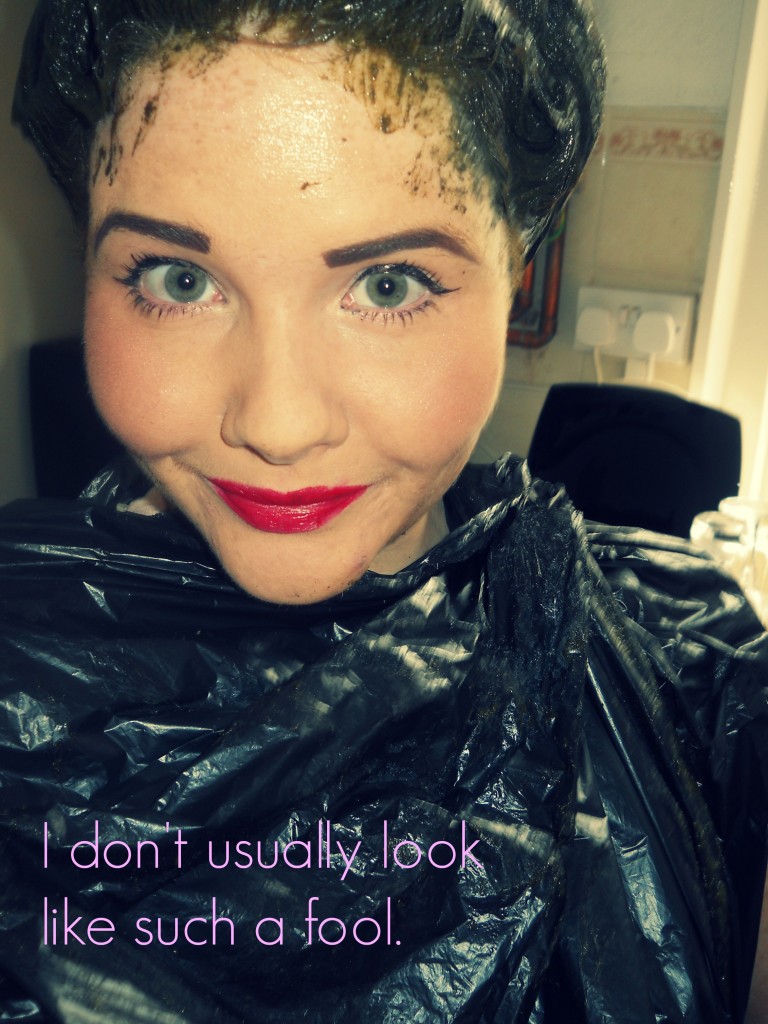 I am a moron, I am sorry.
I popped on my shower cap AND a plastic bag because I was worried about dripping. I looked genuinely mad.
A few things I noticed while hennaing my hair. It is REALLY heavy once it starts to dry/harden on your hair. In fact, I felt like I was carrying an extra person around all day. I was basically Professor Quirrell. It also drips, a lot. I ended up wrapping an old towel around my plastic bag head because even with my precautions, it dripped lots! Other than that, it didn’t stain my skin at all (I wiped all the bits on my head/ears) and it didn’t stain my kitchen either.
It also smells quite strange. Not necessarily unpleasant, just a little bit like wet hay, incense and cats.
Five hours is also a long time to wait. I discovered that Safe Haven is a terrible film.
So, what was my verdict?
Ah, henna. You cruel, cruel mistress. After all that effort, smelling of cats and discovering that who I thought was Nicola Sparks was actually Nicholas Sparks (WHO KNEW?!), the henna basically did nothing to my hair. My roots are now a delightful shade of weak tea, resembling nothing brown in the slightest. My hair, if anything, is a muddier colour than it was before. I didn’t even feel the lovely conditioning feeling that everyone raves about when using henna.
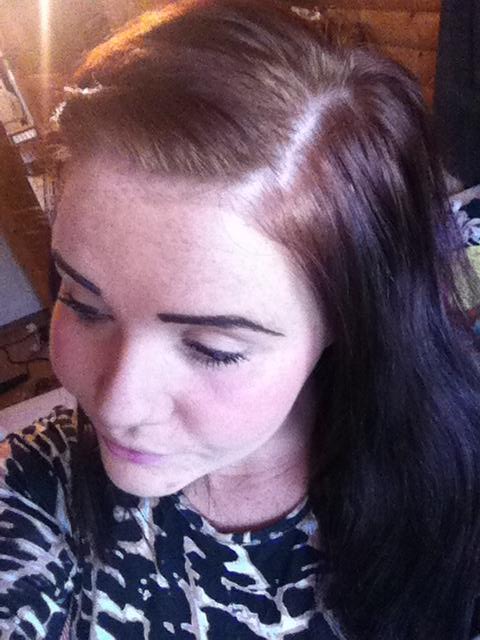
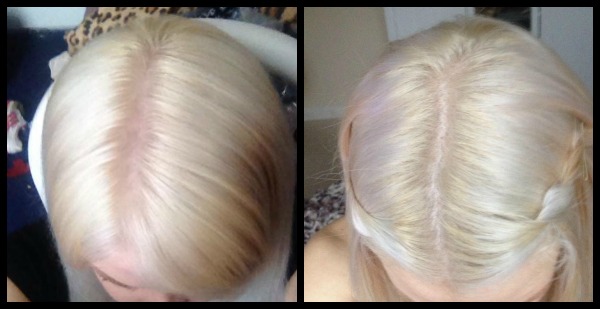
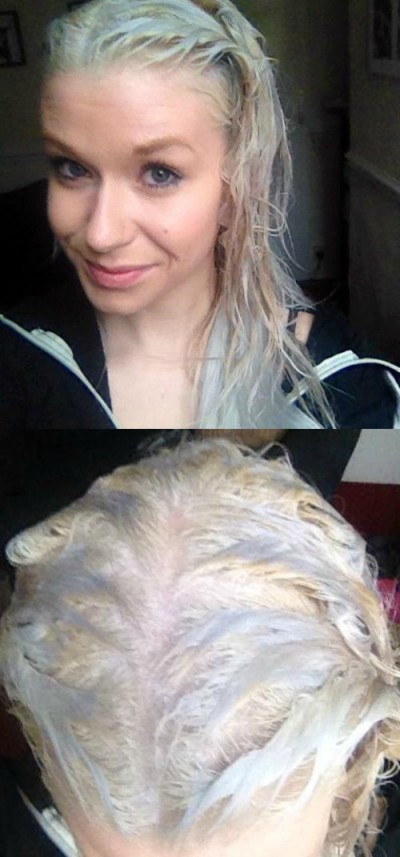
This is a useless picture I took on my iPhone but hopefully you can see the tragicosity that was my hair. Double vom.
IT BASICALLY WAS 5 HOURS OF MY LIFE WASTED THAT I WILL NEVER GET BACK. And I had to throw away my pink pig shower cap, which had ears and a tail and amused me on Monday mornings.
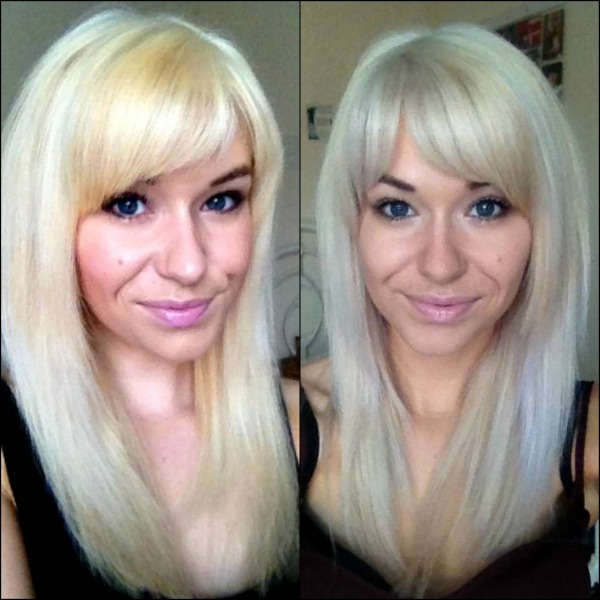
Back to the drawing board it seems…the drawing board being a cute salon in Oban, Scotland. They fixed my hair and now I look like this, marginally better I think!

Excuse the pout, I thought I was Kate Moss for a minute.
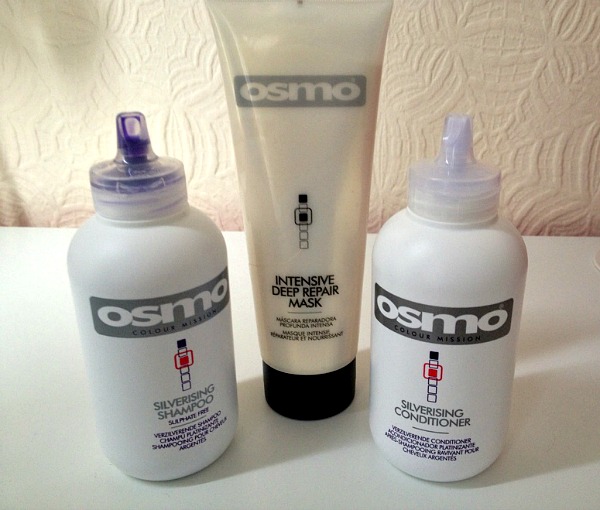
 Anybody that knows me well probably knows this rather vile fact about me: I don’t wash my hair very often. Twice a week is my absolute maximum, and that’s only if I’m going somewhere or if like, a bird has pooed on me or something. My main reason for this is that I have a weave, and to take care of my extensions I need to avoid exposing them to too much heat styling. Rather than letting them dry naturally or anything boring like that, I choose to keep actually getting my hair wet to a minimum and prefer to keep things fresh with dry shampoo.
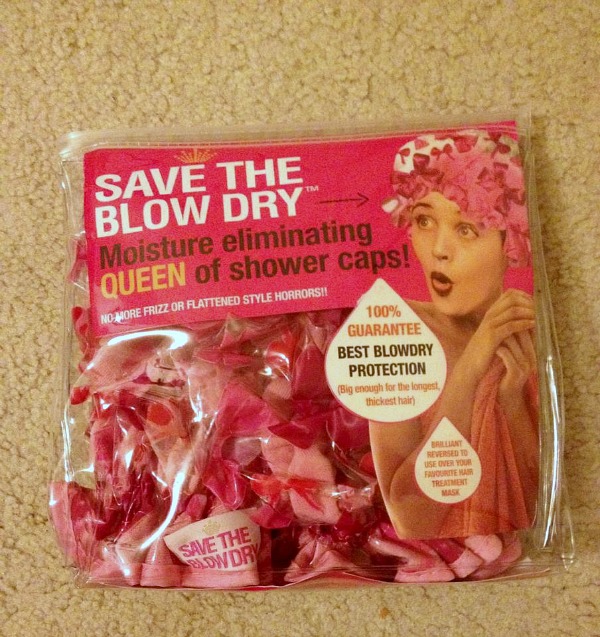
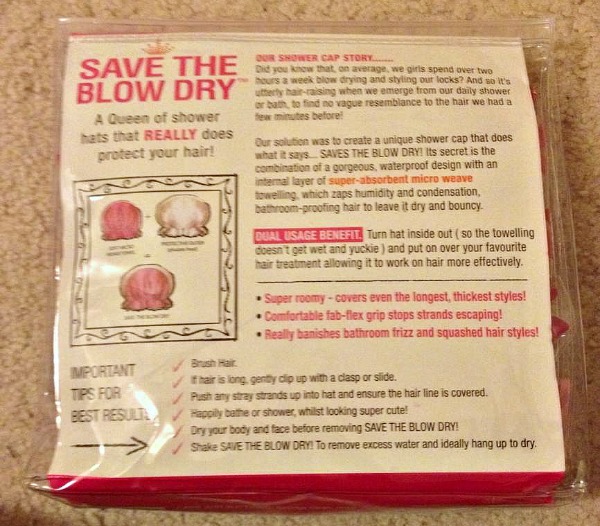 The shower caps from Save the Blowdry have two layers. The outer layer is the waterproof plastic bit you get on others, and the inner layer is an absorbant micro-weave towel. It’s this part that makes it so different to others, because this layer protects your hair from the condensation and humidity.
 And, as an added bonus, the shower cap can be turned inside out for when you’re using a hair mask and want to increase the intensity of the treatment with added heat.
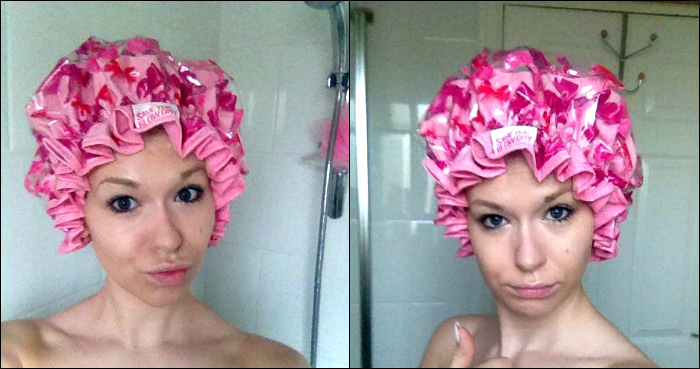 I would like to state, just to stop you all from having nightmares, that I was actually fully dressed when taking these photos. Fully dressed. Standing in my shower. God, the things I do for this blog.
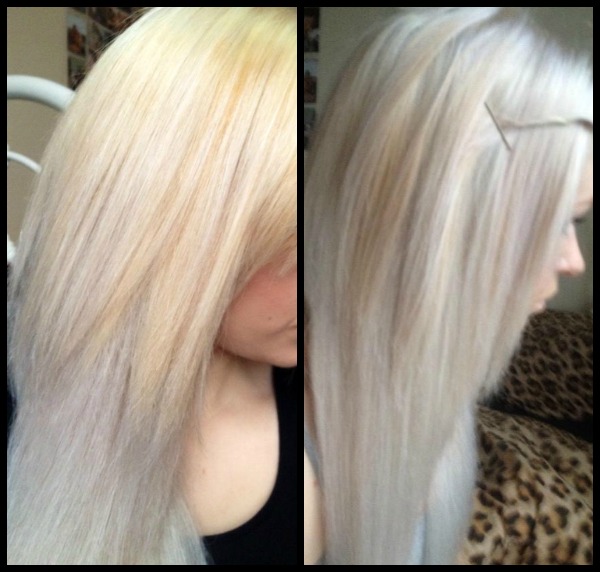 Before / After